


Outdoor Light Shields: How to Reduce Light Glare
Ever walked outside at night and been blinded by a bright light? That’s glare, and it’s not just annoying; it can be unsafe. This article is all about how to deal with that using something called a light shield. We’ll look at what glare is, different kinds of light shields, and how to pick the right one for your place. Plus, we’ll give you some tips on putting them in and keeping them in good shape.
What is Light Glare?
Light glare, simply put, is when too much light enters your eye, making it difficult to see comfortably. It’s that annoying brightness that causes discomfort and can reduce visibility. Think of driving at night and getting blinded by oncoming headlights – that’s glare in action. It’s not just about the amount of light, but also how it’s distributed and where it’s coming from in relation to your line of sight.
Why is Reducing Glare Important Outdoors?
Reducing glare outdoors is about more than just comfort; it’s about safety and the environment. Excessive glare can create hazardous conditions, especially in areas where people are walking or driving. Think about a poorly lit parking lot where the lights are so bright they actually make it harder to see obstacles or pedestrians. That’s a recipe for accidents.
Here’s why it matters:
- Safety: Glare can impair vision, increasing the risk of accidents for drivers, cyclists, and pedestrians.
- Comfort: Reducing glare makes outdoor spaces more pleasant and usable, especially in residential areas.
- Environmental Impact: Glare contributes to light pollution, which can disrupt wildlife and impact our ability to see the night sky.
Minimizing glare is a key component of responsible outdoor lighting. It ensures that light is directed where it’s needed, without causing unnecessary discomfort or environmental harm. By using proper shielding and lighting techniques, we can create safer, more comfortable, and more sustainable outdoor environments.
Ultimately, managing glare is about balancing the need for illumination with the need to protect our vision and the environment. It’s about using light effectively and responsibly. For example, using glare guards can help.
Types of Outdoor Light Shields
Choosing the right outdoor light protection involves understanding the different types of shields available. Each type offers a unique approach to reducing glare and directing light where it’s needed. It’s not always a simple choice, but knowing your options is the first step.
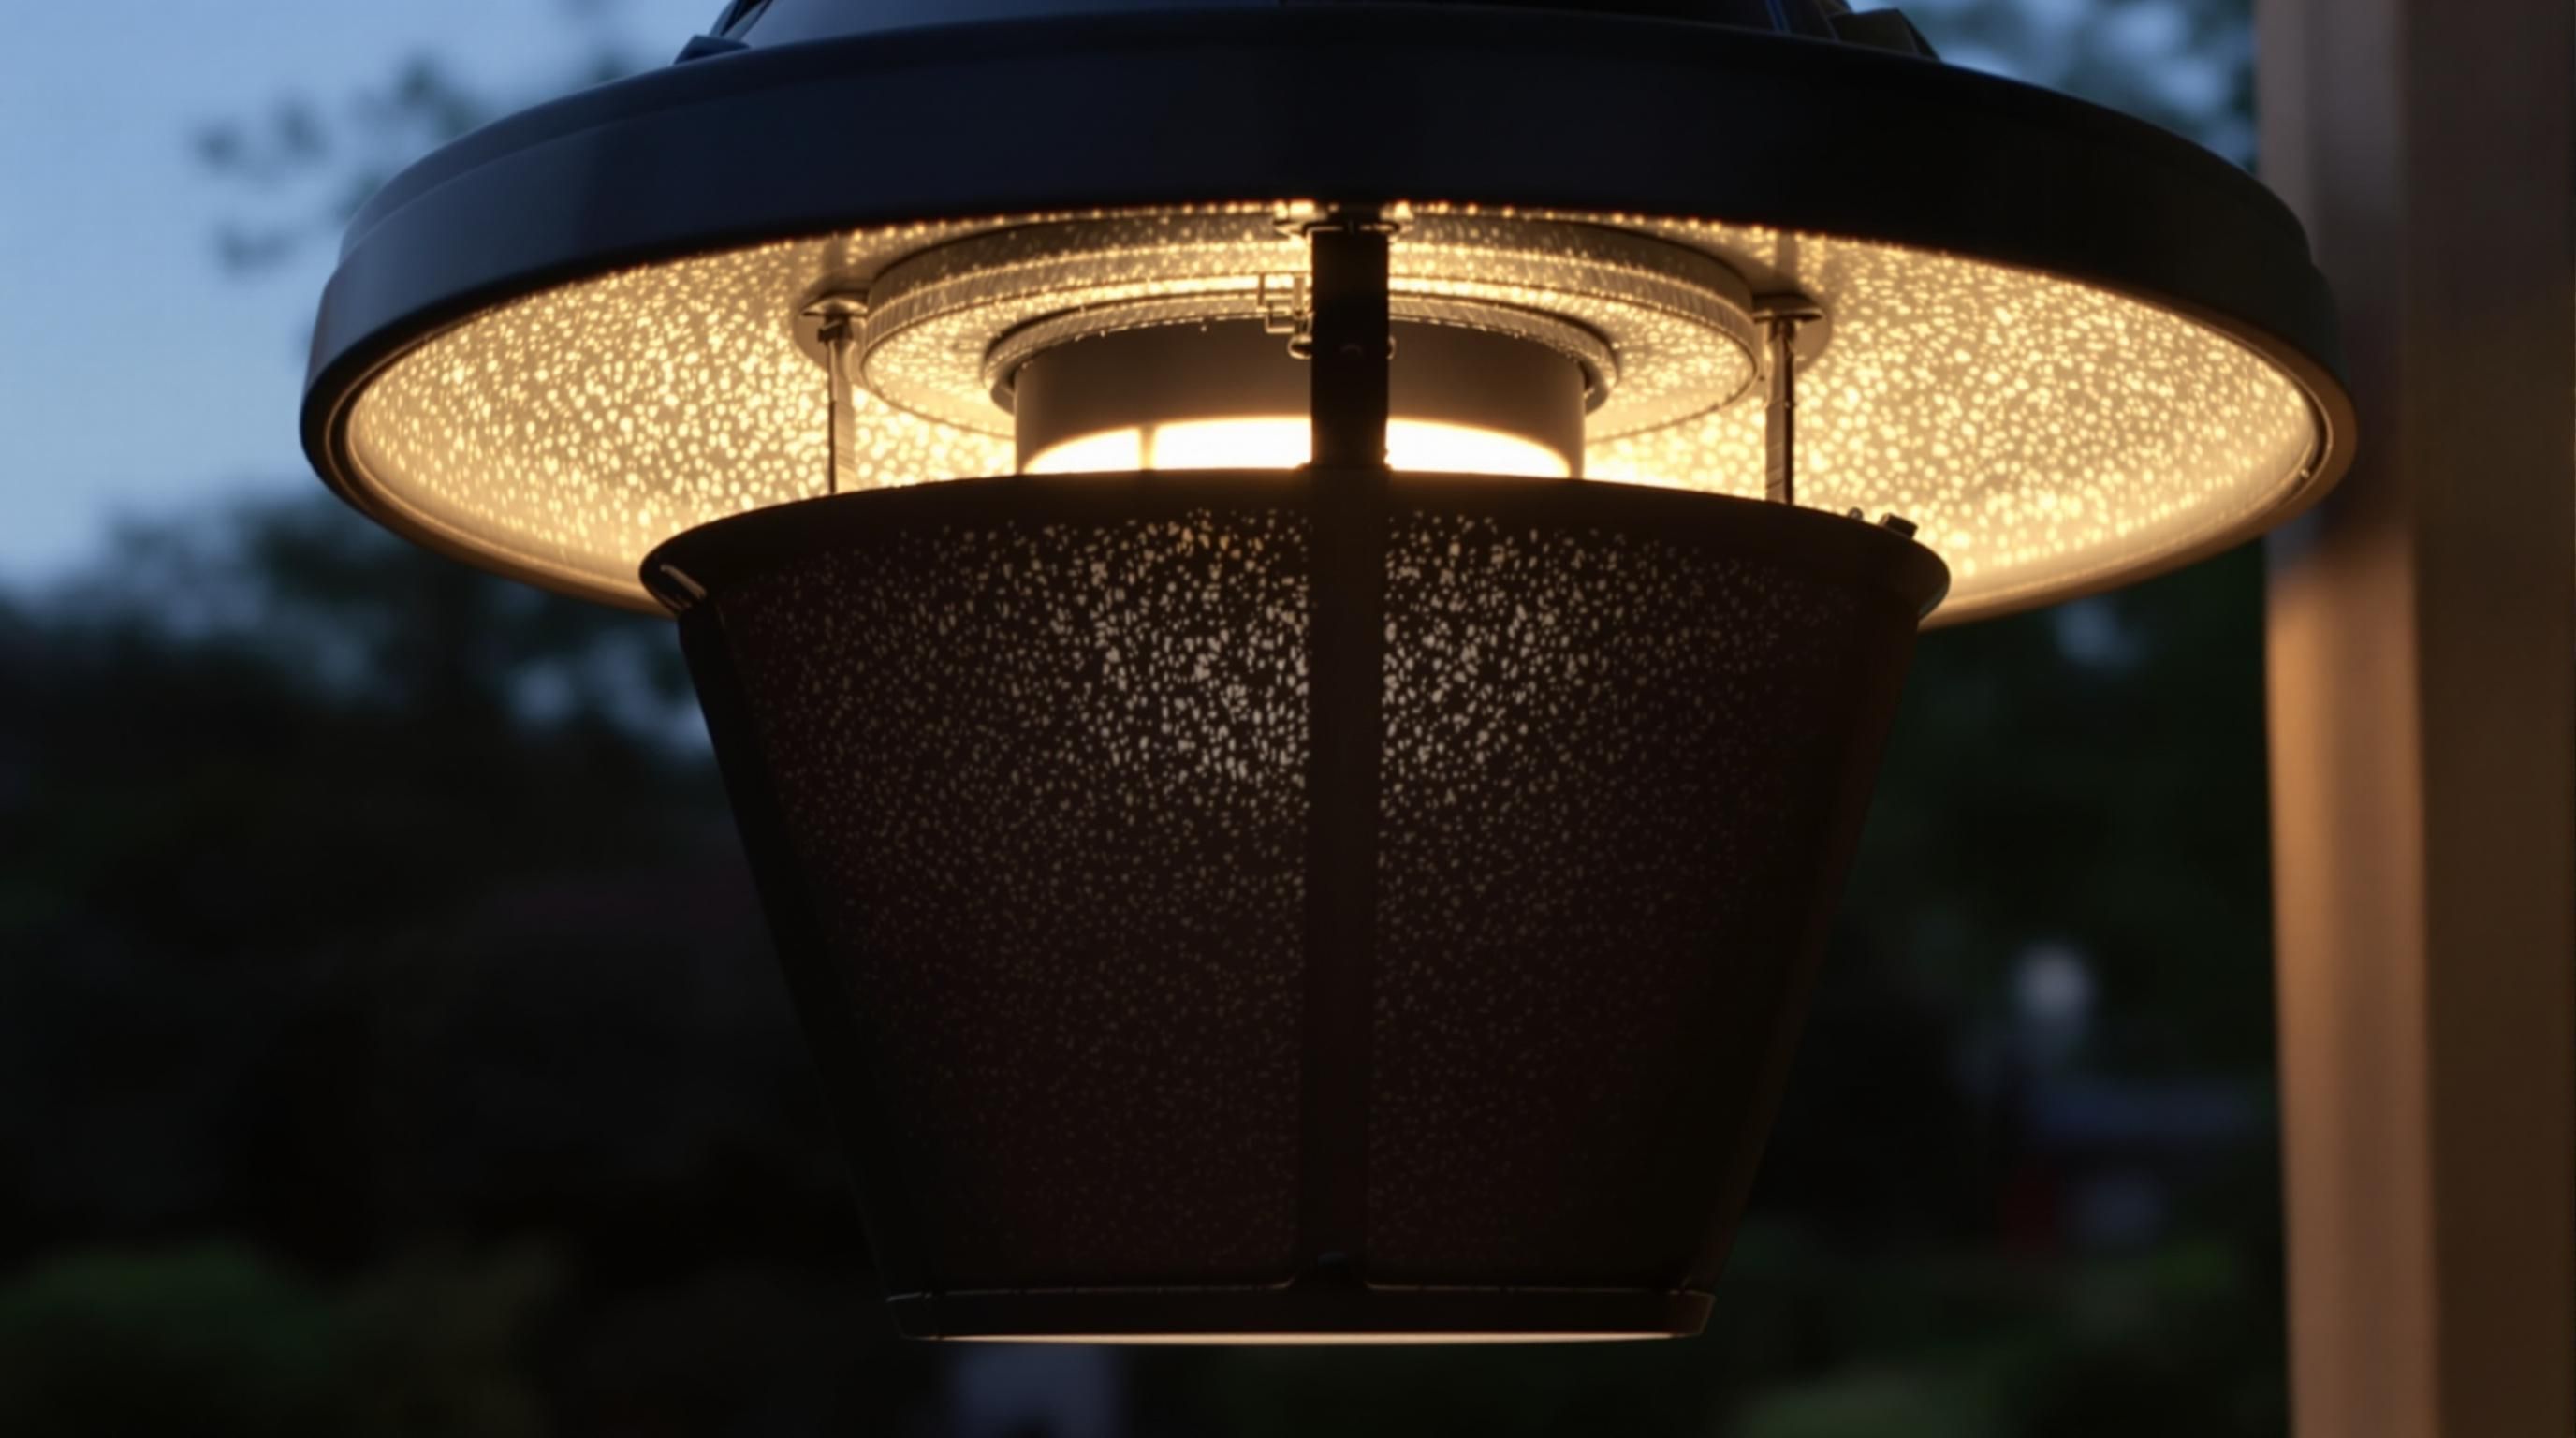
Fully Shielded Fixture
A fully shielded fixture is a type of outdoor lighting designed to direct all light output below the horizontal plane, similar to a full cut-off shield, but with an emphasis on the fixture’s overall design. These fixtures are built to ensure that no light escapes upward or sideways beyond the intended area, making them highly effective at reducing glare and light pollution. Fully shielded fixtures are often used in areas where precise light control is critical, such as urban settings, environmentally sensitive areas, or near astronomical observatories.
Key Benefits of Fully Shielded Fixtures:
- Maximum Glare Reduction: By preventing light from spilling upward or into unwanted areas, these fixtures minimize discomfort and improve visibility.
- Light Pollution Control: They help preserve dark skies, which is essential for wildlife and stargazing.
- Energy Efficiency: By focusing light where it’s needed, fully shielded fixtures reduce wasted energy.
When selecting a fully shielded fixture, ensure it complies with local lighting ordinances, such as those set by the International Dark-Sky Association. These fixtures are ideal for streetlights, parking lot lights, or residential pathway lighting where both safety and environmental considerations are priorities. Check for certifications like “Dark Sky Approved” to ensure optimal performance.
Full Cut-Off Shields
Full cut-off shields are designed to eliminate any light above a horizontal plane. This means no light is emitted upwards, significantly reducing light pollution and glare. These shields are particularly useful in areas where minimizing light trespass is crucial, such as residential neighborhoods or near observatories. They’re like the responsible neighbors of the outdoor lighting world.
Half Cut-Off Shields
Half cut-off shields allow some light above the horizontal plane, but still reduce glare compared to unshielded fixtures. They offer a compromise between full cut-off and no shielding, providing some upward light for aesthetic purposes while still controlling glare. It’s a balancing act, really.
Louvers and Baffles
Louvers and baffles use a series of angled or parallel blades to block light from certain angles. This can help to direct light downwards and reduce glare without completely blocking all upward light. They’re often used in situations where some ambient light is desired, but direct glare needs to be minimized. Think of them as tiny light traffic controllers.
Diffusers and Frosted Covers
Diffusers and frosted covers work by scattering light, reducing the intensity and harshness of the light source. While they don’t block light in a specific direction like other shields, they can significantly reduce glare by softening the light. They’re like putting a lampshade on the sun.
Selecting the appropriate shield depends on the specific application and desired level of glare reduction. Factors to consider include the type of light fixture, the surrounding environment, and any local regulations regarding light pollution. Don’t forget to check if your local municipality has any requirements for street light shields.
Here’s a quick comparison table:
| Shield Type | Glare Reduction | Light Direction | Best Use Case |
|---|---|---|---|
| Full Cut-Off | High | Downward | Residential areas, near observatories |
| Half Cut-Off | Moderate | Downward/Some Upward | General outdoor lighting, commercial areas |
| Louvers/Baffles | Moderate | Controlled | Areas needing some ambient light |
| Diffusers/Frosted | Low to Moderate | Diffused | Softening harsh light, reducing direct glare |
When considering light covers, remember that each type has its pros and cons. Choose wisely!
Choosing the Right Light Shield for Your Needs
Okay, so you’re ready to ditch that annoying glare. But with so many options, how do you pick the right light shield? It really boils down to what you need the light for and where it’s located. Let’s break it down.
Residential Light Shield Options
For homes, the goal is usually to create a comfortable and inviting atmosphere while minimizing light pollution. Think about where your lights are placed. Are they illuminating a walkway, highlighting landscaping, or lighting up a patio? The answer will guide your choice.
- Walkways and Driveways: Half cut-off shields are often a good bet. They direct light downwards, providing ample illumination for safe passage without blasting light into your neighbor’s windows. You might also consider fixtures with built-in louvers for a softer, more diffused light.
- Landscaping: If you’re highlighting trees or architectural features, adjustable shields can be super helpful. You can fine-tune the direction of the light to get the exact effect you want. Just make sure the shield doesn’t detract from the beauty of your landscaping!
- Patios and Decks: For these areas, you want something that provides enough light for socializing without being harsh. Diffusers or frosted covers can create a warm, ambient glow. String lights with integrated shields are also a popular option.
Don’t forget to consider the style of your home. You want the light shields to complement your existing fixtures and overall aesthetic. A sleek, modern shield might look out of place on a rustic farmhouse, and vice versa.
Commercial Light Shield Options
Commercial spaces often have different priorities than residential ones. Safety, security, and energy efficiency are usually top concerns. This often means brighter, more powerful lights, which in turn, require more robust shielding.
- Parking Lots: Full cut-off shields are almost always the way to go in parking lots. They minimize light trespass and glare, ensuring that drivers and pedestrians can see clearly. Look for shields that are durable and weather-resistant, as they’ll be exposed to the elements.
- Building Exteriors: When lighting up a building’s facade, consider using a combination of shields and louvers to create a visually appealing effect without causing light pollution. Adjustable shields can be used to highlight specific architectural details.
- Security Lighting: For security purposes, you need bright, reliable light. However, you also want to minimize glare that could impair visibility. Look for fixtures with integrated shields that direct light downwards and outwards, providing maximum coverage with minimal glare. Consider glare shielding to improve visibility.
Remember to check local regulations. Many municipalities have ordinances regarding outdoor lighting, including requirements for light shields. Failing to comply can result in fines or other penalties. Also, think about the long-term maintenance of your shields. Are they easy to clean and replace? Choosing durable, high-quality shields can save you money and hassle in the long run.
Installation Tips for Optimal Glare Reduction
Okay, so you’ve picked out your light shields – awesome! Now comes the part where you actually put them on. Don’t worry, it’s usually pretty straightforward, but a few things can make a big difference in how well they work. Let’s get into it.

Before You Start
First things first: safety. Always turn off the power to the light fixture before you start messing with it. I know it sounds obvious, but you’d be surprised. Also, give the bulb some time to cool down. You don’t want to burn your fingers. Gather your tools – usually just a screwdriver or maybe an Allen wrench, depending on the fixture. And read the instructions that came with your light shield! Seriously, they’re there for a reason.
Finding the Mounting Points
Alright, now for the fun part. Take a good look at your light fixture. Where are you supposed to attach the shield? Most shields either clip on, screw in, or slide into place. Look for existing screws or tabs that you can use. If you’re installing glare guards on an existing fixture, you might need to remove some parts first. If you’re not sure, check the instructions again. Sometimes, a little trial and error is needed, but don’t force anything. You don’t want to break the fixture or the shield.
Aligning and Securing the Shield
This is where you make sure the shield is doing its job. The goal is to block light from shining where it shouldn’t. So, as you’re attaching the shield, pay attention to the angle. Is it cutting off the light that was causing glare? If it’s adjustable, play around with the position until you get it just right. Once you’re happy, tighten all the screws or clips to secure the shield. You don’t want it falling off in the next big windstorm. Proper alignment is key to effective glare reduction.
Testing and Adjusting
Okay, power the light back on. Now, step back and take a look. Is the glare gone? Is the light directed where you want it? If not, don’t be afraid to make adjustments. Sometimes, a small tweak can make a big difference. You might need to loosen the screws and reposition the shield slightly. Keep tweaking until you’re happy with the results. And remember, it’s always better to err on the side of too much shielding than not enough.
One thing I’ve learned is that it’s often easier to adjust the shield at night. That way, you can see exactly how it’s affecting the light output and glare. Just be careful working with electricity in the dark! Use a flashlight and take your time.
A Quick Note on Permanent Christmas Lights
Installing light shields for permanent Christmas lights can be a bit trickier, especially if they’re already up. You might need to use a ladder or scaffolding to reach them. And you’ll definitely want to make sure the shields are securely attached, so they don’t fall down and ruin your holiday display. Consider using zip ties or other fasteners for extra security. Also, think about the overall look. You want the shields to blend in with the lights and not be too noticeable during the day. The right light distribution is important.
Maintaining Your Outdoor Light Shields
Outdoor light shields are a great investment for reducing glare and improving the quality of your outdoor lighting. But like anything exposed to the elements, they require some upkeep to ensure they continue to perform well. Here’s what you need to know about keeping your light shields in top shape.
Regular Cleaning
Dirt and grime can accumulate on light shields, reducing their effectiveness. This is especially true for shields in areas with high pollution, dust, or pollen. Make it a habit to clean your light shields regularly – at least a few times a year, or more often if needed. Here’s how:
- Turn off the light fixture before you start cleaning. Safety first!
- Use a soft cloth or brush to remove loose dirt and debris.
- Wash the shield with a mild soap and water solution. Avoid harsh chemicals or abrasive cleaners, as these can damage the shield’s surface.
- Rinse thoroughly with clean water.
- Dry the shield with a clean, soft cloth.
Inspecting for Damage
Regularly inspect your light shields for any signs of damage, such as cracks, chips, or discoloration. Even small cracks can let moisture in, which can damage the light fixture itself. Catching damage early can prevent bigger problems down the road.
If you notice any damage, it’s important to repair or replace the shield as soon as possible. Ignoring damage can lead to reduced performance, increased glare, and even safety hazards.
Replacing Worn or Damaged Shields
Even with regular cleaning and inspection, light shields will eventually need to be replaced. The lifespan of a shield depends on the material it’s made from and the environmental conditions it’s exposed to. Keep an eye out for these signs that it’s time for a replacement:
- Significant discoloration or yellowing
- Cracks or chips that can’t be easily repaired
- A noticeable decrease in the shield’s ability to reduce glare
When replacing a light shield, be sure to choose a replacement that’s compatible with your light fixture. Check the manufacturer’s specifications to ensure a proper fit and optimal performance. It’s a pretty simple job, and you’ll be back to glare-free lighting in no time!
Fitted Target Efficacy (FTE)
Fitted Target Efficacy (FTE) is a metric used to evaluate the efficiency of a lighting system in delivering light to a specific target area. Expressed in lumens per watt (lm/W), FTE measures how effectively a fixture provides useful illumination while minimizing energy waste and glare. Unlike traditional efficacy metrics, which focus solely on the light output of a bulb, FTE considers the entire lighting system, including the fixture, shield, and optical design, to ensure light is directed precisely where it’s needed.
Why FTE Matters:
- Optimized Light Distribution: High FTE values indicate that a fixture delivers more usable light to the intended area, reducing the need for excessive wattage.
- Reduced Glare: By focusing light on the target area, FTE-compliant fixtures minimize stray light that causes glare.
- Energy Savings: Higher FTE means lower energy consumption, which is both cost-effective and environmentally friendly.
How to Choose High-FTE Fixtures:
- Look for fixtures with advanced optics, such as reflectors or lenses, that enhance light directionality.
- Check manufacturer specifications for FTE ratings or consult with a lighting professional to ensure the fixture meets your needs.
- Consider the application: for example, a high-FTE fixture is ideal for task-oriented lighting, like illuminating a walkway, but may not be necessary for ambient decorative lighting.
When planning your outdoor lighting, prioritize fixtures with high FTE ratings to balance performance, energy efficiency, and glare reduction. This approach aligns with sustainable lighting practices and can help you meet local regulations or certifications for eco-friendly design.
How to reduce glare during permanent christmas light installation
Permanent Christmas lights are awesome, right? No more wrestling with tangled strands every year. But sometimes, they can be a bit too bright, causing unwanted glare. Here’s how to tame that brightness and enjoy your lights without the eye strain.
Choosing Low-Glare Bulbs
First things first, the type of bulb matters. Look for bulbs specifically designed to minimize glare. These often have a diffused lens or a coating that scatters the light more evenly. LED lights are generally a good choice because they produce less heat and can be dimmed, but not all LEDs are created equal when it comes to glare. Check the product description for terms like “anti-glare” or “soft light.”
Strategic Placement and Shielding
Where you put your lights makes a huge difference. Avoid placing them directly in your line of sight, especially near windows or areas where you frequently sit. Use architectural features like eaves and gutters to your advantage, positioning the lights so they shine downward rather than outward. For existing installations, consider adding small shields or hoods to each bulb to direct the light and block it from shining directly into your eyes. This is especially helpful for patio light glare reduction.
Dimming and Color Temperature
Dimming your lights is one of the easiest ways to reduce glare. Most permanent Christmas light systems come with a dimmer function, either built-in or controllable via an app. Experiment with different brightness levels to find a setting that’s festive but not overwhelming. Also, consider the color temperature of your lights. Warmer colors (lower Kelvin values) tend to be less harsh and create a softer, more inviting glow than cooler, brighter white lights.
Utilizing Reflective Surfaces
Instead of directly illuminating an area, try bouncing the light off a wall or other surface. This creates a softer, more diffused light that reduces glare. For example, you could aim your lights at a light-colored wall or fence, allowing the light to reflect back into your yard. This technique works particularly well for creating ambient lighting.
Professional Installation Considerations
If you’re planning a new permanent Christmas light installation, consult with a professional installer. They can assess your property and recommend the best placement and lighting options to minimize glare. A good installer will also be able to advise you on the latest anti-glare technologies and techniques.
Reducing glare from permanent Christmas lights is all about finding the right balance between festive illumination and comfortable visibility. By choosing the right bulbs, positioning them strategically, and utilizing dimming and shielding techniques, you can create a beautiful and inviting outdoor space without sacrificing your eyes.
Here’s a quick checklist to help you reduce glare:
- Use low-glare bulbs.
- Position lights strategically to avoid direct line of sight.
- Dim the lights to a comfortable level.
- Consider warmer color temperatures.
- Use shields or hoods to direct the light.
Tired of your permanent Christmas lights being too bright? We get it! Sometimes, those beautiful lights can be a bit much. Our guide on how to reduce glare will help you enjoy your display without the harshness. Learn more about making your lights perfect by visiting our website!
Conclusion
So, there you have it. Picking the right outdoor light shields can really make a difference. It’s not just about making things look good, though that’s a nice bonus. It’s about making sure your outdoor lighting works for you, not against you. Think about what you need, what kind of light you have, and then go from there. A little planning goes a long way to cut down on glare and make your outdoor spaces much more pleasant.
Frequently Asked Questions
What exactly is light glare?
Light glare happens when a bright light makes it hard to see clearly, often causing discomfort or even temporary blindness. It’s like when car headlights shine directly into your eyes at night.
Why is it important to cut down on outdoor light glare?
Reducing glare outside is super important for safety and comfort. Think about driving at night: too much glare from streetlights can make it hard to see the road or other cars, leading to accidents. It also helps protect wildlife and makes sure light goes only where it’s needed, not into your neighbor’s window.
What’s a full cut-off light shield?
A full cut-off shield blocks all light from going above a certain point, usually straight up. This means the light only shines downward, preventing it from bothering people or animals far away. It’s great for keeping light pollution low.
How is a half cut-off shield different?
Half cut-off shields are a bit less strict than full cut-off ones. They still direct most light downwards but allow a small amount to go slightly above the light fixture. They offer a good balance between controlling glare and spreading some light around.
What are louvers and baffles?
Louvers and baffles are like little fins or grids inside a light fixture. They help control where the light goes by blocking it from certain angles, which cuts down on glare. Imagine tiny venetian blinds for your light.
How do diffusers and frosted covers work?
Diffusers and frosted covers are materials that spread out the light, making it softer and less harsh. Instead of a bright, focused beam, they create a more even glow, which helps reduce glare. They make the light less direct and easier on the eyes.
How can I reduce glare when putting up permanent Christmas lights?
When installing permanent Christmas lights, you can reduce glare by using light shields that direct the light only where you want it to go, like on your house or trees, instead of into your neighbors’ windows or the sky. You can also choose lights that are less bright or have a softer glow.
Do glare shields affect how well my outdoor lights work?
Yes, glare shields can sometimes slightly change how light spreads, but usually, this change is very small and won’t make a big difference in how well your lights work. The main goal is to make the light more comfortable and less annoying.