


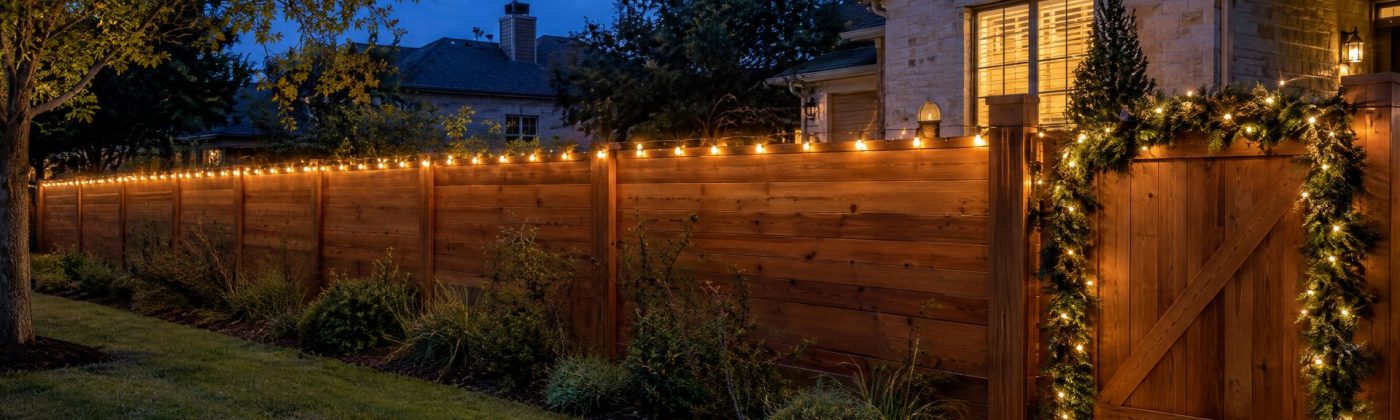
Christmas Lights on a Fence or Railing: Fasteners, Swags and Gates
To hang Christmas lights on a fence, fasten the wire every 12 to 18 inches with something matched to the material: clips or small hooks on wood, UV-rated zip ties on chain link and iron, zip ties or outdoor adhesive clips on vinyl. Then run it straight along the top rail or swag it between posts, and stop at every gate.
The fastener is the part most people get wrong, so this guide is organized by what your fence is made of. Then the math for swags, the gate problem, and porch railings, where the handrail still has to work.
Frame or feature?
Decide what the fence is for before you buy anything.
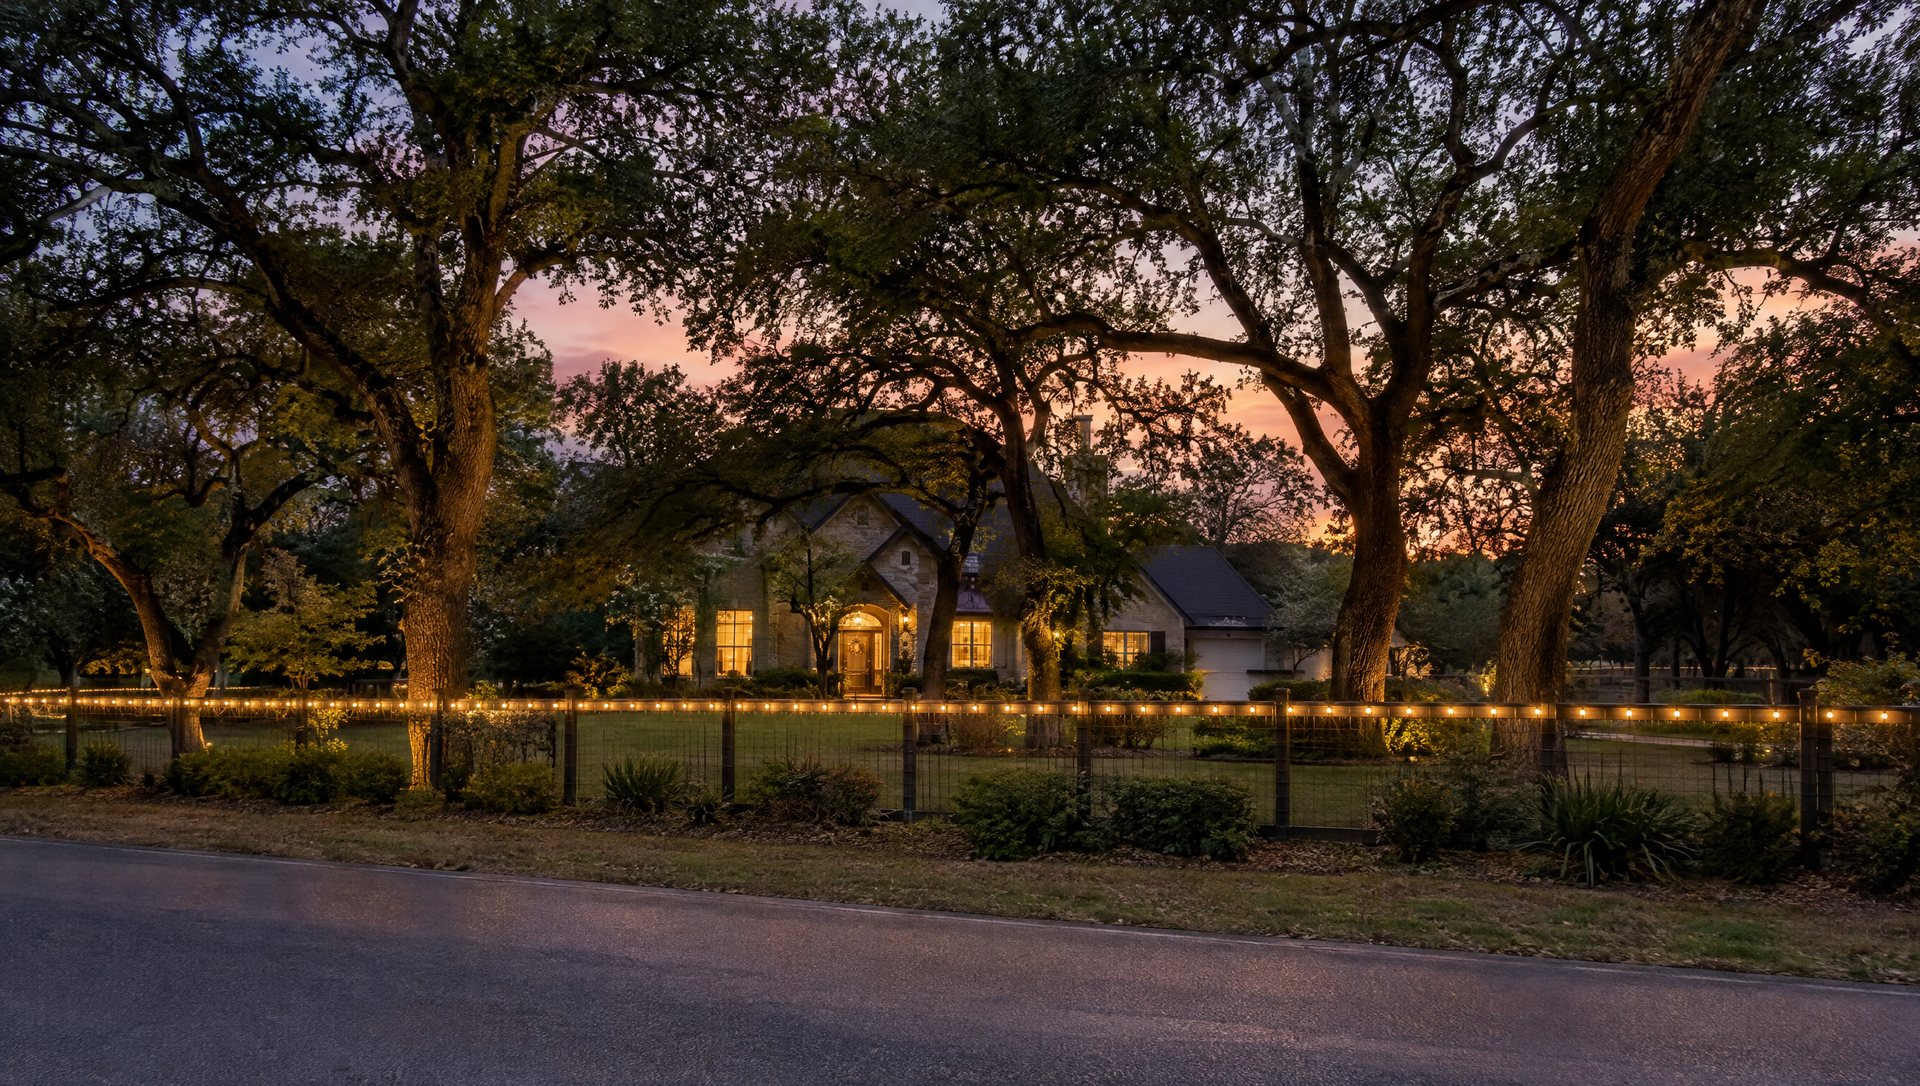
If the house has a lit roofline, the fence is a frame. Keep it quiet: one steady line on the top rail, or lit posts with the spans dark. A busy fence competes with the house.
If the house sits back behind trees, which is common on Austin lots with big live oaks out front, the fence may be the only thing people see from the street. Then it can carry the display, and it’s worth doing swags or garland.
If it’s a shared fence on the property line, the other side is your neighbor’s view. Ask before you fasten anything to it, and keep any cords and ties on your side.
Find your fence
Cedar privacy fence
The standard Austin back-and-side fence: vertical cedar pickets on a top rail, posts 6 to 8 feet apart.
- Attach with: all-in-one plastic light clips over the top edge of the pickets, or small cup hooks screwed into the top rail. It’s your fence; small hooks leave a small hole and last for years.
- Spacing: 12 to 18 inches.
- Watch for: pickets that have warped or shrunk apart after a few Texas summers. Clip to the rail, not the uneven picket tops, if the top line wanders.
Wrought iron and steel
Common on subdivision front yards and around pools.
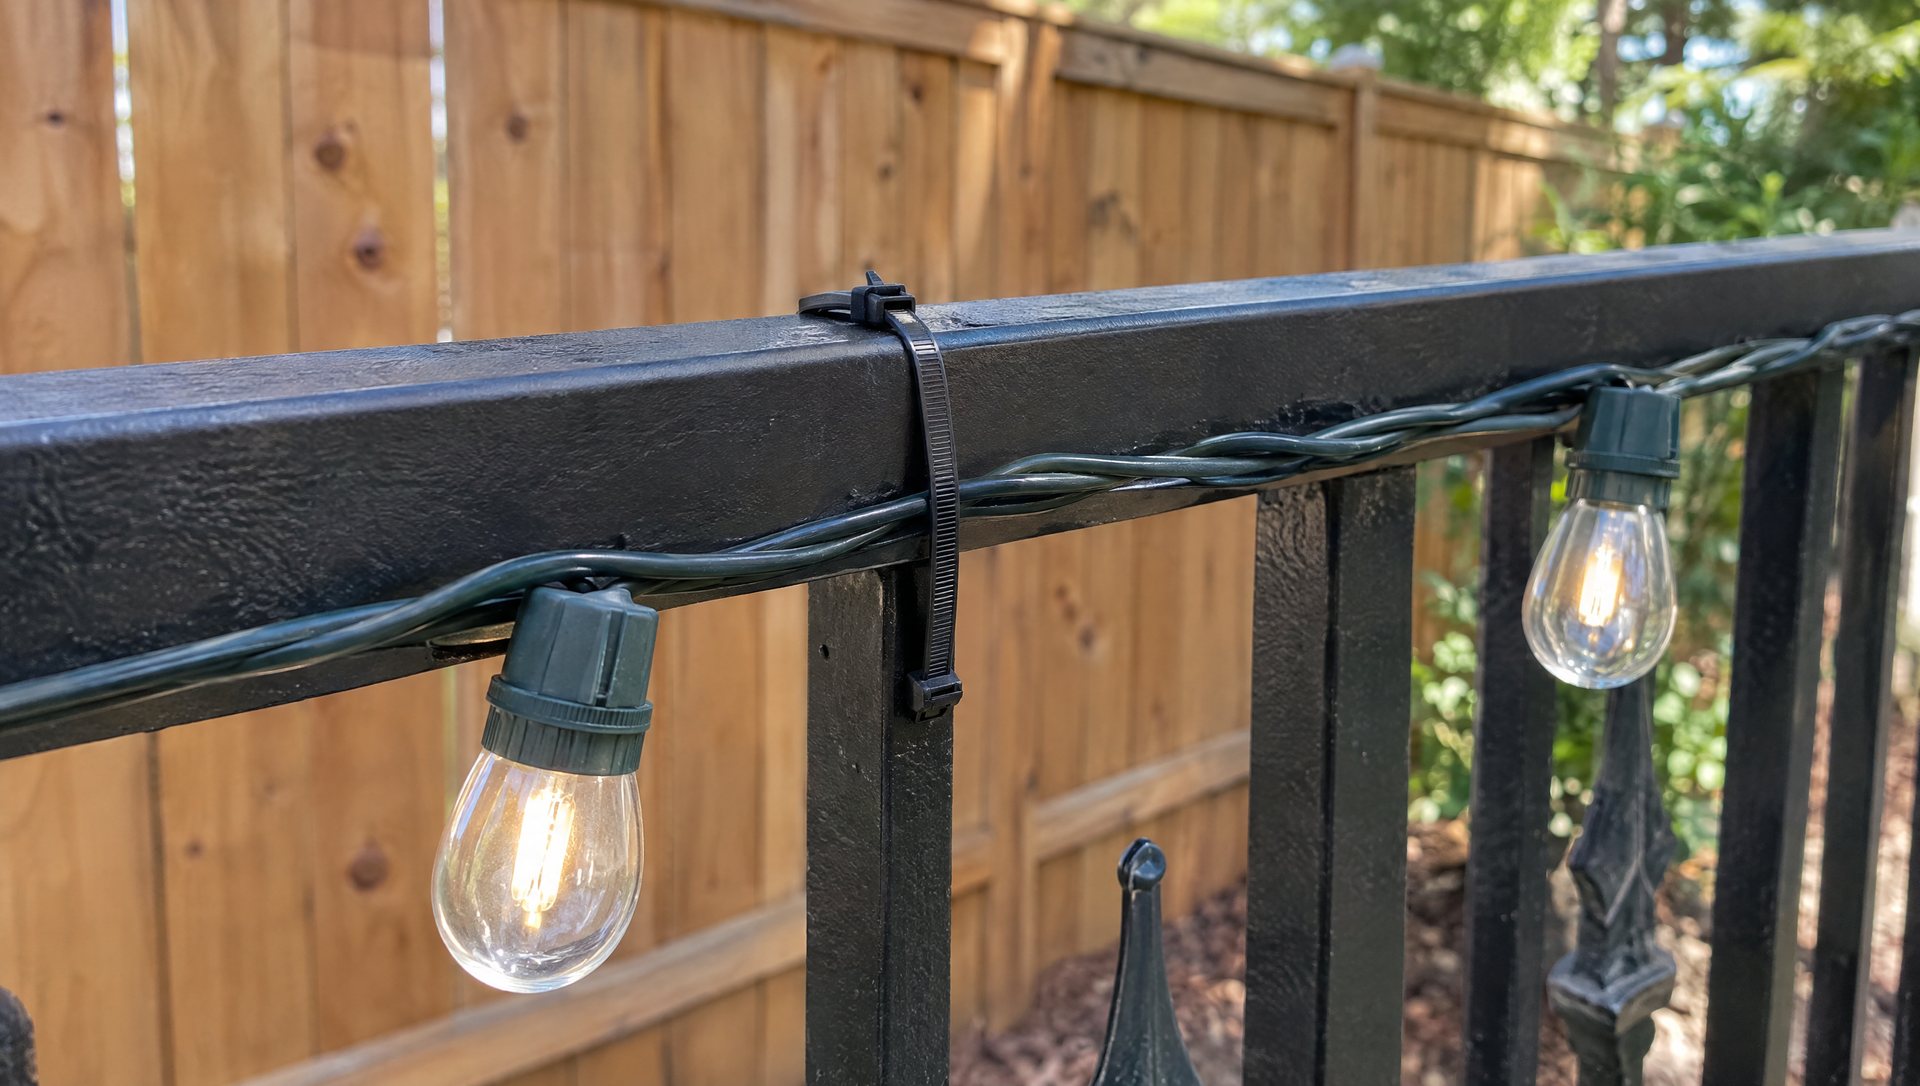
- Attach with: black UV-rated zip ties, which disappear against dark metal. On steel, magnetic light clips also work. They won’t hold on aluminum fencing, which looks the same from a distance; test with a fridge magnet first.
- Spacing: 12 to 18 inches.
- Watch for: sharp finials and picket tips. Keep the wire below them so it isn’t chafing on a point all season.
Chain link
- Attach with: UV-rated zip ties, snug not tight. Run along the top rail, not through the mesh.
- Spacing: 12 to 18 inches.
- Watch for: the cut wire ends (the “knuckles”) at the top of some chain link. Keep the light wire off them.
Steel pipe and ranch fences
Pipe fences and rail fences on larger Hill Country lots.
- Attach with: zip ties, or magnetic clips on steel pipe.
- Pattern: these fences are long, so a full line can take hundreds of feet. Lit posts with dark spans is usually the better answer (see ideas below).
Vinyl
- Attach with: zip ties around the pickets, or outdoor-rated adhesive clips. 3M’s outdoor light clips are rated for smooth, sealed surfaces including finished fences. No screws into vinyl.
- Spacing: 12 to 18 inches.
Limestone or stone wall
- Attach with: nothing. Adhesive won’t hold on rough stone, and you don’t want to drill a wall. Light what’s in front of it instead: a planter, a shrub at the base, or an uplight that grazes the stone. Lit limestone at night is a look on its own.
On every material: never staple or nail through the wire. It damages the insulation, and a staple through a cord is a shock waiting for rain.
Choose a pattern
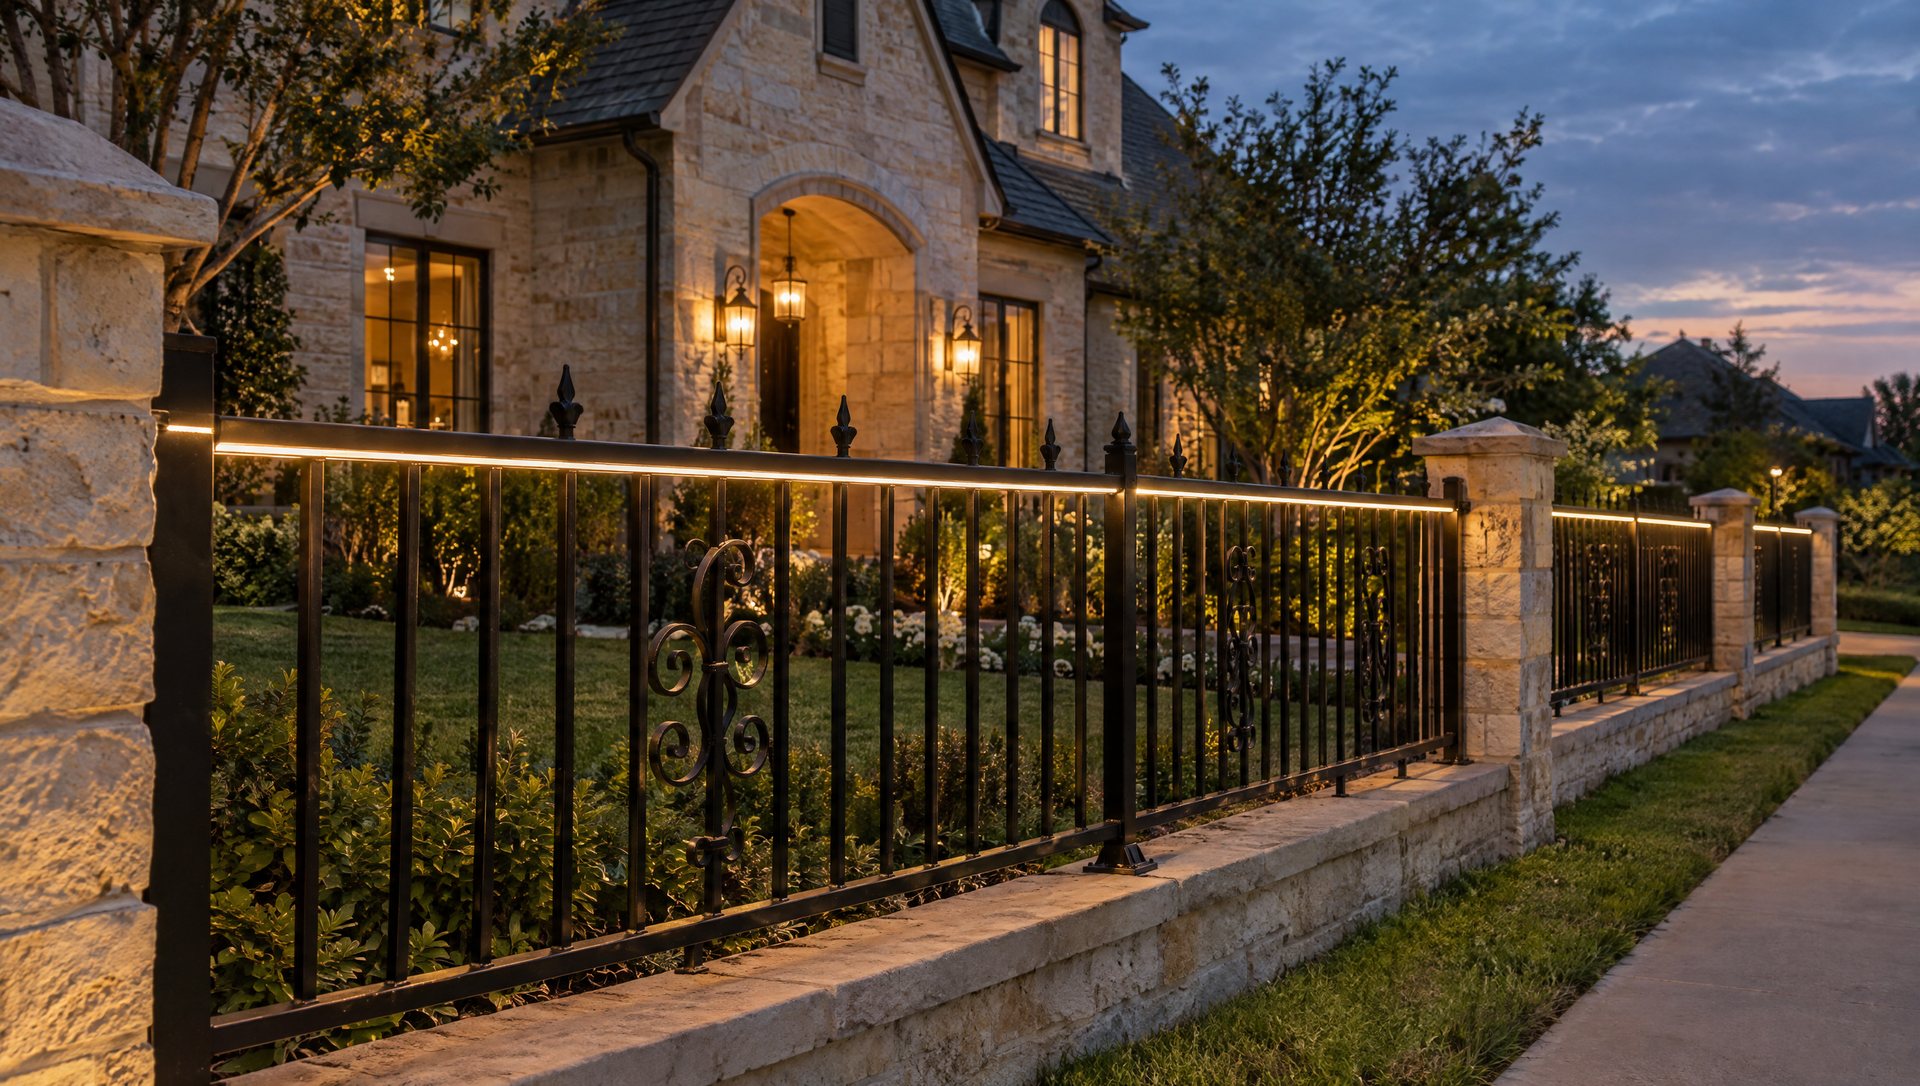
- Straight line along the top rail. Cleanest look, least wire, easiest to keep even. Our default suggestion for any fence in front of a lit house.
- Swags between posts. Softer and more festive. Uses a bit more wire and needs every dip to match.
- Lit posts only. A wrap or a small wreath on each post, spans dark. The right answer for long fences.
- Garland with lights. The fullest look by day and night. Needs its own support so the lights aren’t holding up the greenery.
For lights on bigger bulbs, C9s on a fence top rail read clearly from the street; minis read better up close along a walk. Our C9 guide covers the bigger option.
Measuring swags without guessing
For a straight run, measure each span post to post and add the corners and the returns.
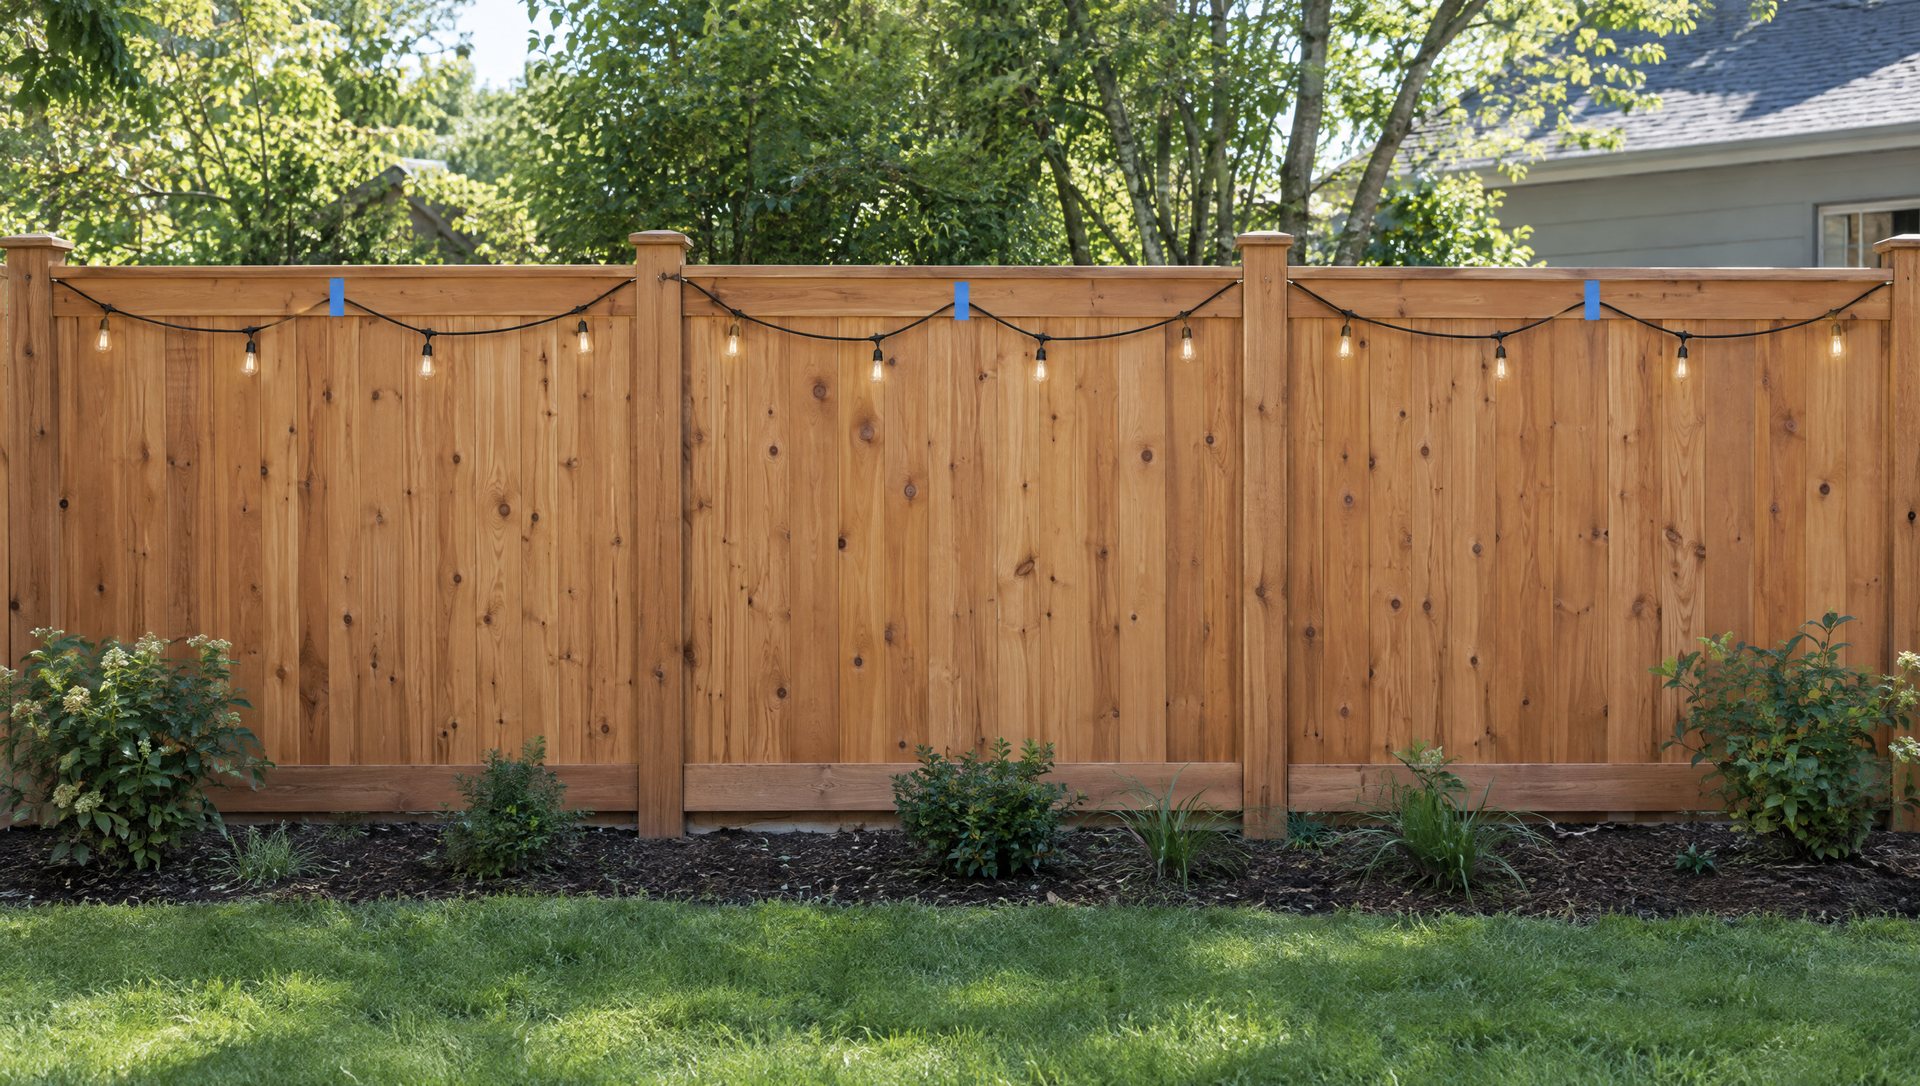
Swags take a longer path than the straight span. A good estimate, in feet:
Swag length ≈ span + (8 × dip²) ÷ (3 × span)
| Span | 12-in dip | 18-in dip |
|---|---|---|
| 6 ft | 6.4 ft | 7.0 ft |
| 8 ft | 8.3 ft | 8.75 ft |
| 10 ft | 10.3 ft | 10.6 ft |
Worked example: a cedar front fence with five 8-foot spans and 12-inch swags takes 5 × 8.3 = about 42 feet of lit wire. With 18-inch swags, about 44 feet. Add the lead from the outlet to the first bulb, which box labels list separately from the lighted length.
The difference between dips is small. The difference between even and uneven dips is enormous. To keep them matched, put a piece of tape at the center of each span on the top rail, then hang a tape measure from each piece of tape and check the low point of every swag against it.
Hanging it
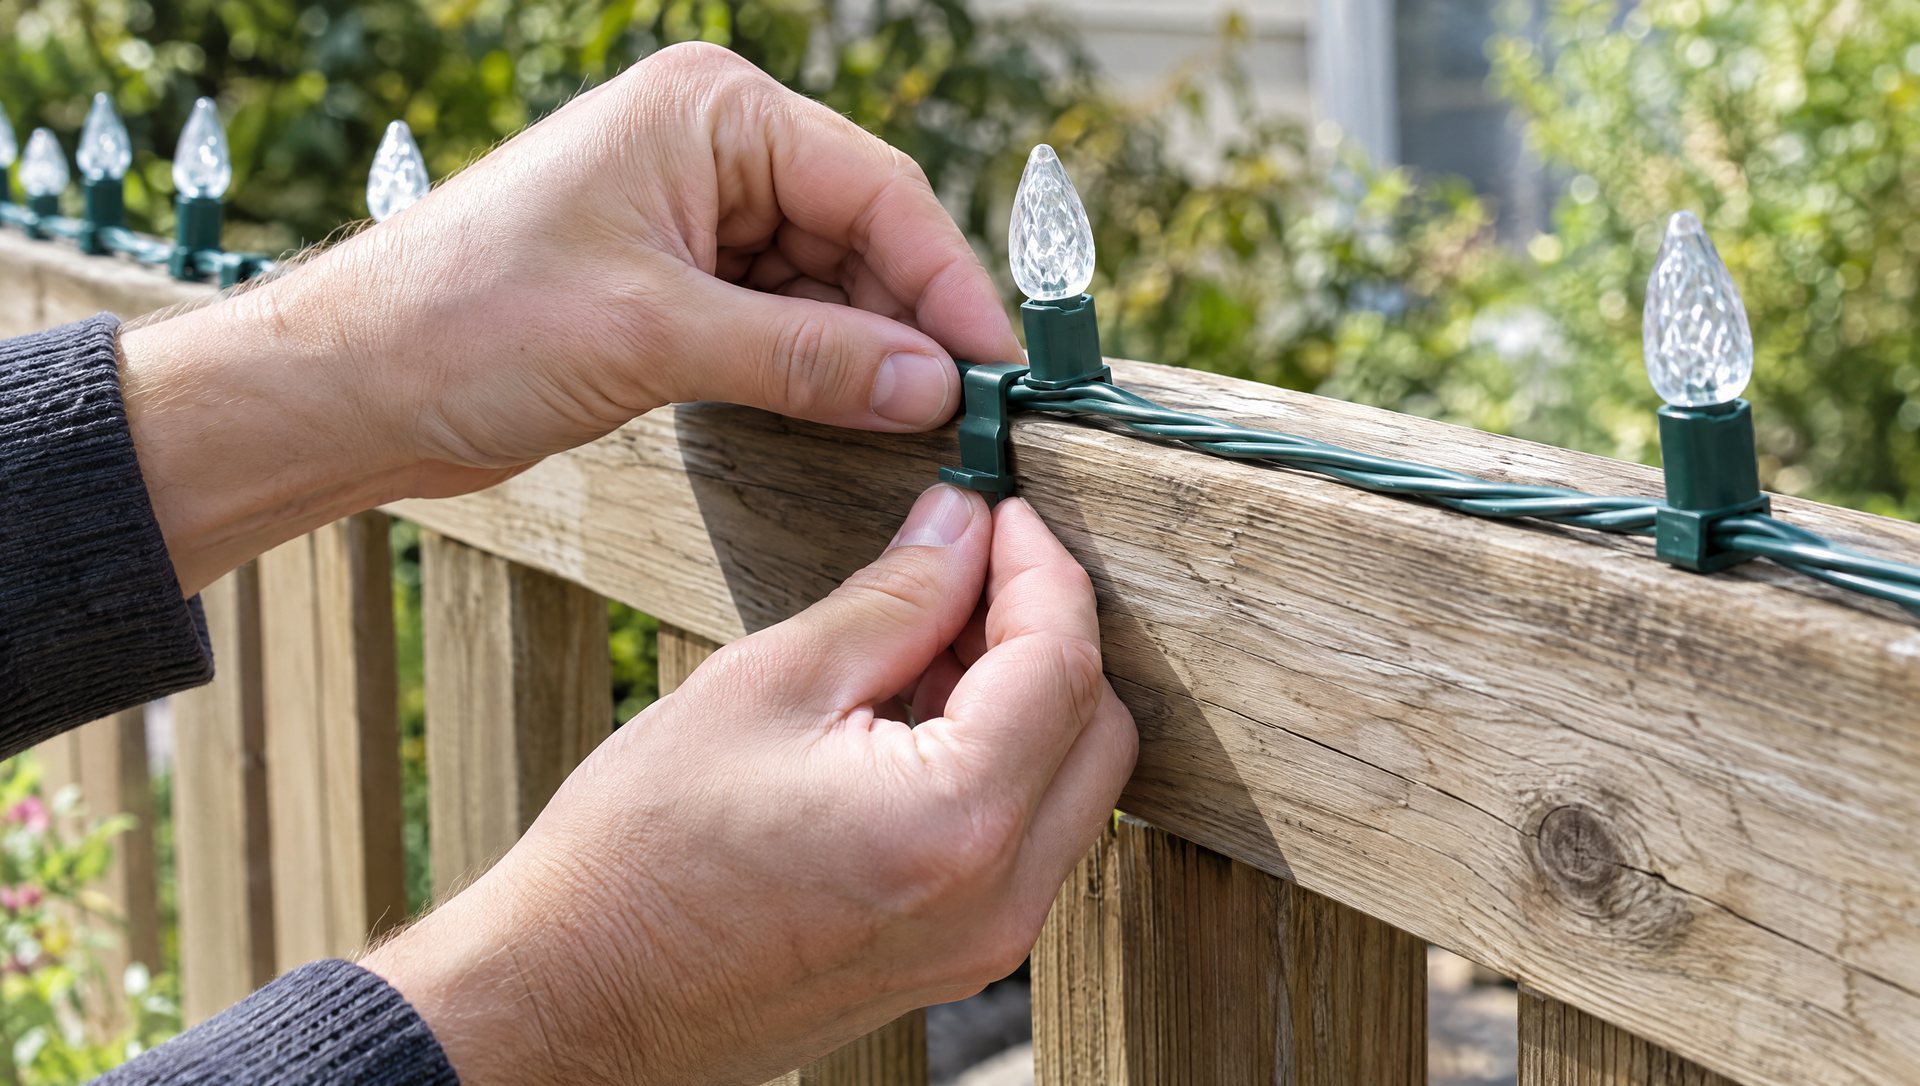
- Test every set on the ground, then unplug.
- Start at the outlet end with the plug, and work away from it.
- Fasten every 12 to 18 inches on straight runs. For swags, fasten at each post and let the wire hang. On long spans, add one tie at the low point to a picket so wind doesn’t swing it over the rail.
- Keep the bulbs facing the same way, usually up or toward the street, along the whole run.
- Snug, not tight. A stretched wire pulls on sockets every time the fence moves, and wood fences move.
- At corners, bend the wire gently around the post and fasten on both sides. Never use a socket as the anchor point.
- Check from the street at dusk with the lights on before you trim any zip-tie tails.
Connection limits: often 3 to 5 incandescent sets end to end, 40 or more for LED. A 150-foot incandescent fence line usually needs a second feed. Our step-by-step outdoor hanging guide covers planning the whole house.
Gates, including pool gates
Never run one string across a gate. Every time it opens, the wire flexes or pulls, and eventually a socket cracks or a plug comes apart. Your options:
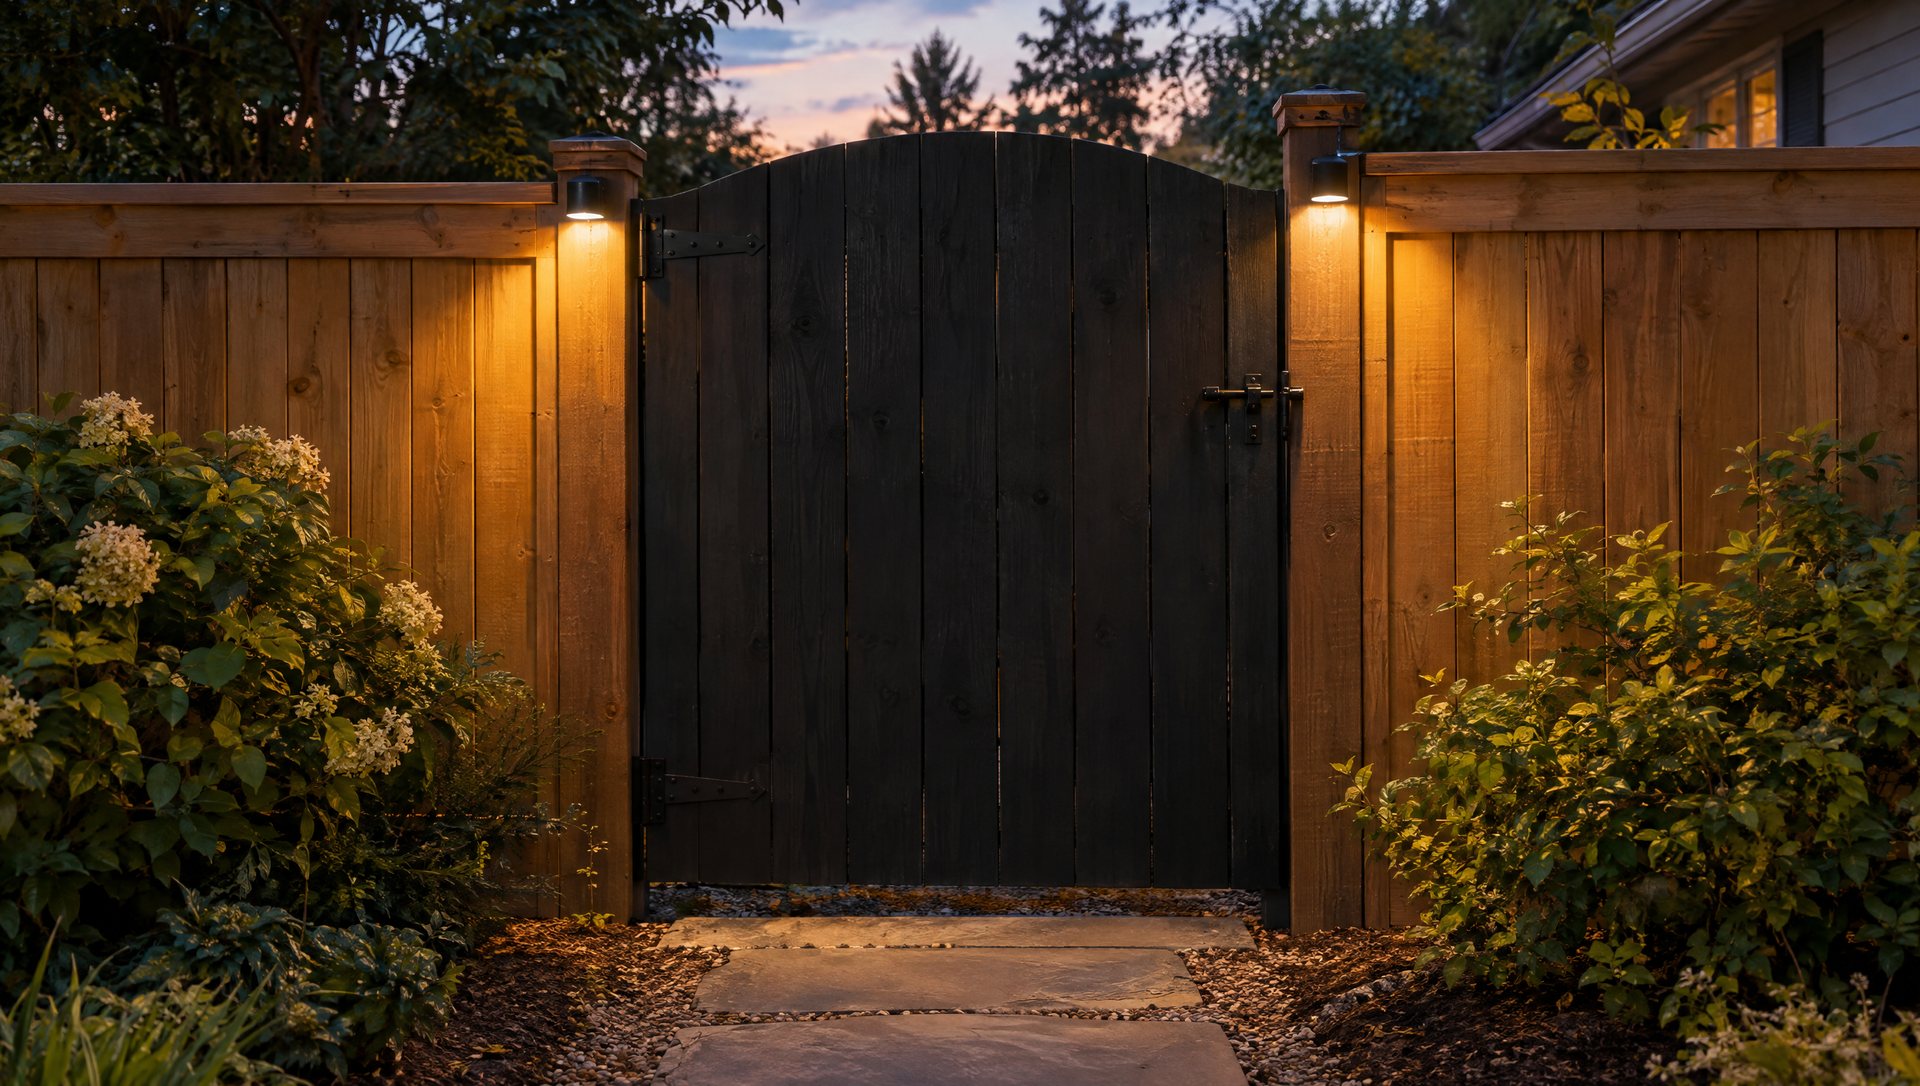
- Leave the gate dark. A dark gate between two lit sections reads as intentional.
- Decorate the gate on its own with a battery-powered wreath or light set. Our battery-operated lights guide covers runtime and brightness.
- Feed the gate from its own short cord only if you can route it so it never crosses the swing.
After everything’s on, open the gate all the way. Check the hinge side, the latch, and the spot where you stand to open it.
Pool fences are a special case. Pool barrier gates are built to close and latch by themselves, and that’s a safety feature, not a convenience. Nothing you hang may slow the swing, hold the gate open, or interfere with the latch. Keep lights off pool gates entirely, keep cords clear of the pool deck, and use only GFCI-protected outlets anywhere near the water.
Porch and stair railings
On stairs and porch edges, people grab the rail. Keep the top and inside of the handrail clear for hands. Put lights along the outside face, on the balusters, or under the rail. Swags must stay outside the stairs, not hang into the walking path.