


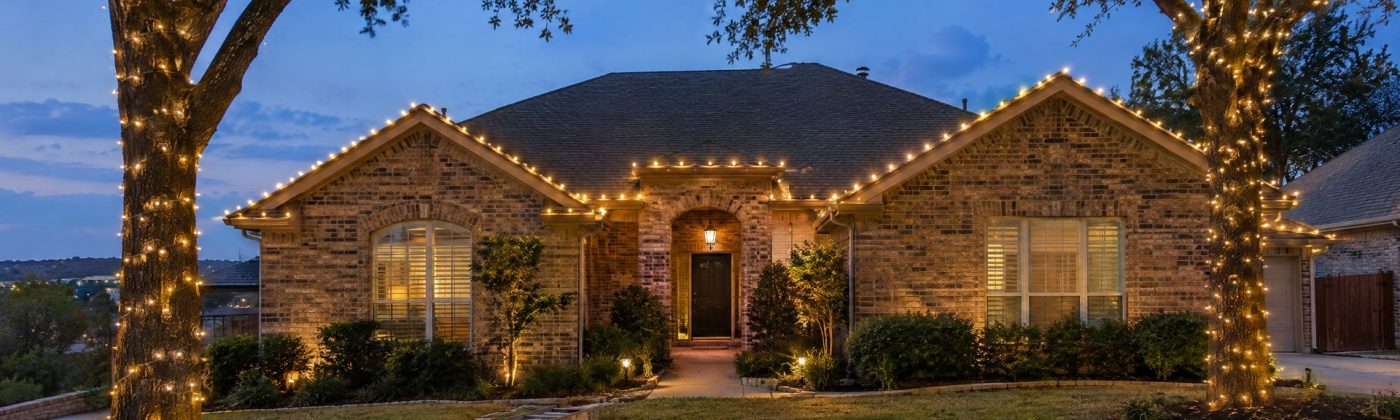
How to Hang Christmas Lights Outside: One Austin House, Start to Finish
Hanging Christmas lights outside comes down to four things done in order: measure every run on paper, prove your outlet and circuit can carry the load, test every strand on the ground, then clip from the outlet end outward with a ladder set at a 4-to-1 angle. Most bad DIY rooflines skip the first two and fix everything else from the top of a ladder.
Below, we work it through on one typical Austin house with real measurements, bulb counts, watts and clip choices, so you can swap in your own numbers. It covers ground-and-ladder work only. If your plan involves walking the roof, that part belongs to a crew like our Austin Christmas light installation team.
The example house, seen from the street
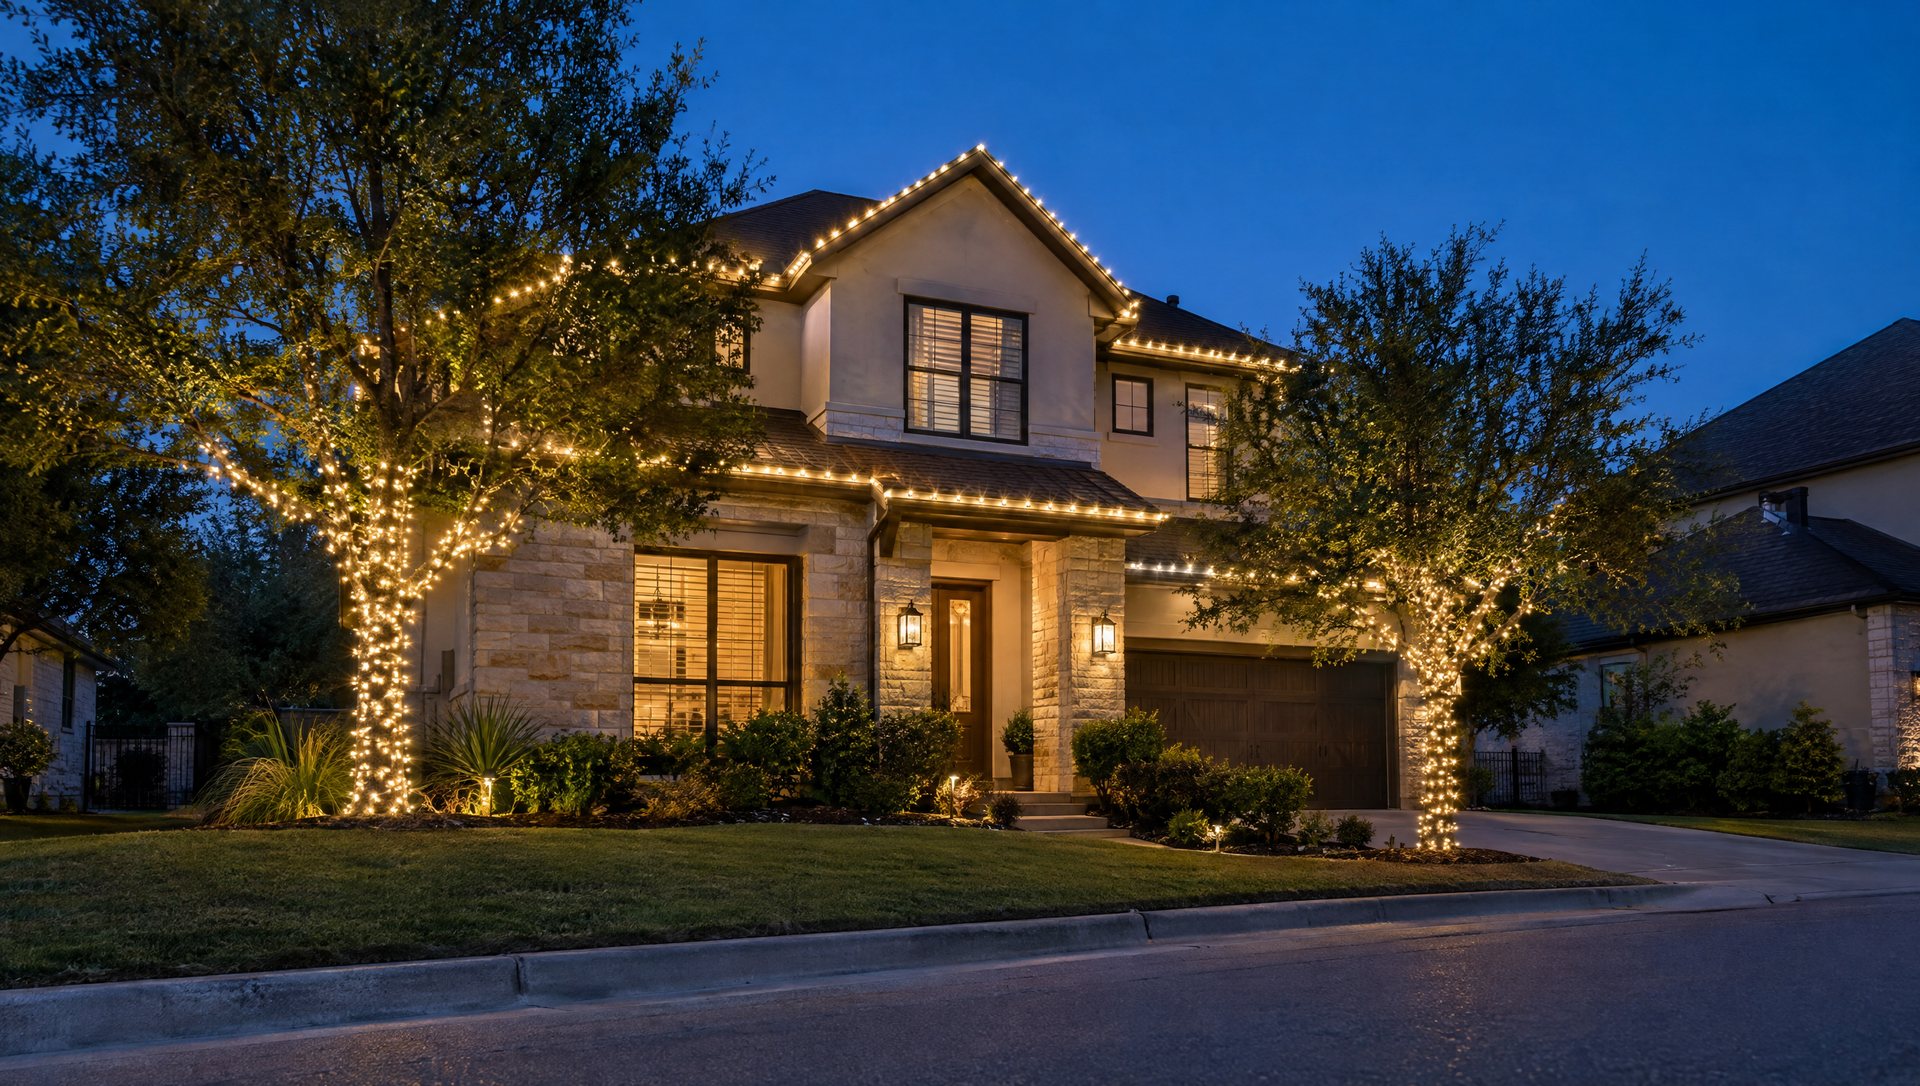
Our sample house is the kind we see all over North and Northwest Austin: a one-story ranch with a brick front, a front-facing garage with its own gable, a gutter along the main eave, and a big live oak in the front yard that hides part of the roof from the left side.
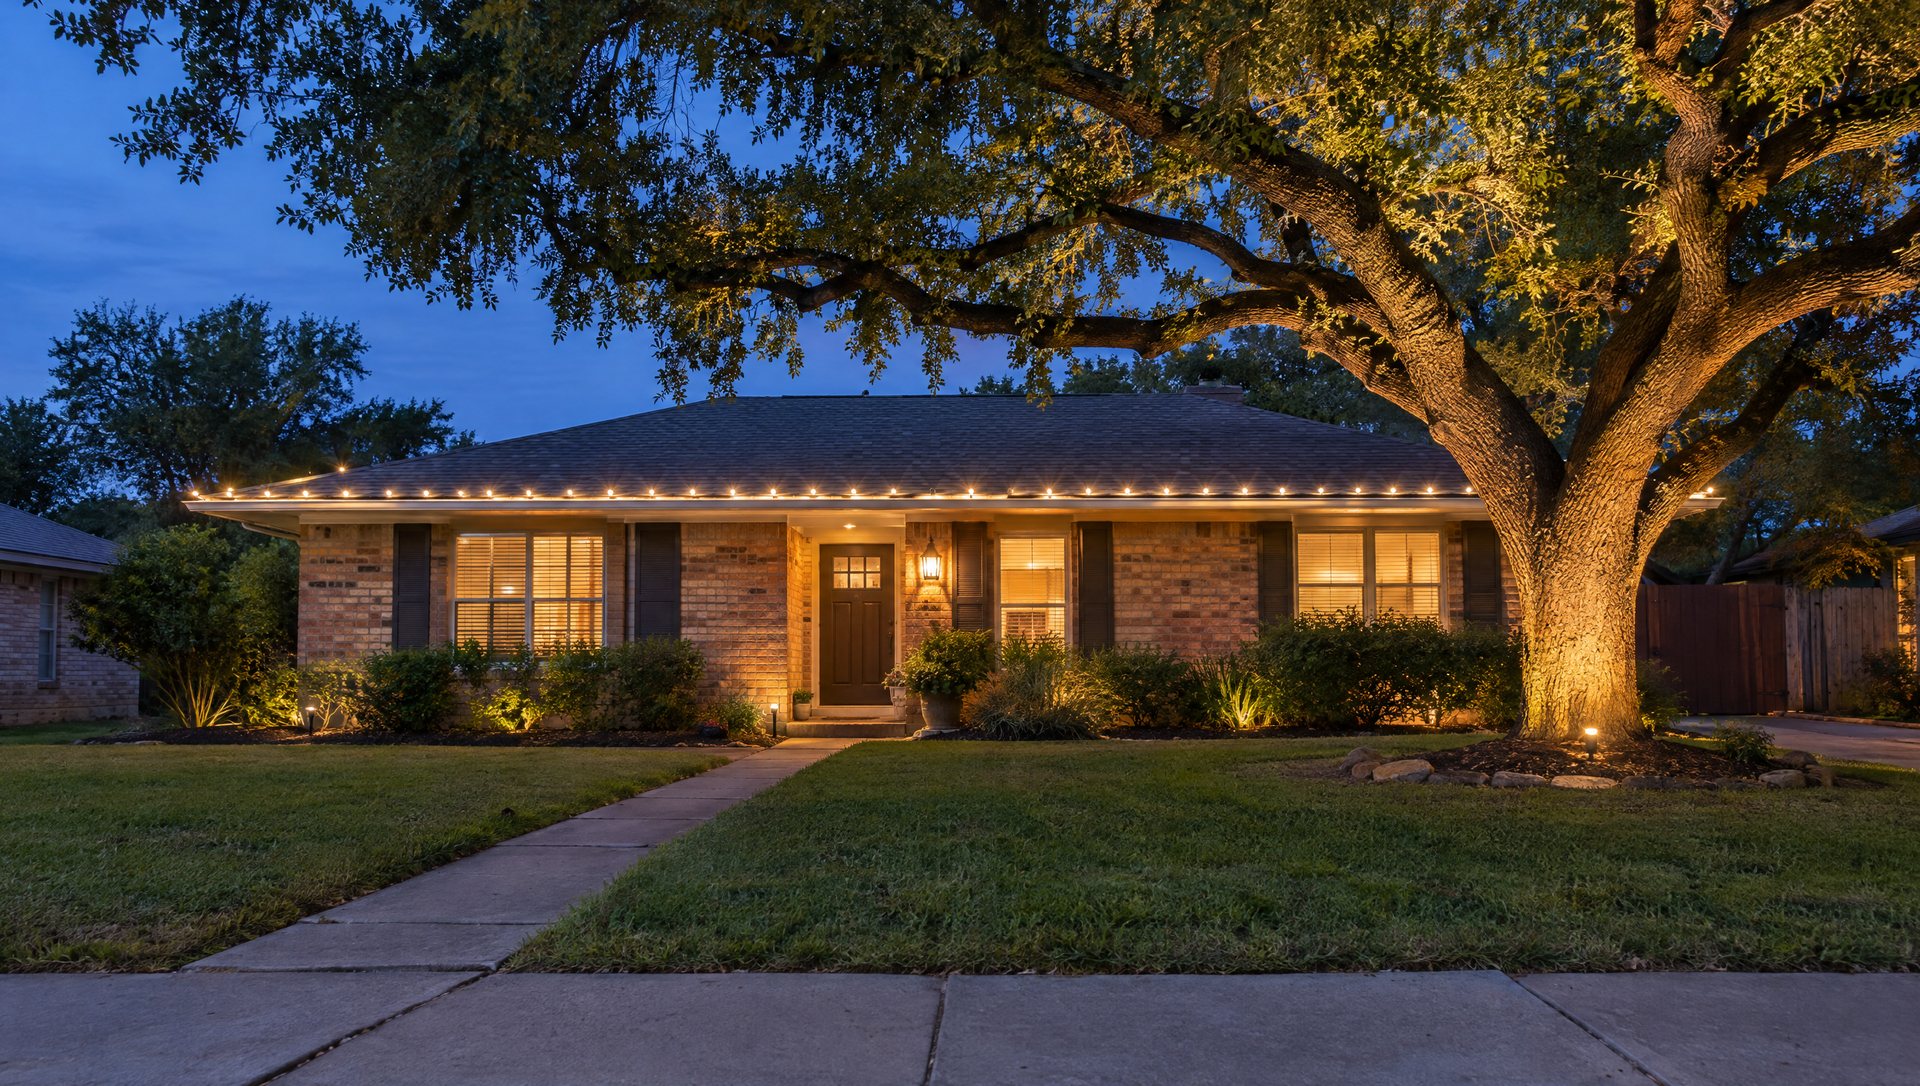
Start where the neighbors will stand. Take a daytime photo from the sidewalk across the street and circle what you can actually see. On this house the answer is the main eave, the garage eave, the two sloped edges of the garage gable, and the oak trunk. The back half of the roof and the side eave behind the oak are invisible from the street, so they get nothing.
Pick one main feature and one supporting feature: here, the roofline and the oak trunk. Done cleanly, that beats a little bit of everything, and it keeps the job on one outlet.
Friday night: measure every run and draw it
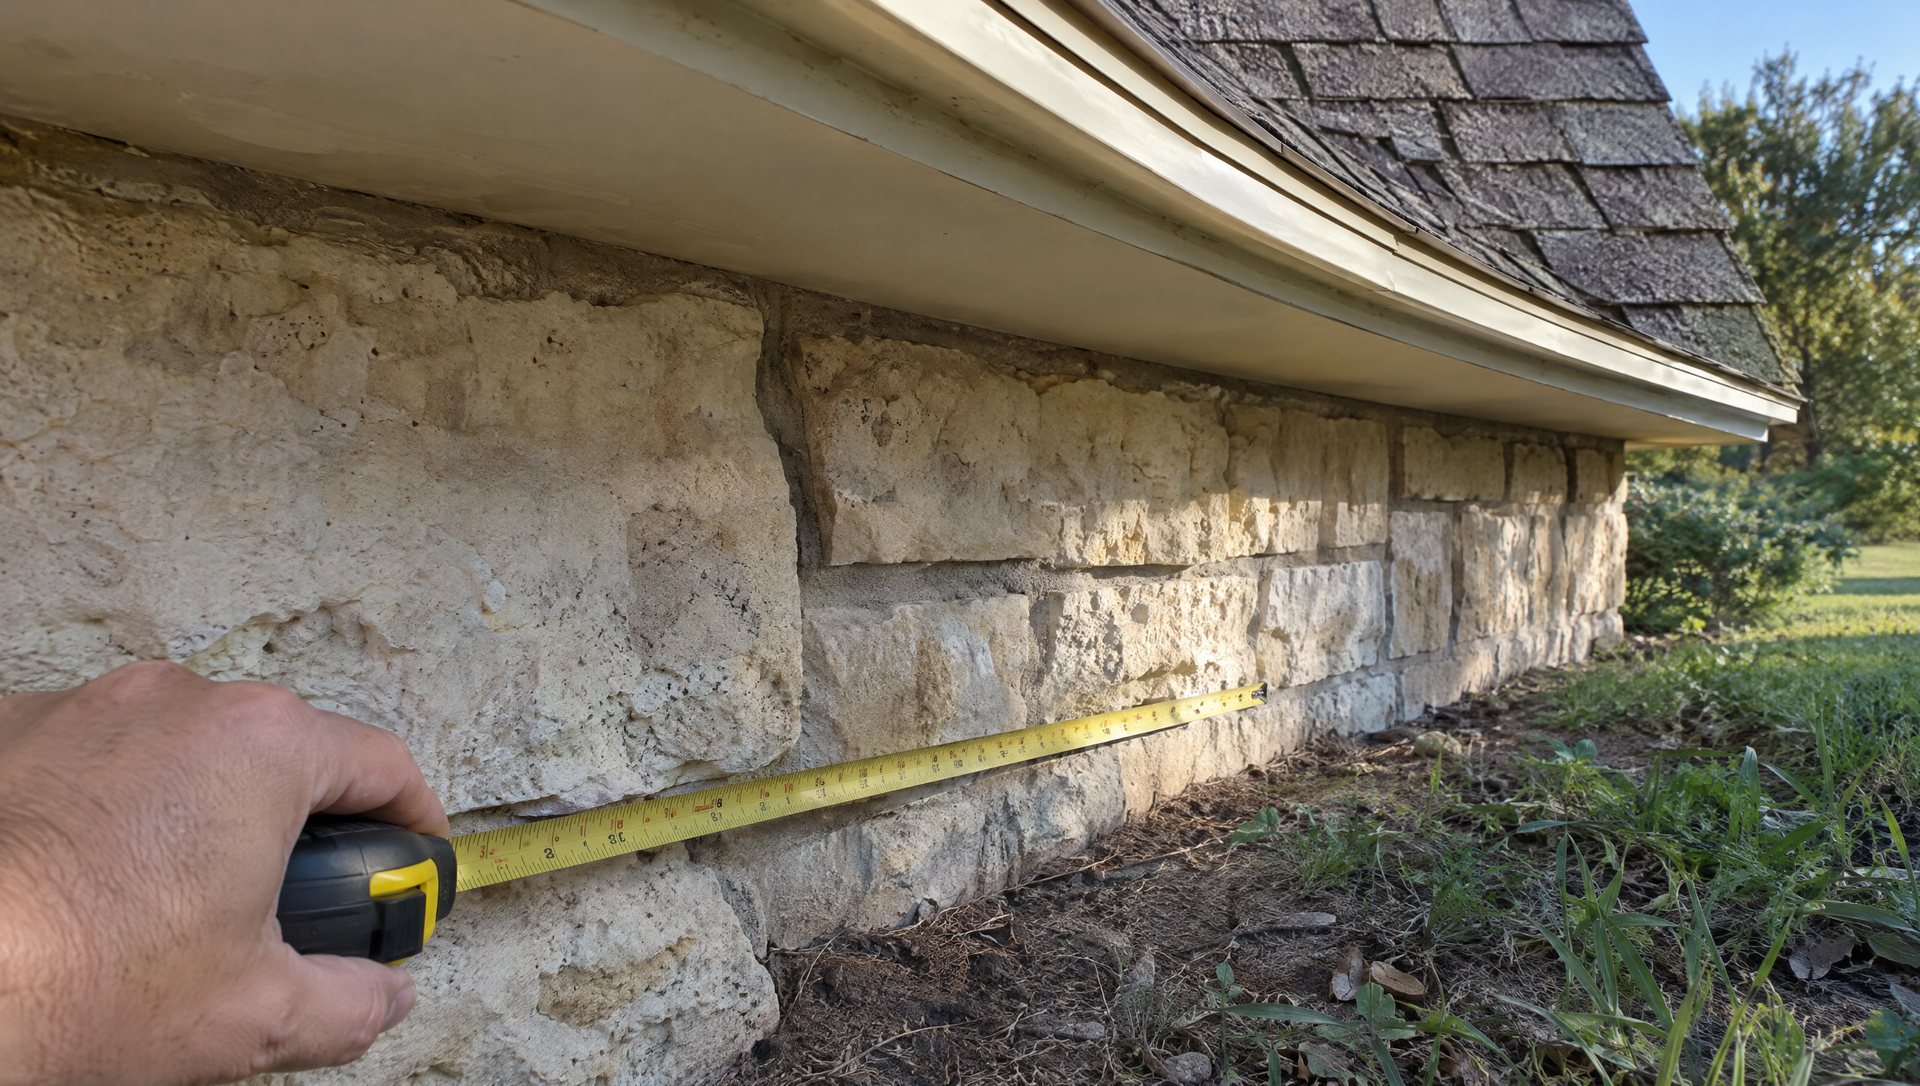
Measure from the ground. The eave runs the same length as the foundation or drip line below it, so a tape along the bottom of the wall gives you the gutter length without a ladder.
Sloped gable edges (the rakes) are longer than their footprint. Measure the horizontal distance from the gable’s outer corner to the point under its peak, then multiply by the factor for your roof pitch:
| Roof pitch | Multiply horizontal run by |
|---|---|
| 4/12 | 1.05 |
| 6/12 | 1.12 |
| 8/12 | 1.20 |
| 12/12 | 1.41 |
Most Austin ranches from the 1970s through the 1990s sit somewhere around 4/12 to 6/12. If you can’t tell, use 6/12.
Here is the example house on paper:
- Main eave, gutter edge: 58 ft
- Garage eave, gutter edge: 22 ft
- Garage gable: 24 ft wide, so each rake covers 12 ft horizontally. At 6/12, that is 12 × 1.12 = 13.4 ft per side, about 27 ft for both
- Roofline total: 58 + 22 + 27 = 107 ft
- Add 10% for corners, the jog between the two eaves and mistakes: about 118 ft of lit wire
- Unlit lead: the outdoor outlet is on the garage wall about 2 ft off the ground, and the nearest gutter corner is 9 ft up and 2 ft over. Call it 11 ft of cord before the first bulb
That lead is the number people forget, and box labels list “lighted length” and “lead length” separately. Sketch the house, write each run’s length on it, mark the outlet, and draw an arrow for which way each run flows from the plug. That sketch is your shopping list and your hanging order.
Friday night: do the power math before you buy
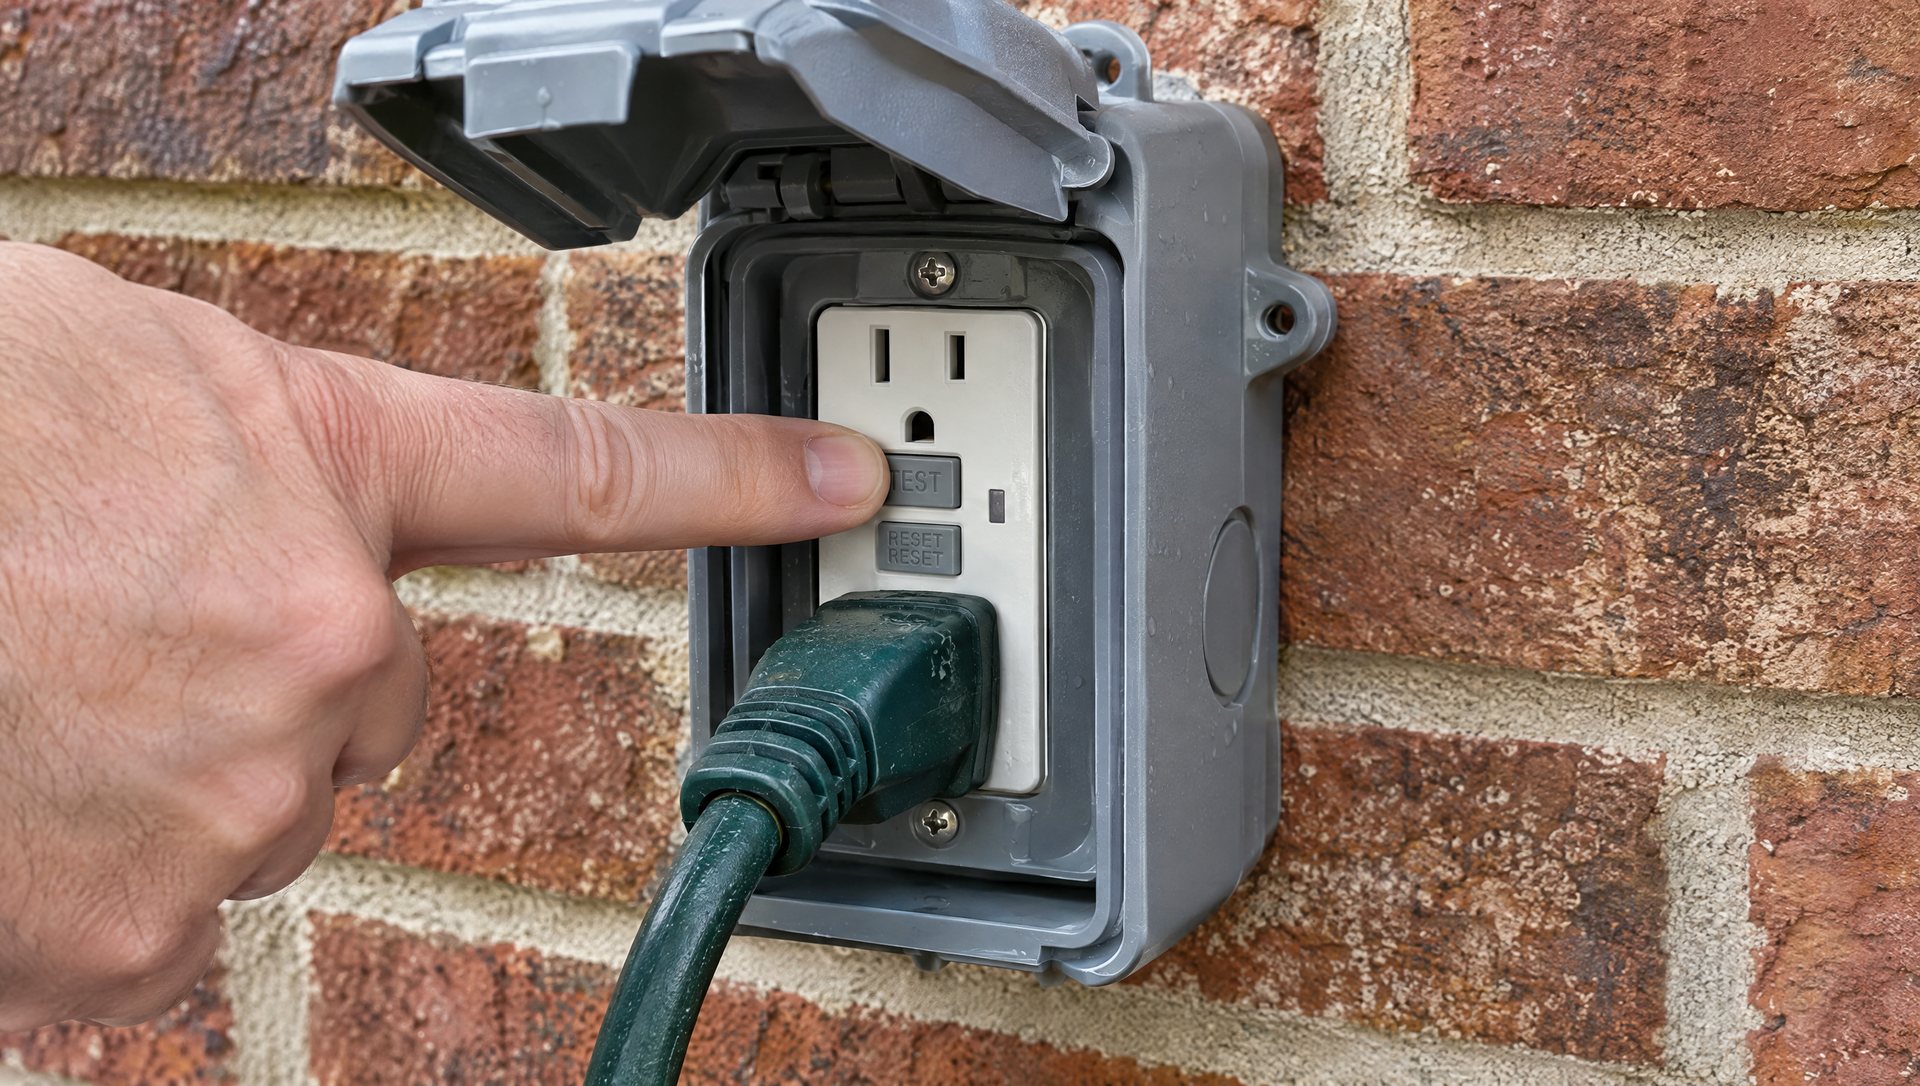
Press the outdoor outlet’s GFCI test button; it should click off, then reset. No button? It’s probably protected by a GFCI in the garage or a bathroom. Find that one now, not on a rainy December night when the display goes dark.
Then check two limits. You have to stay under both.
- The strand limit. Every UL-listed set says how many sets can connect end to end, as a count or as a wattage (“do not exceed 216 watts”). Incandescent mini sets typically allow 3 to 5 in a row; LED mini sets often allow 40 or more. If you mix brands, use the lowest limit on any box in the chain.
- The circuit limit. A 15-amp household circuit carries 1,800 watts. Lights run for hours, so plan on no more than 80% of that: 1,440 watts. A 20-amp circuit gives you 1,920 watts at 80%. The outdoor outlet almost always shares its circuit with something inside, like the garage fridge or a bathroom, so the lights don’t get all 1,440.
Now the example house, both ways:
| Load | LED | Incandescent |
|---|---|---|
| 125 C9 bulbs on the roofline | 0.8 W each = 100 W | 7 W each = 875 W |
| Two 100-count mini sets on the oak | About 5 W each = 10 W | About 40 W each = 80 W |
| Total | About 110 W, under 1 amp | About 955 W, about 8 amps |
| Season on a 5:30–11 pm timer, 40 nights | About 24 kWh | About 210 kWh |
| Austin Energy cost at 12.2¢–14.7¢ per kWh | About $3 to $3.60 | About $26 to $31 |
The rate range is what each added kilowatt-hour costs on Austin Energy’s residential rates in Tier 2 or Tier 3, including the per-kWh adders. The incandescent version also eats more than half of a 15-amp circuit before the garage fridge starts. That is the real argument for LED on a roofline, more than the bill. Our C9 bulb guide covers the bulb side of that choice.
A second outlet is not automatically a second circuit. Two outlets on the same wall are often on the same breaker. If you need more power, or an outlet where there isn’t one, that’s a licensed electrician’s job. Sapien does plug-in installation only; we don’t add outlets or circuits either.
The shopping list for this house
What the example house actually needs, with the reasoning:
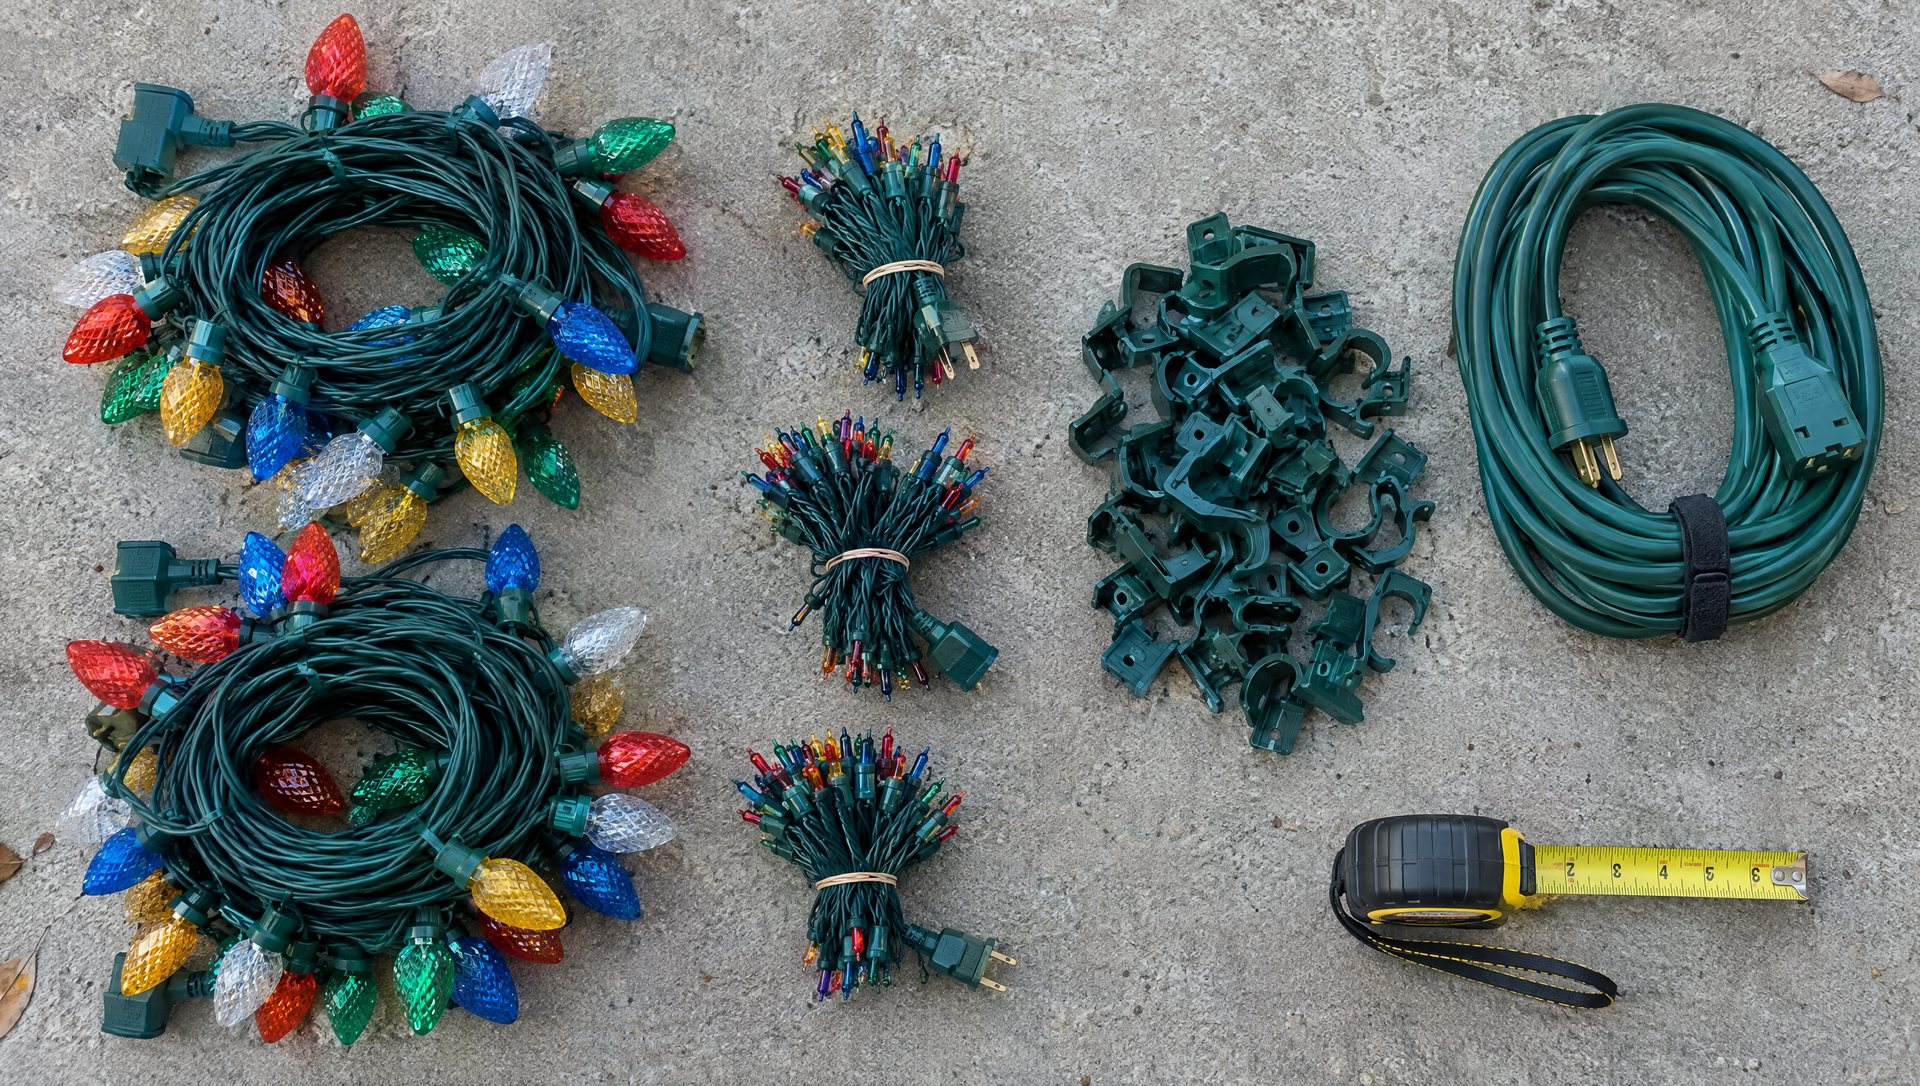
- Roofline: 118 ft of C9 LED at 12-inch spacing. Retail C9 sets usually come in 25-foot lengths, so that’s five sets, 125 bulbs, with about 7 feet left over. Plan where that extra goes now: behind the downspout at the garage’s far corner, not at the front corner by the driveway. Pros avoid the leftover by cutting bulk wire to each run. Retail sets are not built to be cut, so don’t try.
- Clips: one per bulb on a gutter, so 125, plus 20 spares for breakage. All-in-one plastic clips (gutter and shingle) cover most of this house.
- Oak trunk: two 100-count 5mm LED mini sets (the trunk math is below), in the same color temperature as the roofline. Warm white from two brands rarely matches, so buy one brand for everything that sits side by side.
- Cords: outdoor-rated extension cords, which have a “W” in the jacket code (SJTW, SJOW). One 15-footer for the roofline lead and one 25-footer to the oak. 16-gauge is fine for an LED load this small. Go to 14 or 12 gauge for long runs or heavy incandescent loads.
- Timer: an outdoor plug-in timer or outdoor-rated smart plug with an amp rating above your load.
- Tools: 25-foot tape, a marker and masking tape for labels, zip ties for the tree, a step ladder for porch height and an extension ladder for the eaves. Fiberglass is the better ladder material around anything electrical.
Skip indoor cords “just for the season” and anything that has to be nailed, stapled or screwed through its wire.
Saturday morning: test every strand on the driveway
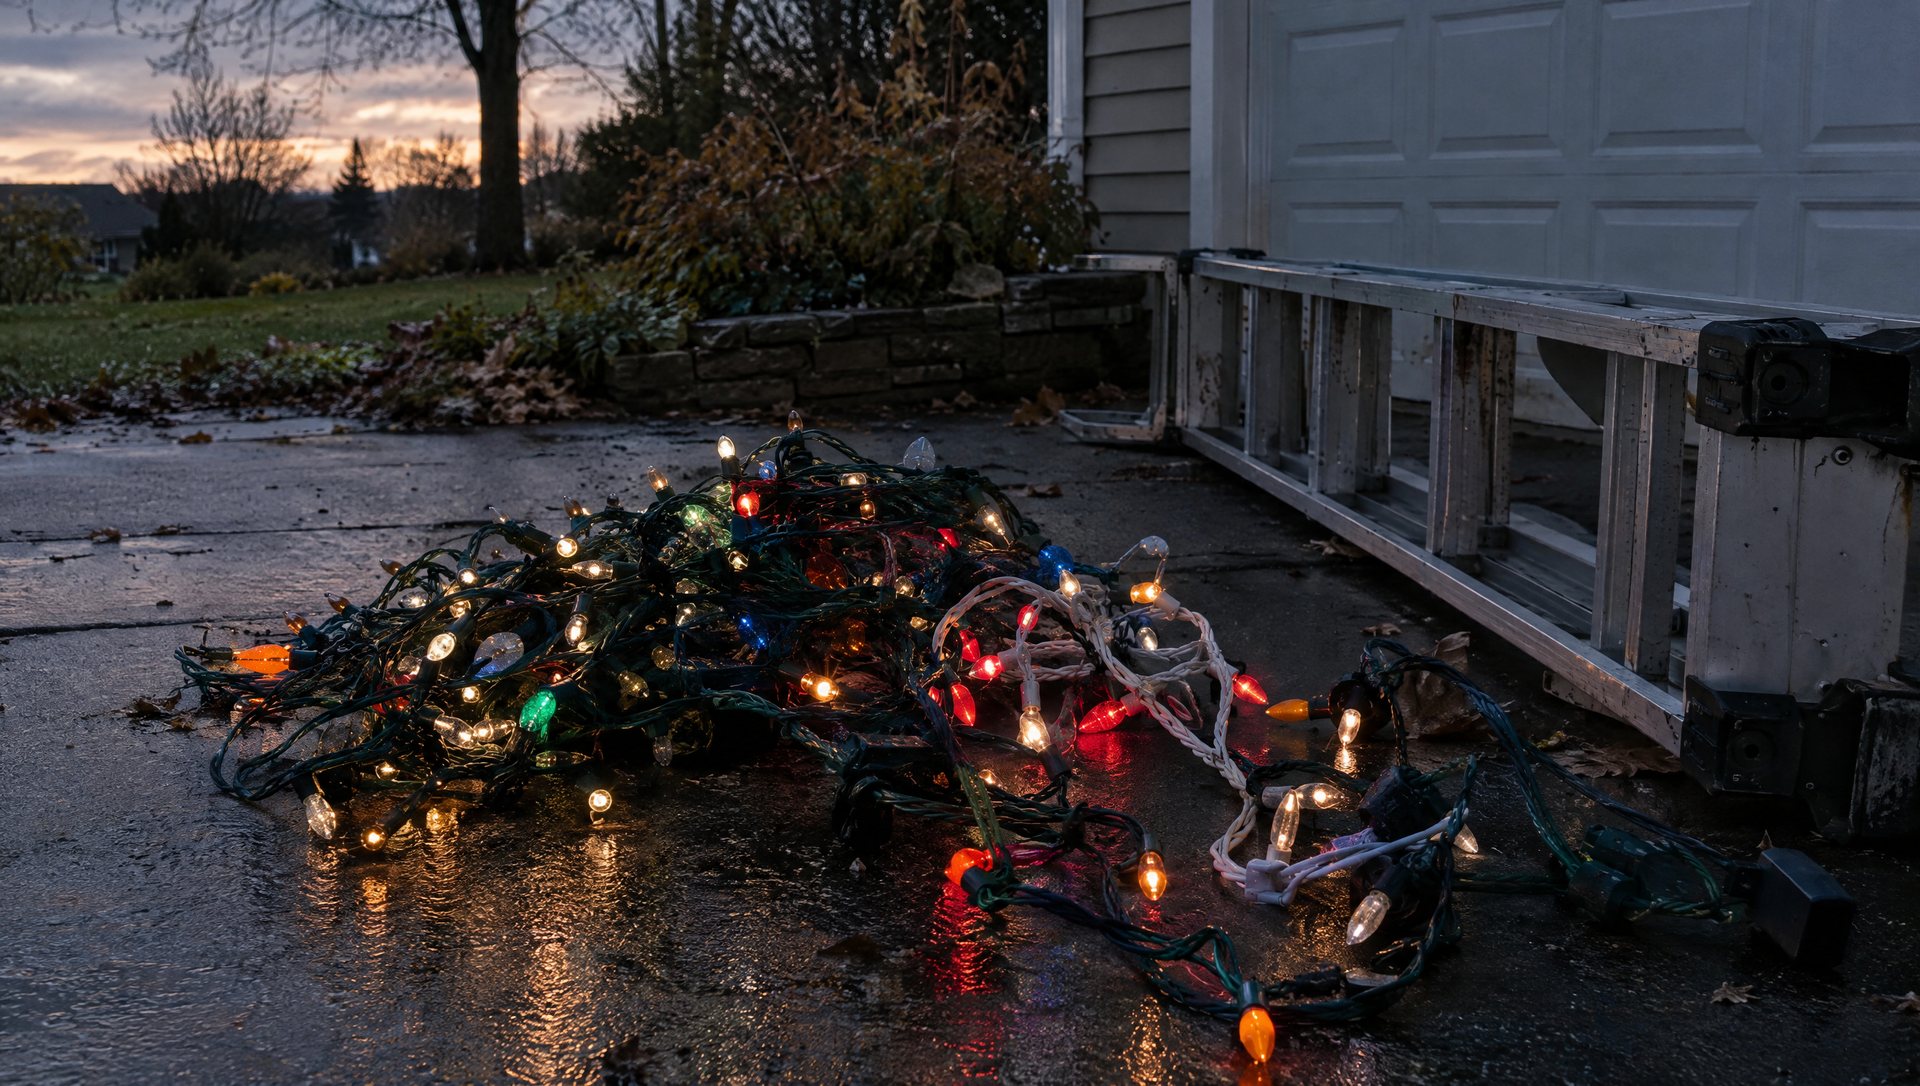
Plug in every set on the driveway before it goes anywhere near a ladder. Look for cracked sockets, bare copper, flattened cords and bent plug prongs. A damaged set goes in the trash, not under electrical tape. A $20 string isn’t worth a fault on a wet December night.
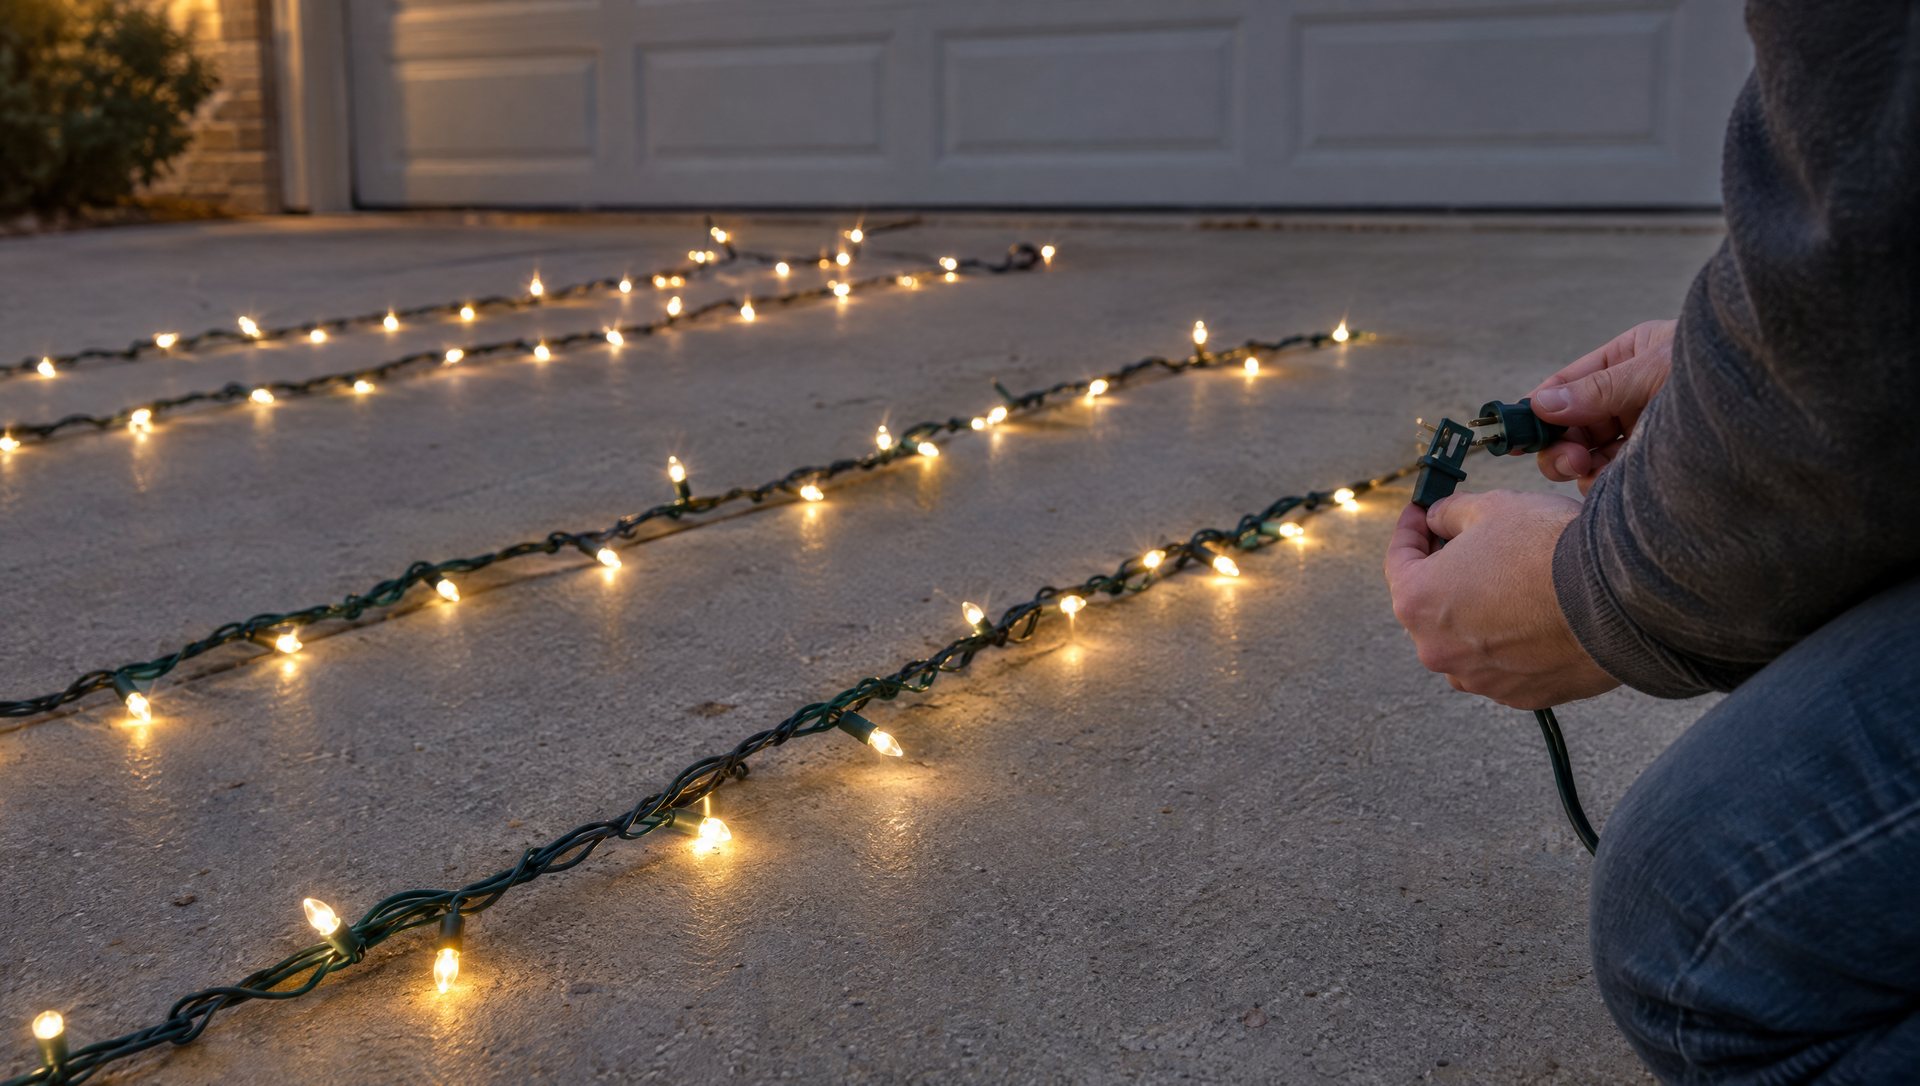
While each set is lit, label its destination (“garage eave”, “oak 1”) and compare the warm whites side by side. A set that looks pinker or bluer goes back to the store.
Photograph each box label for next year.
Clips: match the surface, not the picture on the package
Clip choice is where Austin houses differ from the ones in big-box how-to videos. A lot of fronts here are limestone, stucco or rough brick, and adhesive clips simply don’t hold on those.
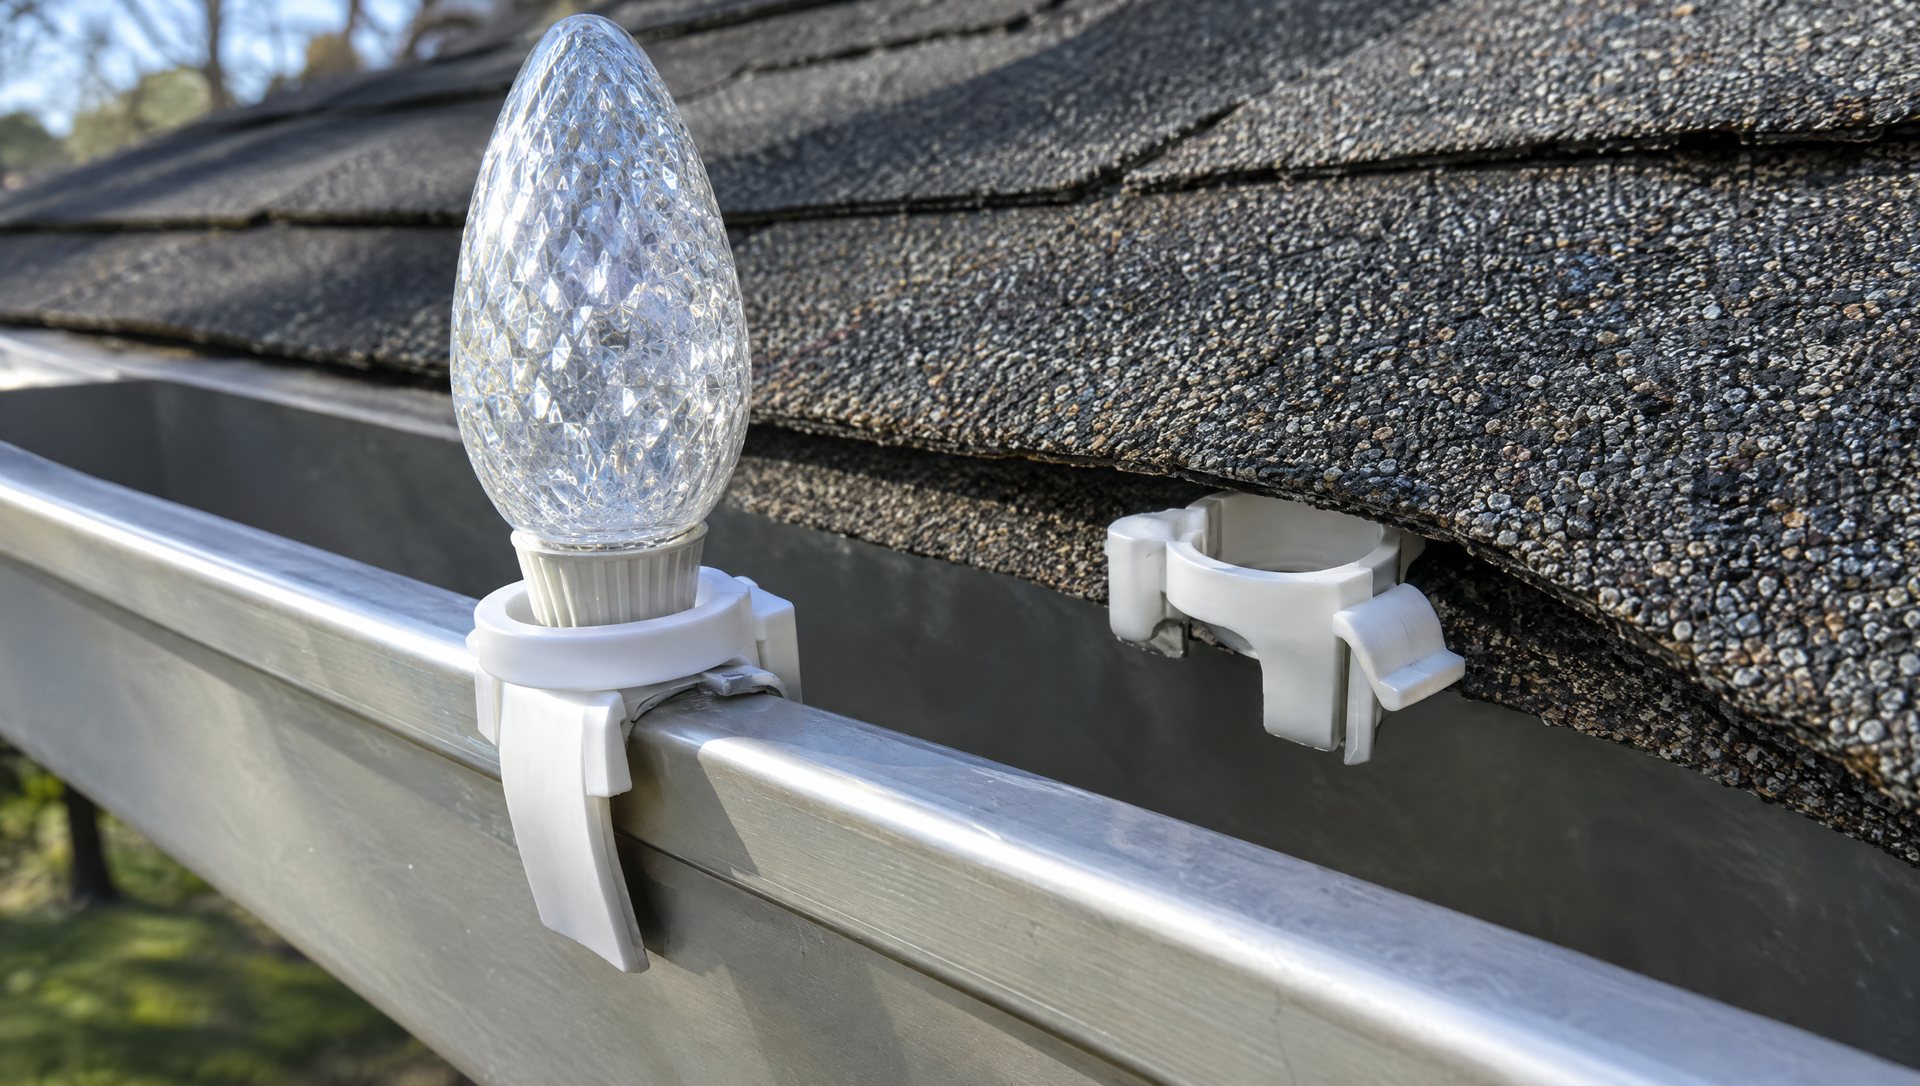
| Surface | What holds | Spacing |
|---|---|---|
| Gutter lip | All-in-one clip, gutter side | Every C9 bulb; minis every 12–18 in |
| Composition shingles, no gutter | All-in-one clip slid under the bottom shingle edge, never nailed | Same |
| Smooth painted trim, vinyl, windows | Outdoor adhesive clips | Every 12–18 in |
| Limestone, stucco, rough brick | No adhesive. Use the gutter or shingle edge above it, or light something else | n/a |
| Railings, tree trunks | Zip ties, snug not tight, cut off in January | Every 12–24 in |
| Metal roof edge | Magnetic clips on steel only; aluminum won’t hold a magnet | Per the clip maker |
3M rates its outdoor light clips for sealed, smooth surfaces such as vinyl siding, painted cinder block and windows. That rules out the rough stone and stucco on a big share of Austin houses. If the only edge on your house is textured stone, the honest answer is a different feature: a porch rail, a tree, or the gutter line above the stone.
On the example house the gutters carry the eaves. The garage gable rakes have no gutter, so those clips slide under the shingle edge.
Saturday late morning: set the ladder like you mean it
Ladders are the real hazard here, not electricity. In one season the CPSC counted about 14,700 emergency-room visits from holiday decorating, and 41% were falls.
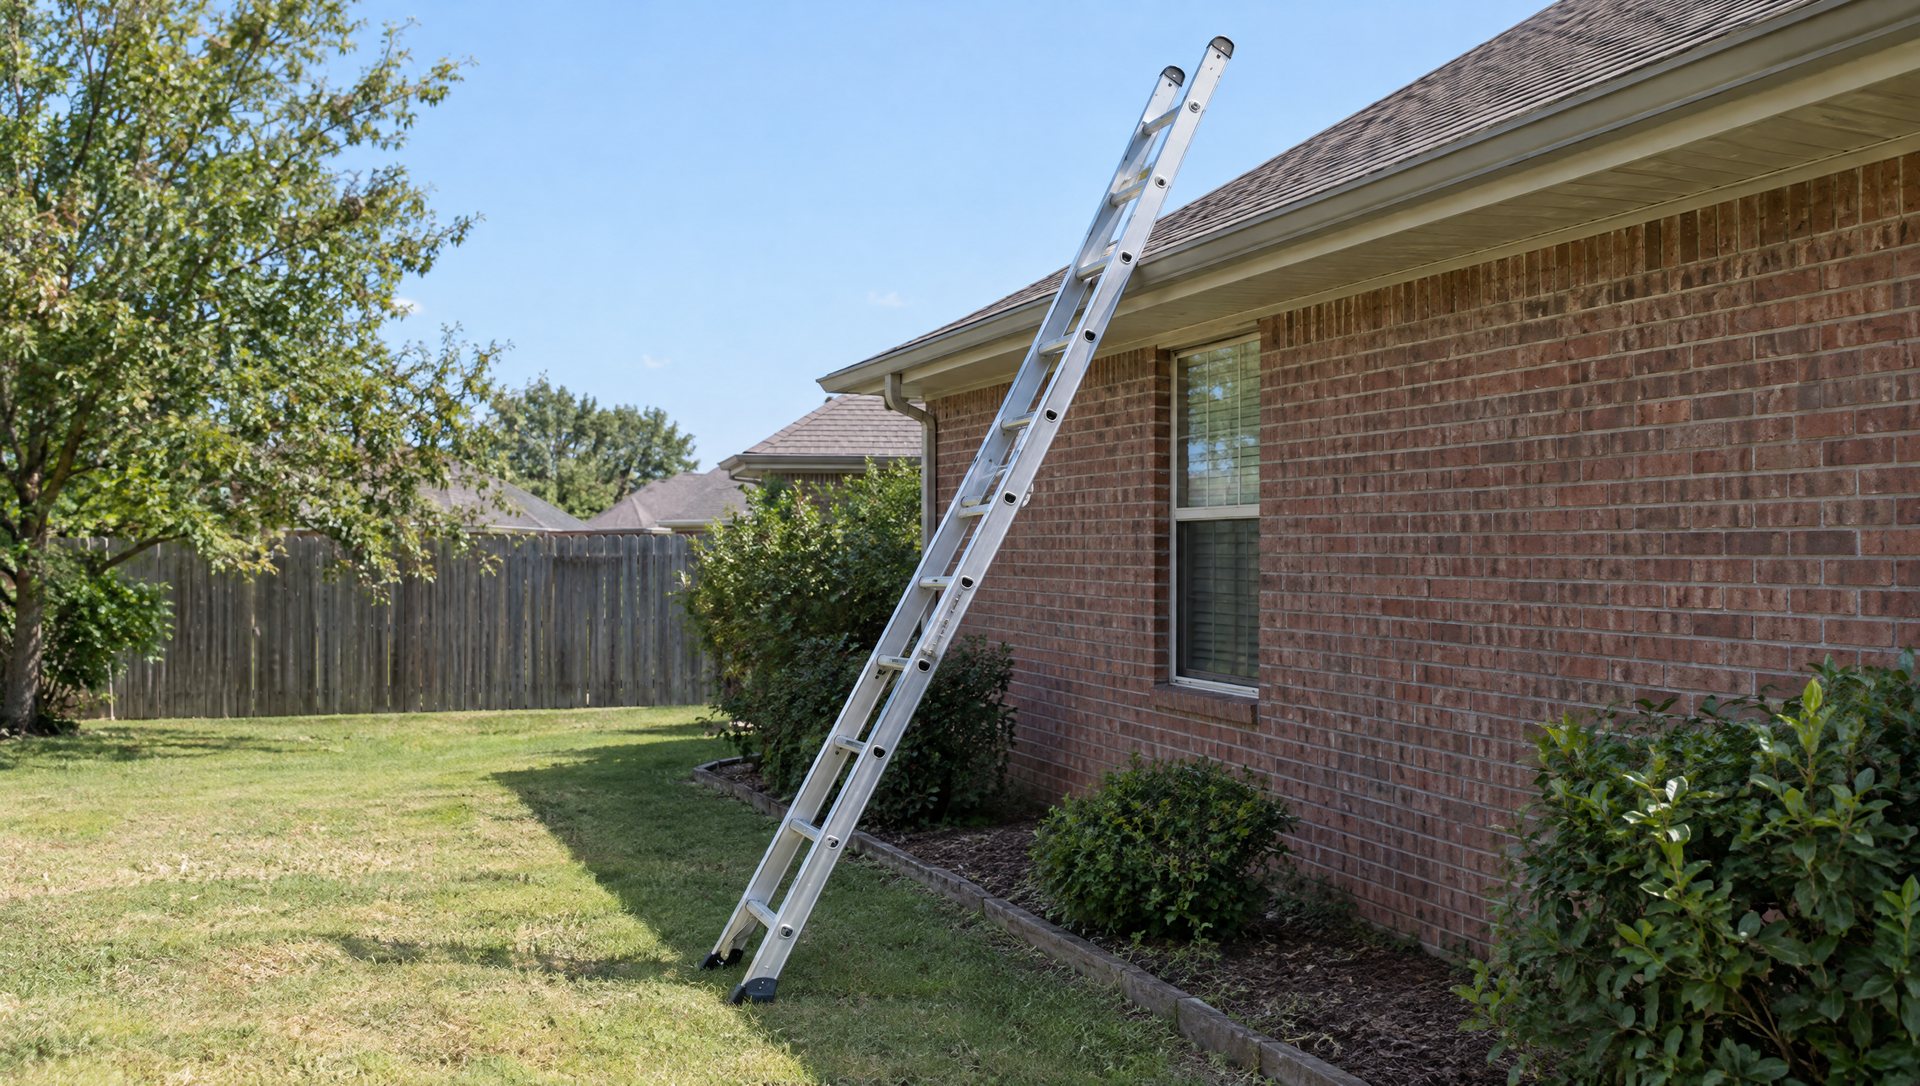
The example house’s gutter sits about 9 feet up. Here is what that means on the ground:
- Angle: move the base out 1 foot for every 4 feet of height to the point the ladder rests. For a 9-foot gutter, the feet go about 2¼ feet from the wall.
- Height: extend the ladder at least 3 feet past the edge if you will step off it. For lights you won’t, so set it where the gutter is at chest height while you stand with your hips between the rails.
- Rating: Type I (250 lb) or Type IA (300 lb). Count your weight plus everything in your pockets and hands.
- Three points of contact: two feet and one hand at all times. Clip with the other hand. If you have to lean to reach, climb down and move the ladder. On a 58-foot eave that means moving it 8 or 10 times. Budget for that.
- Power lines: keep the ladder and the lights 10 feet from overhead wires, including the service drop where power enters the house. On many older Austin houses that drop lands on the front or side eave, right where people want lights.
- Ground and weather: no ladder on wet grass or soft flowerbed soil, and not in wind. A December cold front can turn a calm morning gusty in an hour. If the ladder top moves along the gutter, you’re done for the day.
Have a second person foot the ladder. If any run needs you on the roof itself, stop; that part goes to a professional.
Saturday midday: hang the roofline from the outlet out
Start at the plug end. Lay out the run so the male plug lands at the outlet, then work away from it. On the example house that means the first set starts at the garage corner nearest the outlet, runs along the garage eave, jumps up and over the gable, and continues along the main eave toward the far end, where the extra wire disappears behind the downspout.
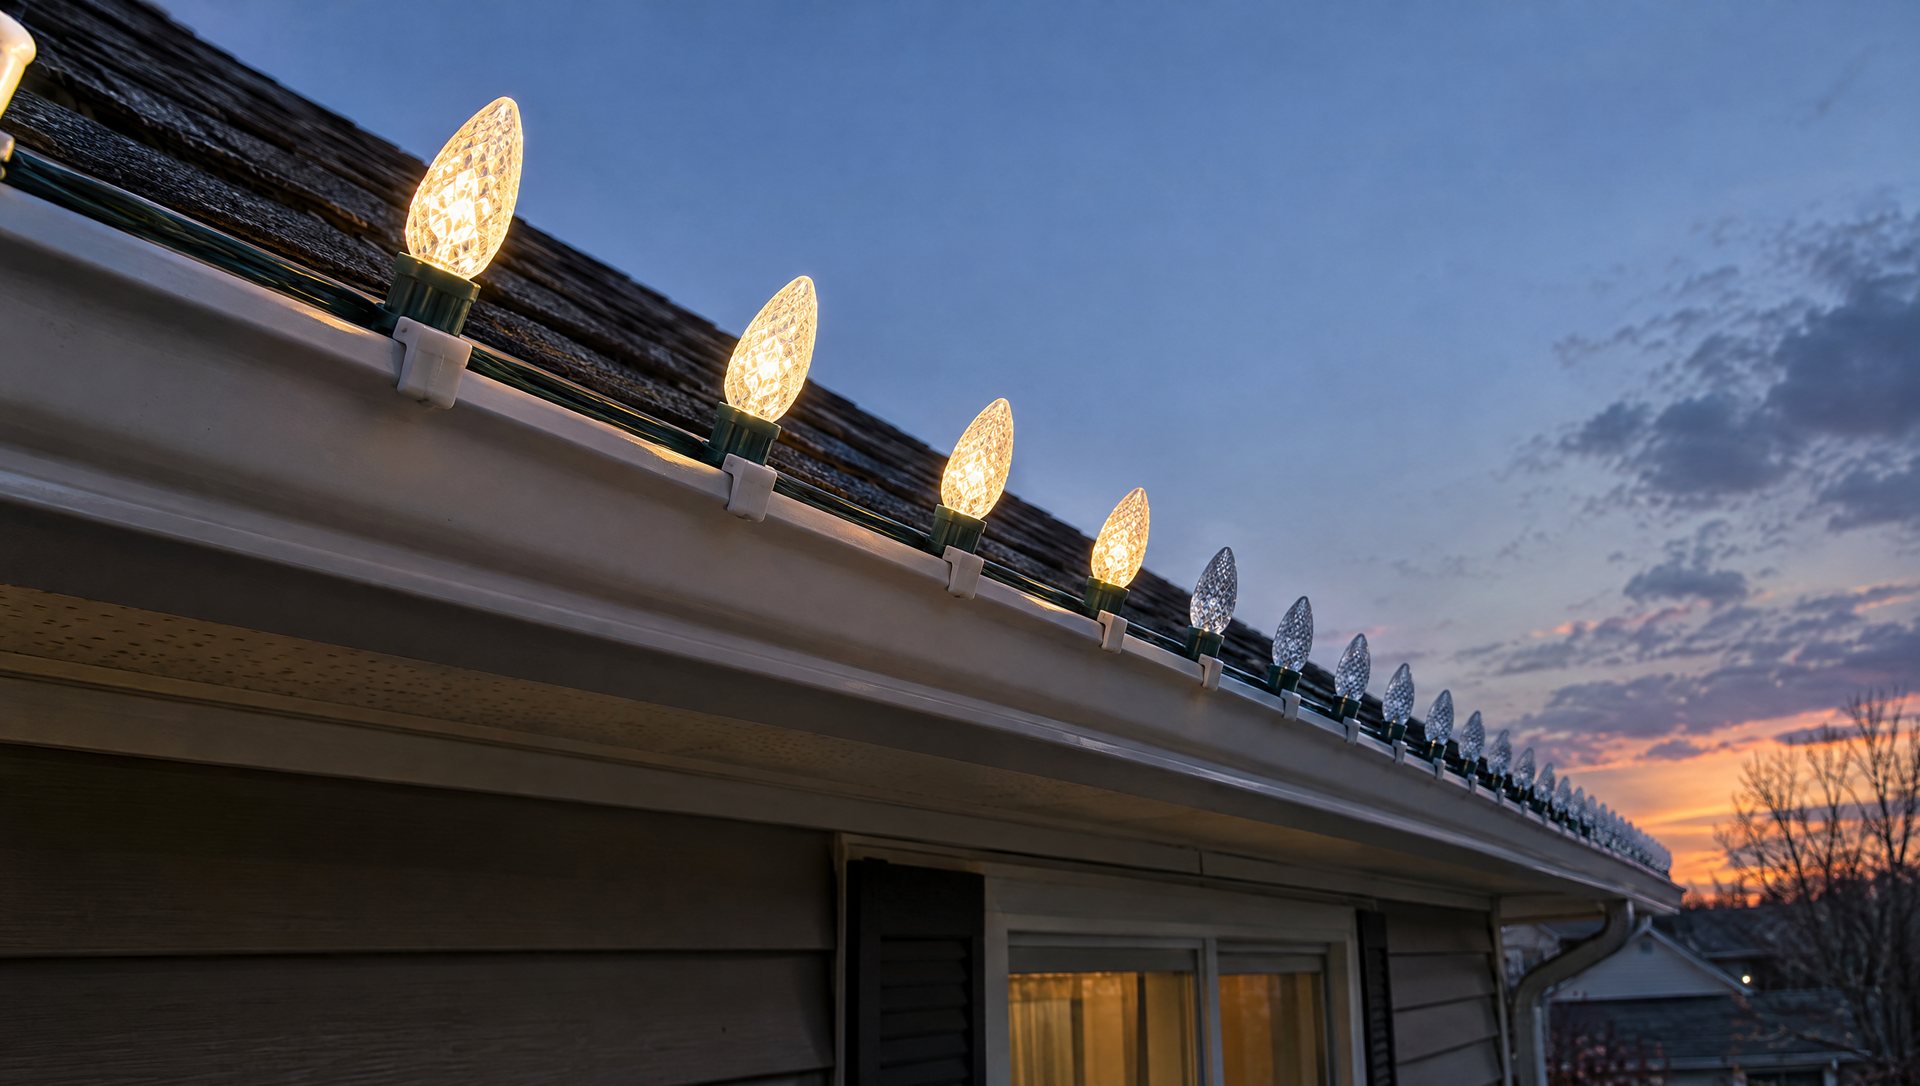
Clip first, lights second: put the row of clips on the gutter, then snap the wire into them. Every bulb ends up at the same angle. Mixed angles, some bulbs up and some sideways, are the single most common reason a DIY roofline looks homemade from the street.
Do a 10-foot test section first: clip it, plug it in, and look from the far sidewalk. Fix the method now, not after 107 feet.
Keep the wire snug, not tight. A stretched wire pulls on plugs and sockets every time the wind moves it. Bend gently around corners; never kink the wire. Work unplugged, and plug in only after you’re off the ladder.
Gable peaks. Run each rake up from its bottom corner to the peak. Put a clip on each side within a few inches of the peak so the bulbs meet cleanly at the top rather than sagging over it.
No gutter, tile or metal
Plenty of Austin houses have no gutters at all, especially on side and back eaves. On composition shingles, the all-in-one clip slides under the bottom edge of the first shingle row. Don’t pry the tab up or push the clip so far that it breaks the shingle’s adhesive seal. On a hot October afternoon, shingle tabs are softer and easier to tear, so do this part in the morning.
Smooth painted wood fascia can take adhesive clips. Clay or concrete tile and standing-seam metal need specific clips and usually roof access; that’s a professional’s call. Our guide to icicle lights covers the gutter-edge work for that style, which has its own spacing rules.
Saturday afternoon: the oak, the porch and the windows
The oak trunk. Wrap math is turns times circumference. The example oak’s trunk is about 3 feet around, and we’re lighting 8 feet of it, up to where the first big limbs split. At 6-inch spacing that’s 16 turns × 3 feet = 48 feet of lit wire, plus the lead back to the cord. Two 100-count mini sets usually cover that. Start at the base nearest the cord, spiral up, and zip-tie the top loosely. Judge the spacing from the street.
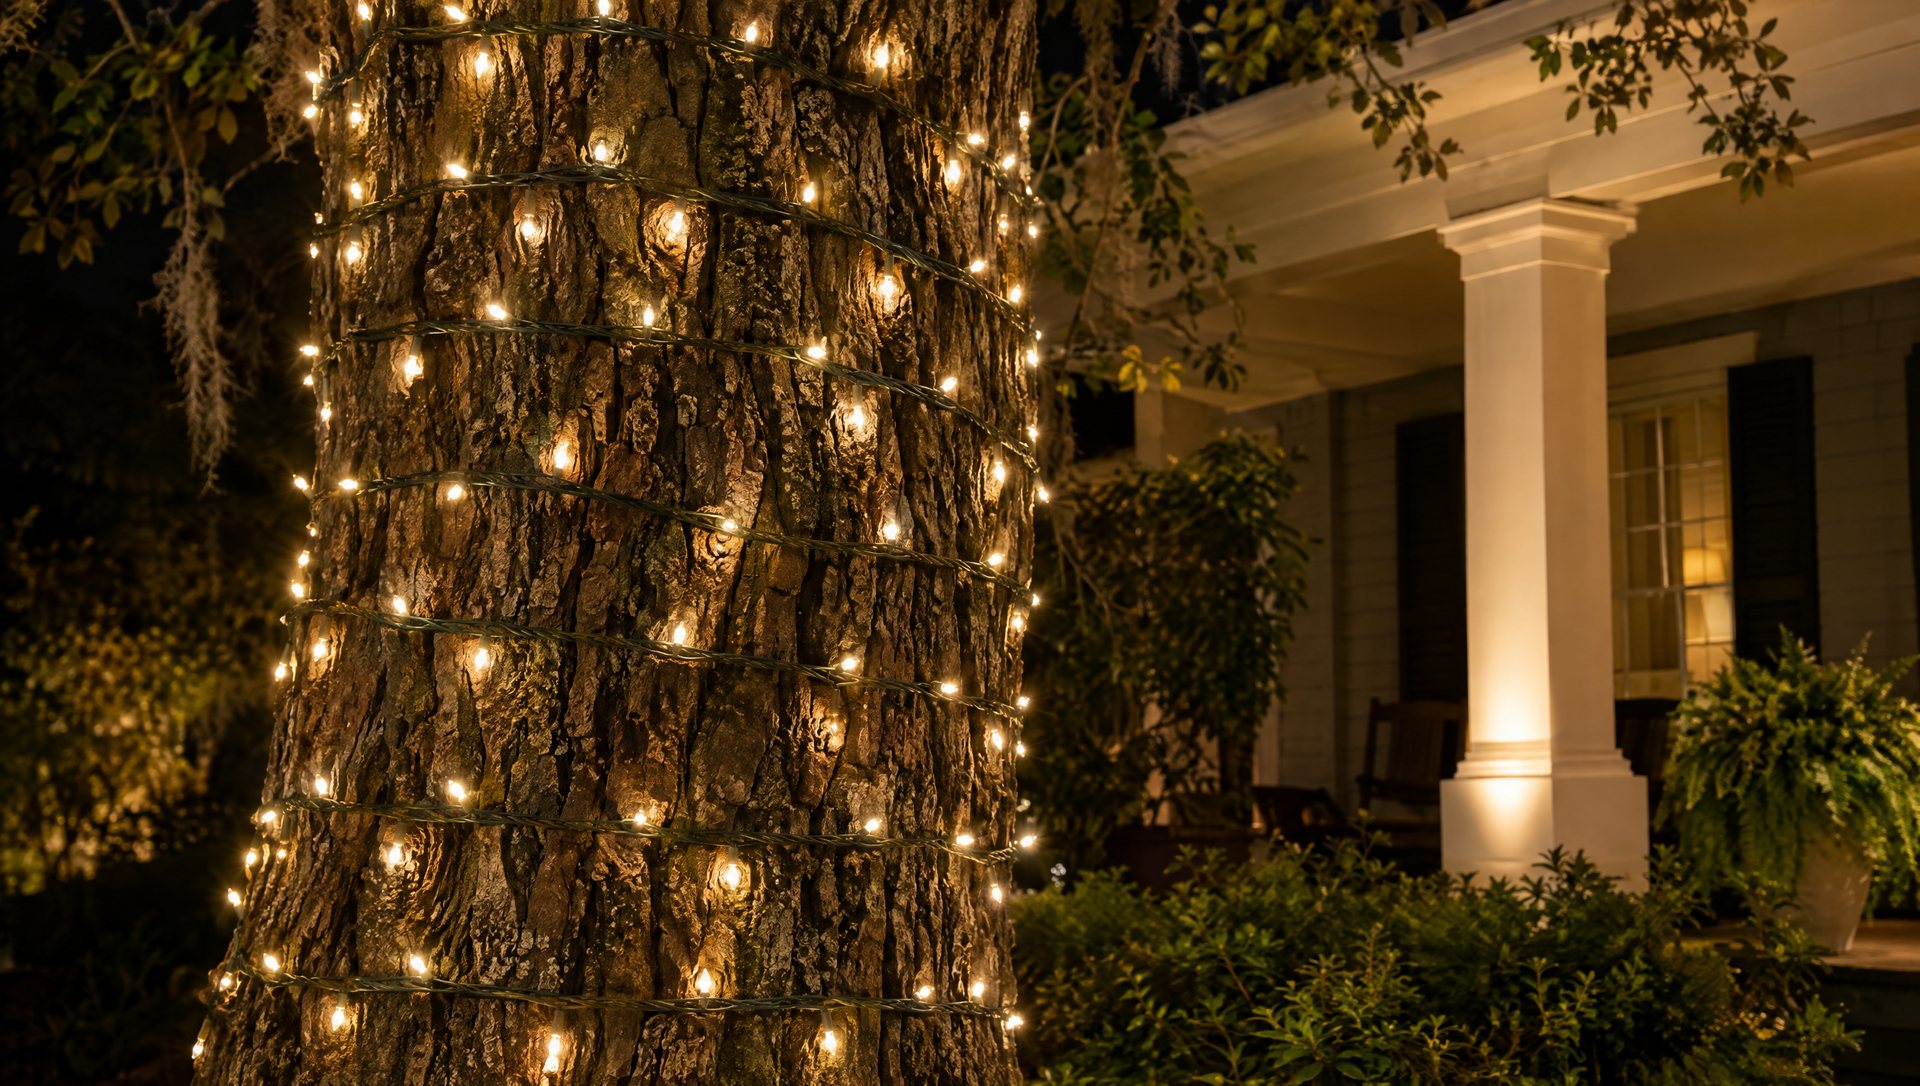
On live oaks, nothing goes into the bark: no staples, no nails, no screws. The Texas A&M Forest Service identifies fresh wounds as entry points for oak wilt, which is a real problem across Central Texas. Zip ties around the trunk, cut off in January, do the job. Sapien sometimes uses small removable staples on other kinds of trees where a wrap won’t hold, removes them in January, and will do any tree staple-free on request.
Porch columns. The same math. An 8-foot column with a 2-foot circumference, wrapped at 6 inches, takes 16 turns × 2 feet = 32 feet of lights. Leave the top of any handrail clear for hands. Our fence and railing guide has measurements for rails, swags and gates, and the bushes guide covers the shrubs along the front bed.
Windows. Two widths plus two heights: a 4-by-5-foot window takes 18 feet. Adhesive clips go on smooth frames at each corner and every 12 to 18 inches between, never on stone surrounds. Keep sashes, and any bedroom window that’s an emergency exit, able to open.
Saturday dusk: first light, GFCI trips and the timer
Turn on one section at a time. If the GFCI trips, unplug everything and add sets back one at a time until it trips again. The usual cause is a wet connection or a damaged set. Lift every connection off the ground on a brick or stake, with plugs pointing down so water drains off them, not into them.
If it keeps tripping with dry, undamaged gear, or an outlet feels warm or smells burnt, stop and call a licensed electrician. Don’t swap in a “better” outlet yourself.
Set the timer. Austin’s December sunset falls around 5:30 pm, so 5:30 to 11 pm is a good default. UL Solutions advises turning decorations off when you’re asleep or away. Watch the first on and off cycle yourself instead of trusting the dial.
Then look from across the street. A dozen bulbs turned straight fix more than another strand would. If something flickers or a section goes dark later in the season, our flickering guide walks through the causes in order.
Mistakes we see on real Austin houses
- Lighting the side of the house nobody sees. Trees hide a lot of upper rooflines here. Every foot spent on a hidden eave is a foot you didn’t spend making the visible one clean.
- Adhesive clips on limestone. Adhesive needs a smooth, sealed surface, and rough stone isn’t one, so the clips let go. Use the gutter edge above the stone or light something else.
- Mismatched warm whites. Two brands of “warm white” on one gutter look like a mistake from the street.
- Leftover wire at the front corner. The extra length from the last set always ends up somewhere. Decide where before you hang, not after.
- Wire pulled tight to make a short set reach. It works until the first north wind. Buy the right length or end the run at a corner.
- Connections lying in the flowerbed. Sprinklers and rain find them, and a wet plug in the mulch is the classic reason a GFCI trips at 7 pm.
There are more in our list of common lighting mistakes.
January: take it down so next year takes half the time
Before the first clip comes off, photograph each run in daylight. That plus your sketch is next year’s plan.
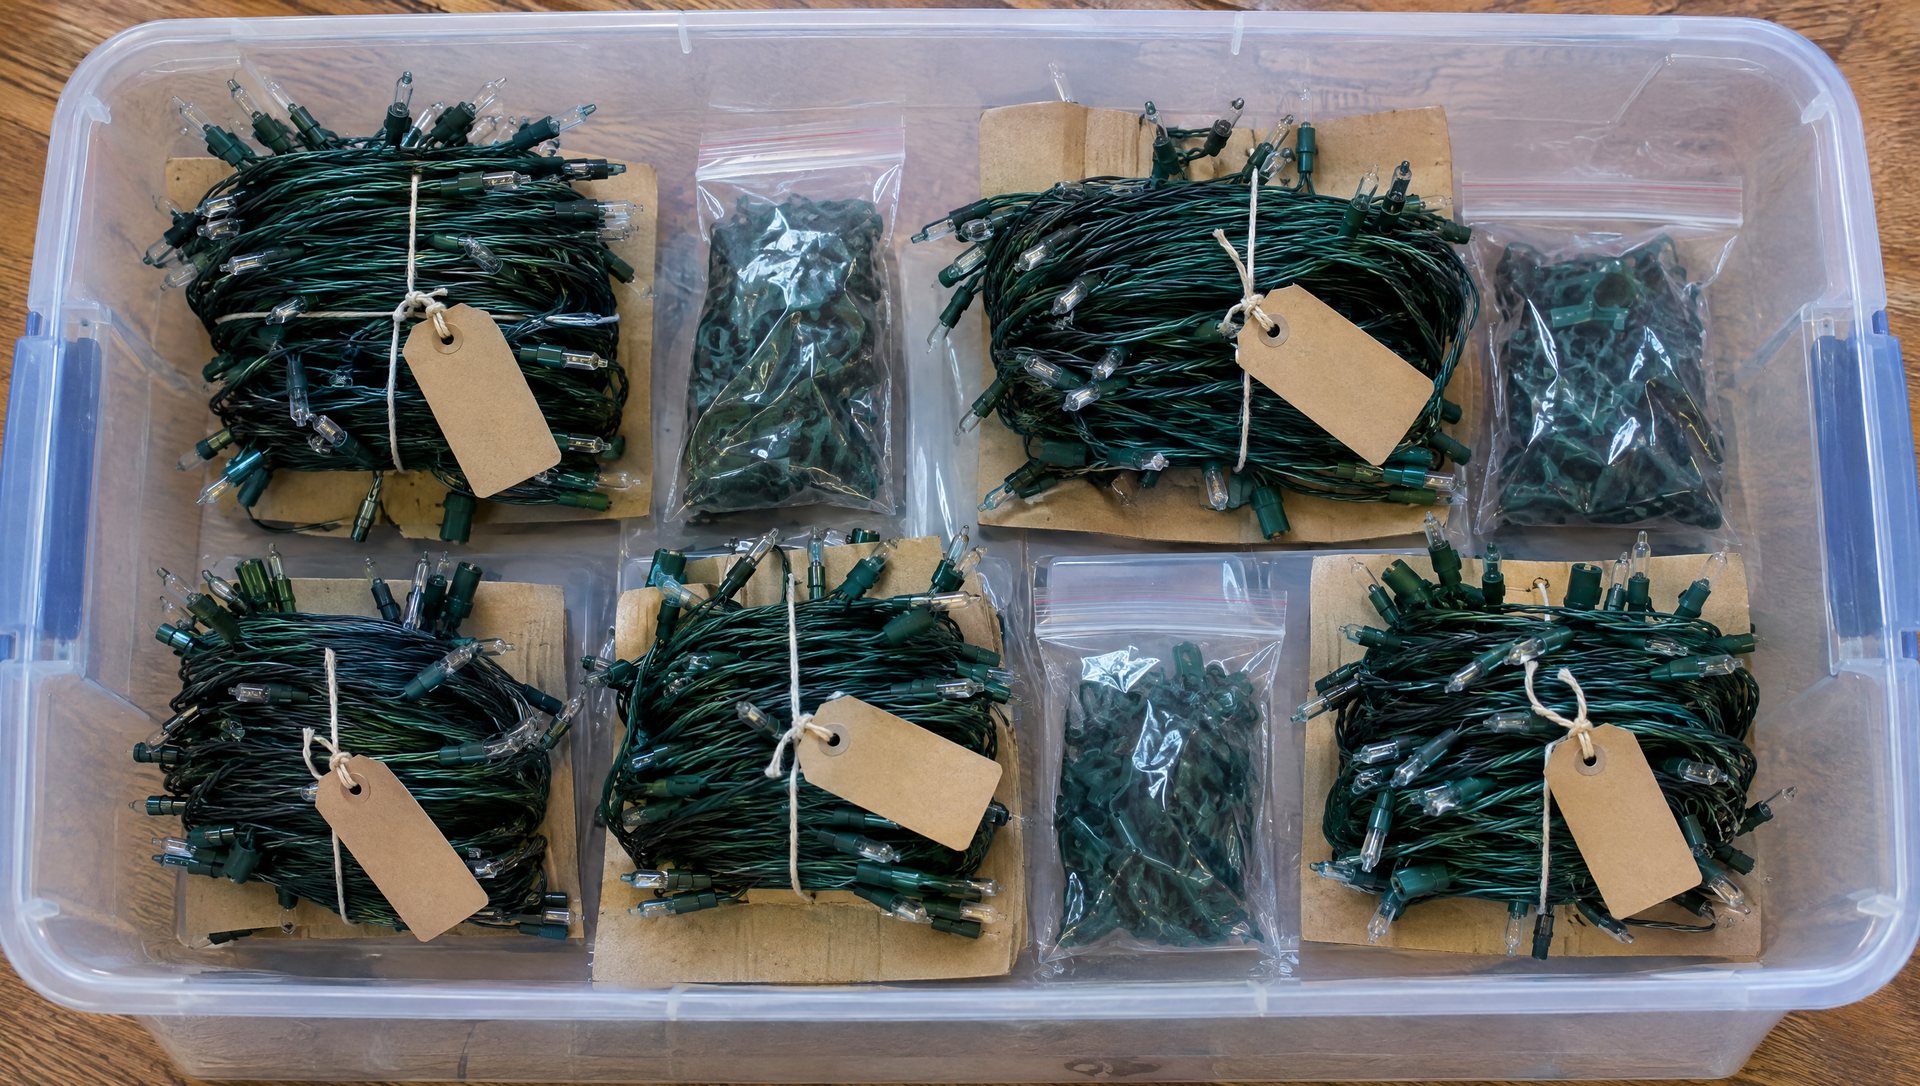
Unclip; don’t pull a run off the gutter by its wire. Pulling breaks clips, bends gutter lips and strains sockets. Coil each set around a piece of cardboard, keep its label on it, and bag the clips by run. Cut the zip ties off the oak and any rails the same weekend. Ties left on a growing trunk start to bite in.
If you’d rather not spend that Saturday on a ladder, text a daytime photo of the front of your house to (737) 777-9099 or use our contact page, and tell us which parts you want lit.
Sources
About the author. Rick Safeman owns Sapien Lighting & Installation in Austin, Texas.