



Bad lighting rarely announces itself. You just stop using the kitchen island after dark, squint on the stairs, live with a dimmer that buzzes, or get a polite note from a neighbor about the floodlight. Most of these problems come from a handful of decisions made once, at install time, and then lived with for years.
Here are the eight common lighting mistakes worth fixing, starting inside and working out to the roofline. Each one comes with what it looks like, why it matters, and the fix. Anything that involves new wiring or moving a fixture is a job for a TDLR-licensed electrician in Texas.
Mistake 1: Lighting Work Surfaces and Stairs From One Overhead Fixture
What it looks like: a single pendant over the island, a ceiling fixture in the middle of the kitchen, or one light at the top of the stairs.
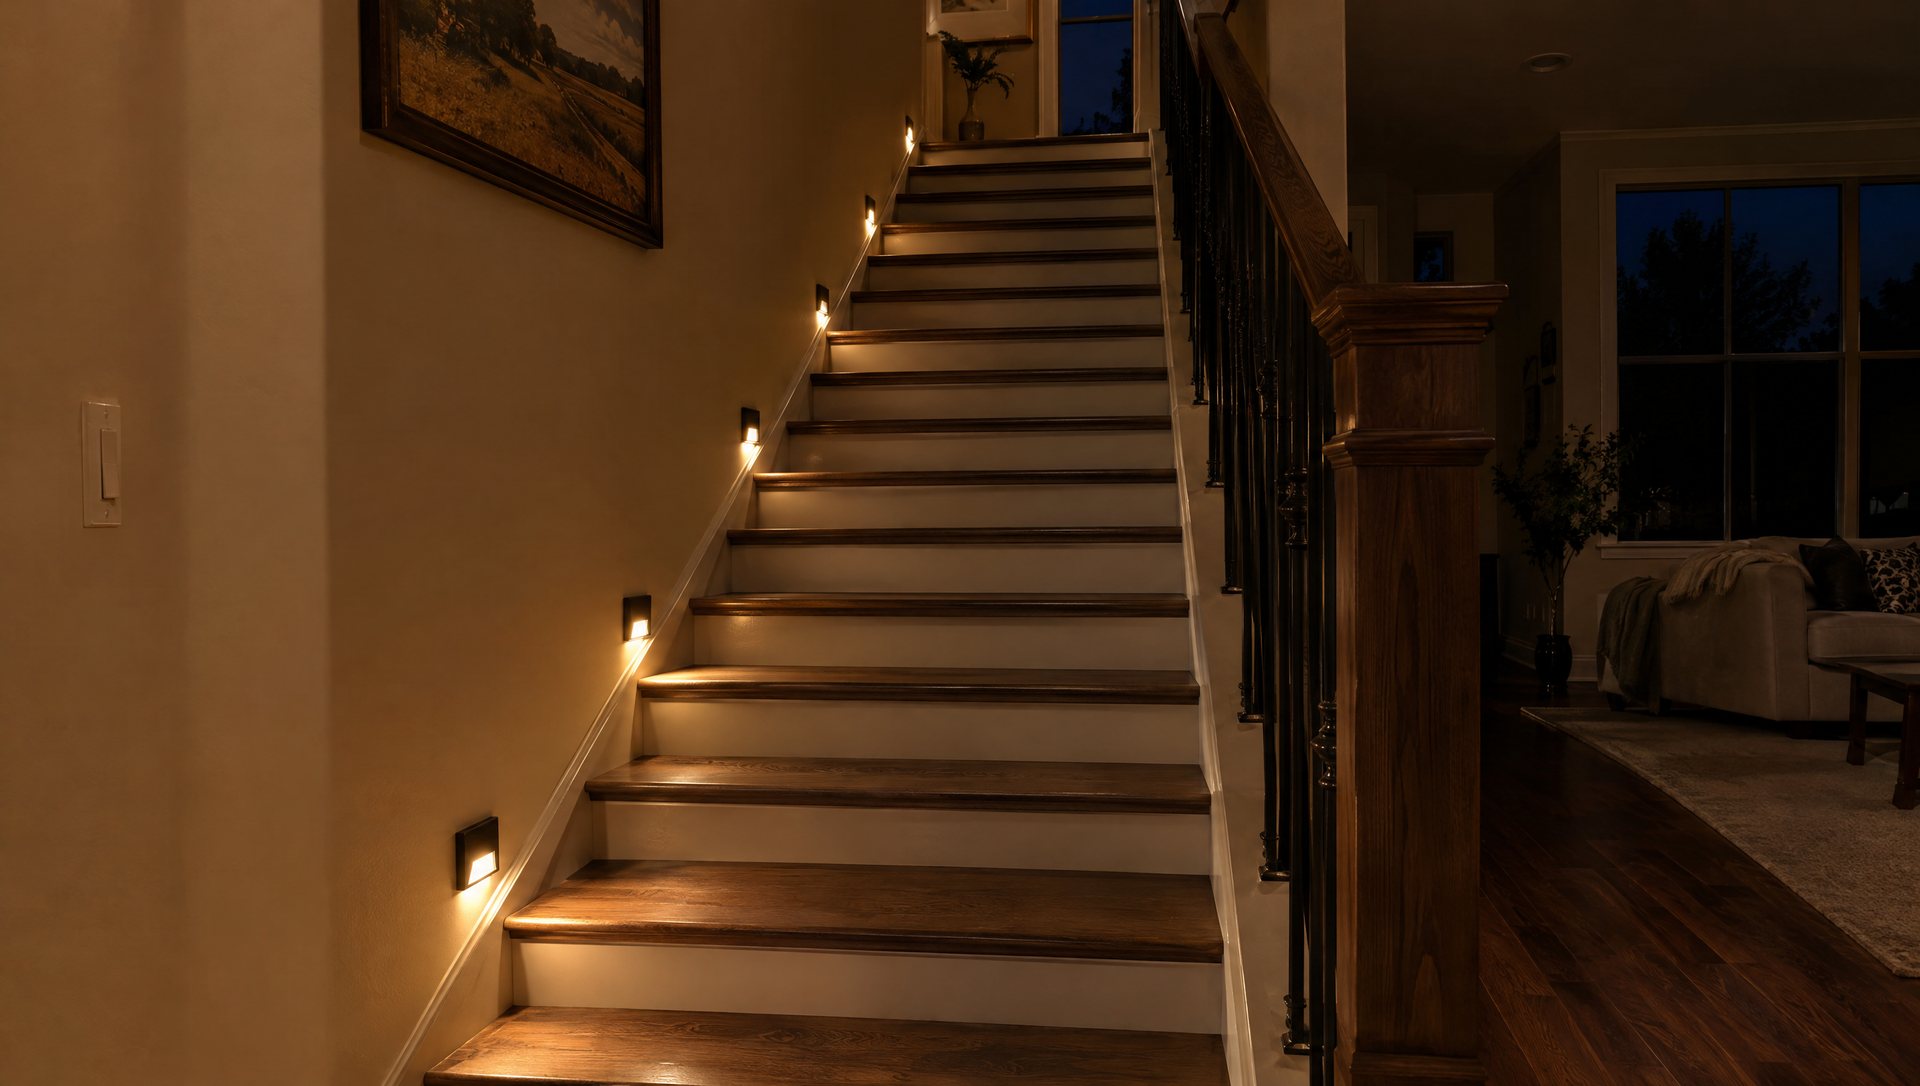
A light behind you or directly overhead puts your own head and hands between the light and the work. At the counter, that means cutting in your own shadow. On stairs, a single fixture at the top lights the upper treads and leaves the bottom ones in shadow, which is exactly where people misjudge the last step.
Stairs are worth taking seriously. A study in the American Journal of Emergency Medicine estimated about 24.8 million emergency department visits for stair-related injuries in the U.S. from 1990 to 2012, roughly 1.1 million a year. The CDC counts about 4.5 million ER visits a year from falls among older adults alone. Lighting isn’t the only cause, but it’s the cheapest one to fix.
The fix:
- Kitchens: add under-cabinet lighting so the counter is lit from in front of you, and use the overhead light for the room. Over an island, two or three pendants or a pair of recessed lights spread the light across the work area instead of puddling it in the middle.
- Stairs: light the treads, not just the landing. A fixture at the bottom as well as the top, or low step lights along the wall, keeps the whole run visible. The National Electrical Code already requires a wall switch at each floor level for stairways with six or more risers, so if you have to walk up in the dark to reach the switch, the setup doesn’t meet current code.
- Workshops and garages: light the bench from the front and both sides. A single bulb over a table saw puts the blade in your shadow.
Mistake 2: Putting the Wrong Fixture in a Wet or Damp Location
What it looks like: an indoor-rated fixture on a covered patio, a standard ceiling fan over the tub, a “damp-rated” light out in the open where rain hits it directly.
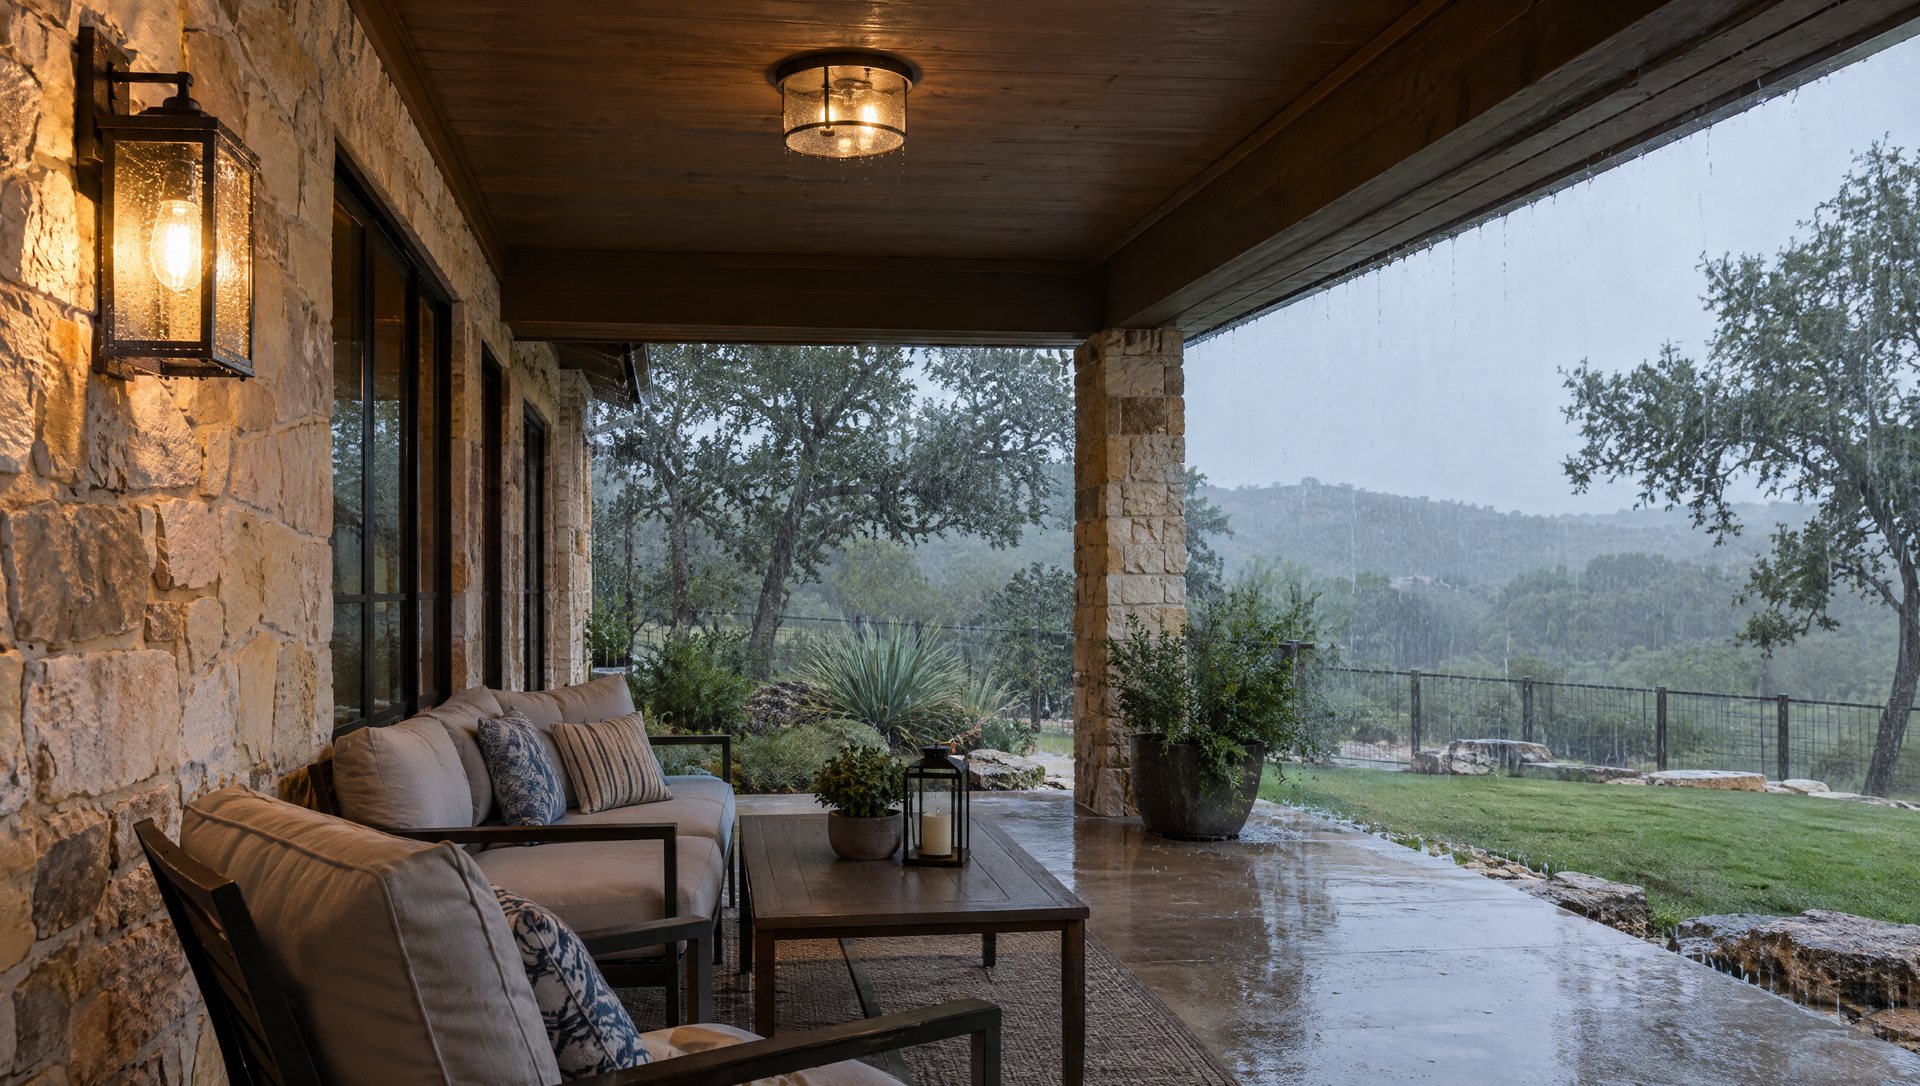
Fixtures are listed for dry, damp or wet locations, and the label matters:
- Damp-rated: protected from direct rain but exposed to moisture. Covered porches, carports, bathrooms outside the shower zone.
- Wet-rated: can take direct rain or spray. Uncovered walls, open pergolas, fixtures inside a shower.
The NEC sets a specific zone around tubs and showers: no hanging fixtures, cord-connected fixtures, track lights or ceiling fans within 3 feet horizontally and 8 feet vertically of the top of the tub rim or shower threshold. Fixtures directly over the tub or shower, up to 8 feet above the rim or threshold, have to be listed for damp locations, or wet locations if they’re subject to shower spray.
Outside, IP ratings tell you how well a fixture keeps out dust and water. Under IEC 60529, IP44 means splash-resistant and IP65 means dust-tight and protected against water jets. For an Austin patio that gets sideways rain in a spring storm and a sprinkler every morning in summer, IP65 is the sensible floor for anything exposed. Our guide to IP ratings for outdoor lighting breaks down every digit.
The fix: read the listing label inside the canopy before you buy, not after. Make sure outdoor and bathroom receptacles are GFCI-protected, and press the test button once a month. If an outdoor fixture fills with water or shows rust streaks, replace it with a wet-rated one rather than adding more caulk.
Mistake 3: Ignoring What Happens Above the Bathroom Ceiling
What it looks like: recessed cans in a bathroom with a weak or missing exhaust fan, water spots around the trim, a fan that runs for two minutes and gets shut off.
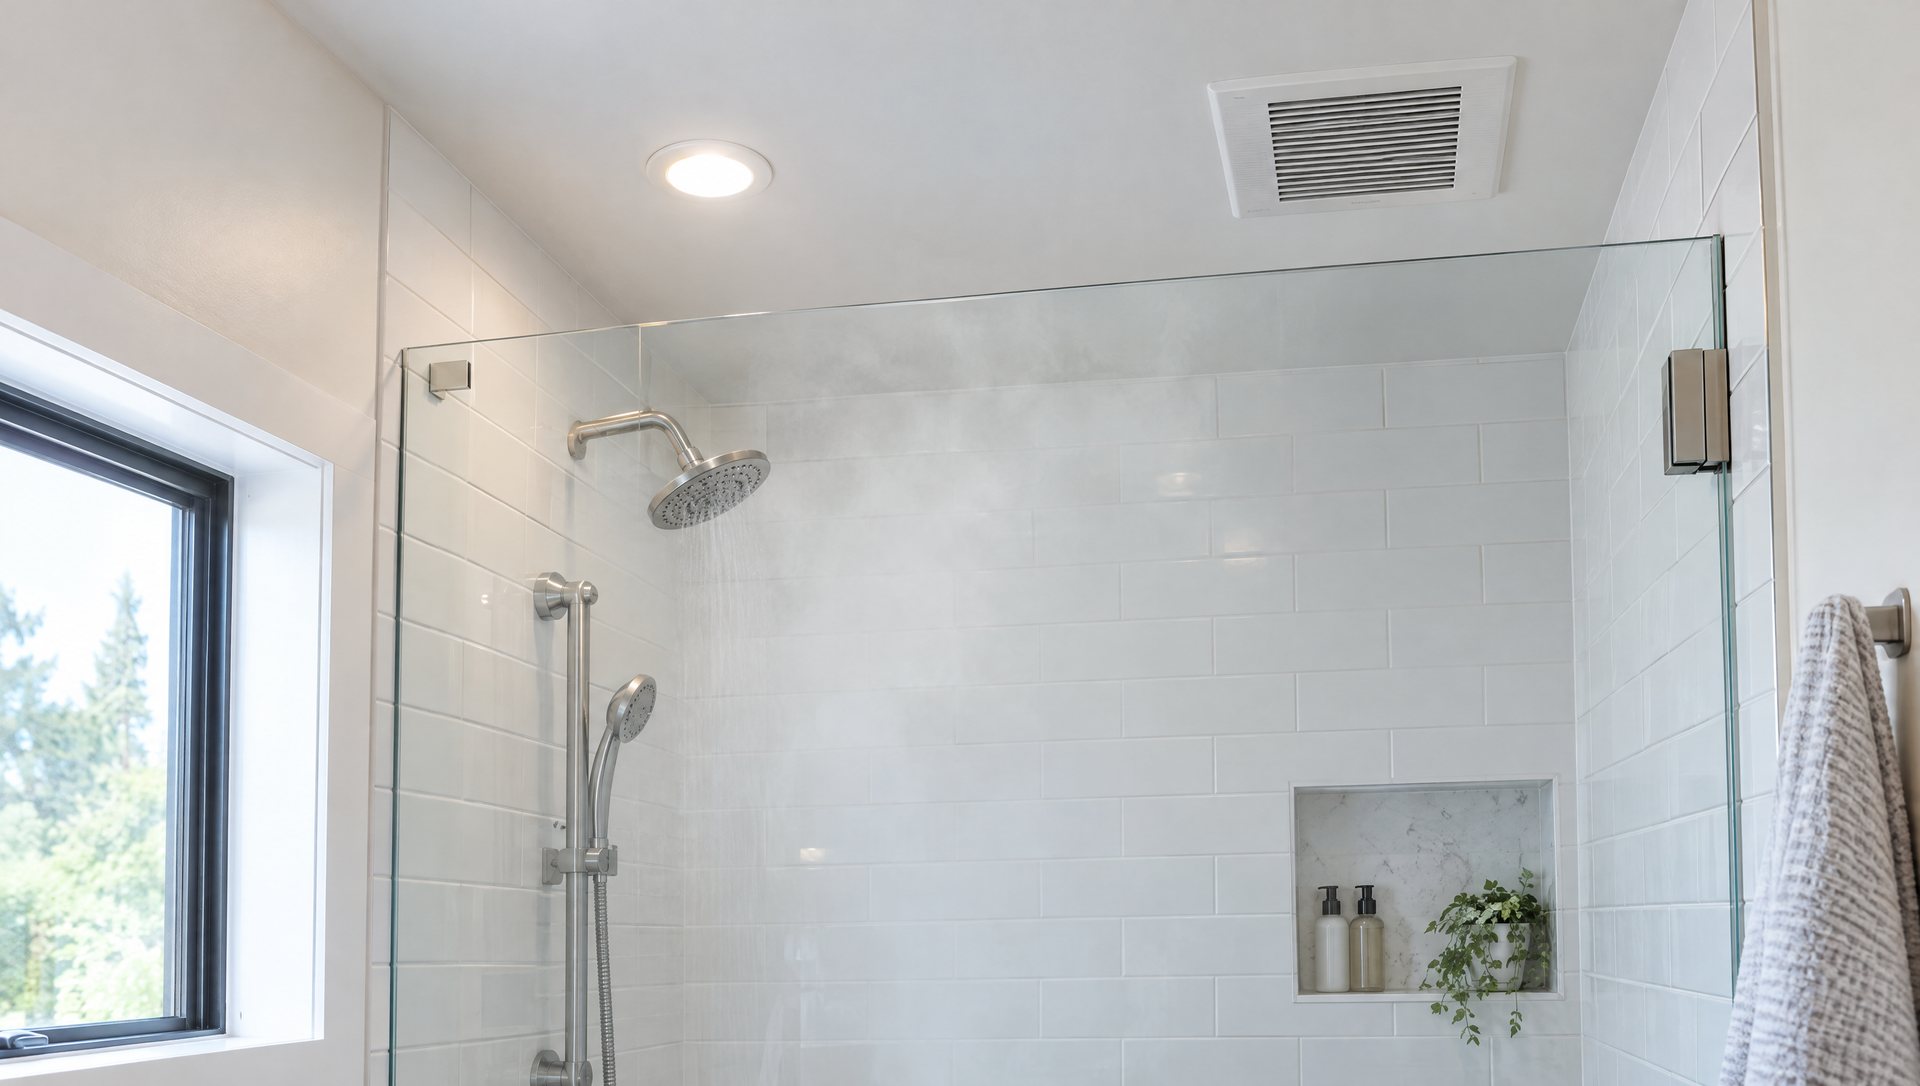
Moist air from a shower doesn’t stop at the ceiling. Older recessed housings that aren’t airtight leak conditioned air into the attic and let humid air into the ceiling cavity. In an Austin attic, which runs extremely hot all summer, a leaky can also pulls hot attic air back into the house. Housings that touch insulation need to be IC-rated (rated for insulation contact), and the energy code requires recessed lights in insulated ceilings to be sealed and labeled airtight.
Ventilation is the other half. The Home Ventilating Institute recommends at least 1 CFM of exhaust per square foot of floor area for bathrooms up to 100 square feet. An 8 × 10 bathroom needs at least an 80 CFM fan, and it needs to run long enough after the shower to clear the steam.
The fix:
- Replace old cans with IC-rated, airtight housings or LED retrofit kits that seal the opening.
- Size the exhaust fan to the room and put it on a timer switch or humidity sensor so it runs 15 to 20 minutes after a shower.
- Use damp-rated fixtures in the bathroom and wet-rated ones inside the shower.
Mistake 4: Mixing Color Temperatures Room to Room
What it looks like: a 5000K kitchen next to a 2700K dining room, or three different whites in the same ceiling because bulbs were replaced one at a time.
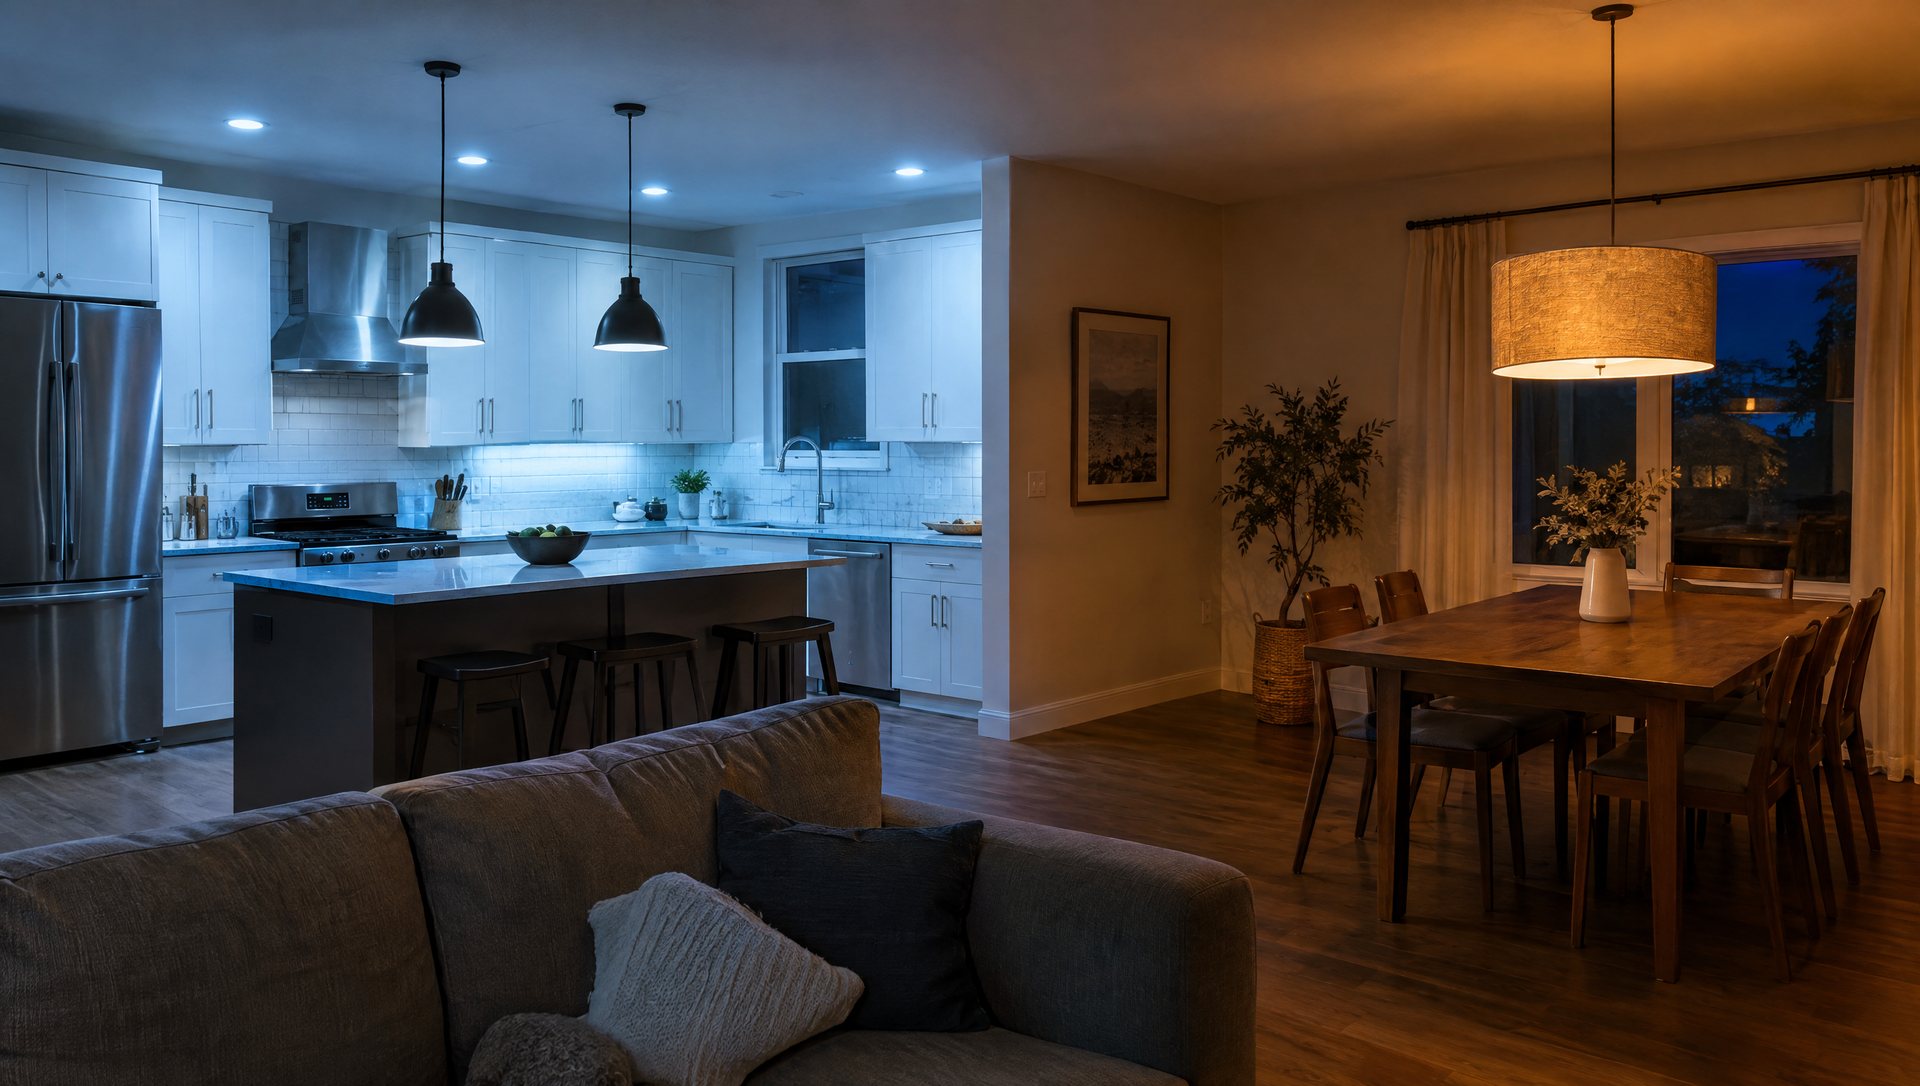
Color temperature is measured in Kelvin. Lower numbers look warmer and more amber; higher numbers look cooler and bluer:
| Kelvin | Looks like | Works well in |
|---|---|---|
| 2700K | Warm, close to an incandescent bulb | Living rooms, bedrooms, dining |
| 3000K | Warm-neutral | Kitchens, bathrooms, most of the house |
| 3500K to 4000K | Neutral to cool | Garages, laundry, workshops |
| 5000K and up | Cool, bluish daylight | Task areas only, if at all |
The problem is mixing them in spaces you see at the same time. An open floor plan with two color temperatures looks patchy, and food or paint colors shift as you move between rooms. Color rendering matters too. Cheap LEDs with a CRI in the low 80s make skin tones and wood look flat; a CRI of 90 or higher is worth paying for in kitchens and bathrooms.
Cooler light at night isn’t ideal either. Bright, blue-rich light in the evening can suppress melatonin, the hormone that rises before sleep, which is one reason 2700K is the usual choice for bedrooms and living areas. Our guide to circadian lighting for home goes deeper on matching light to the time of day.
The fix: pick one color temperature for connected spaces (3000K is a safe default for most of a house) and write it on a label inside the hall closet so the next bulb matches. Buy bulbs in packs from one product line instead of mixing brands.
Mistake 5: Putting LEDs on an Old Dimmer
What it looks like: LED bulbs that flicker at low settings, buzz, won’t dim below 40%, or shut off before the slider reaches the bottom.
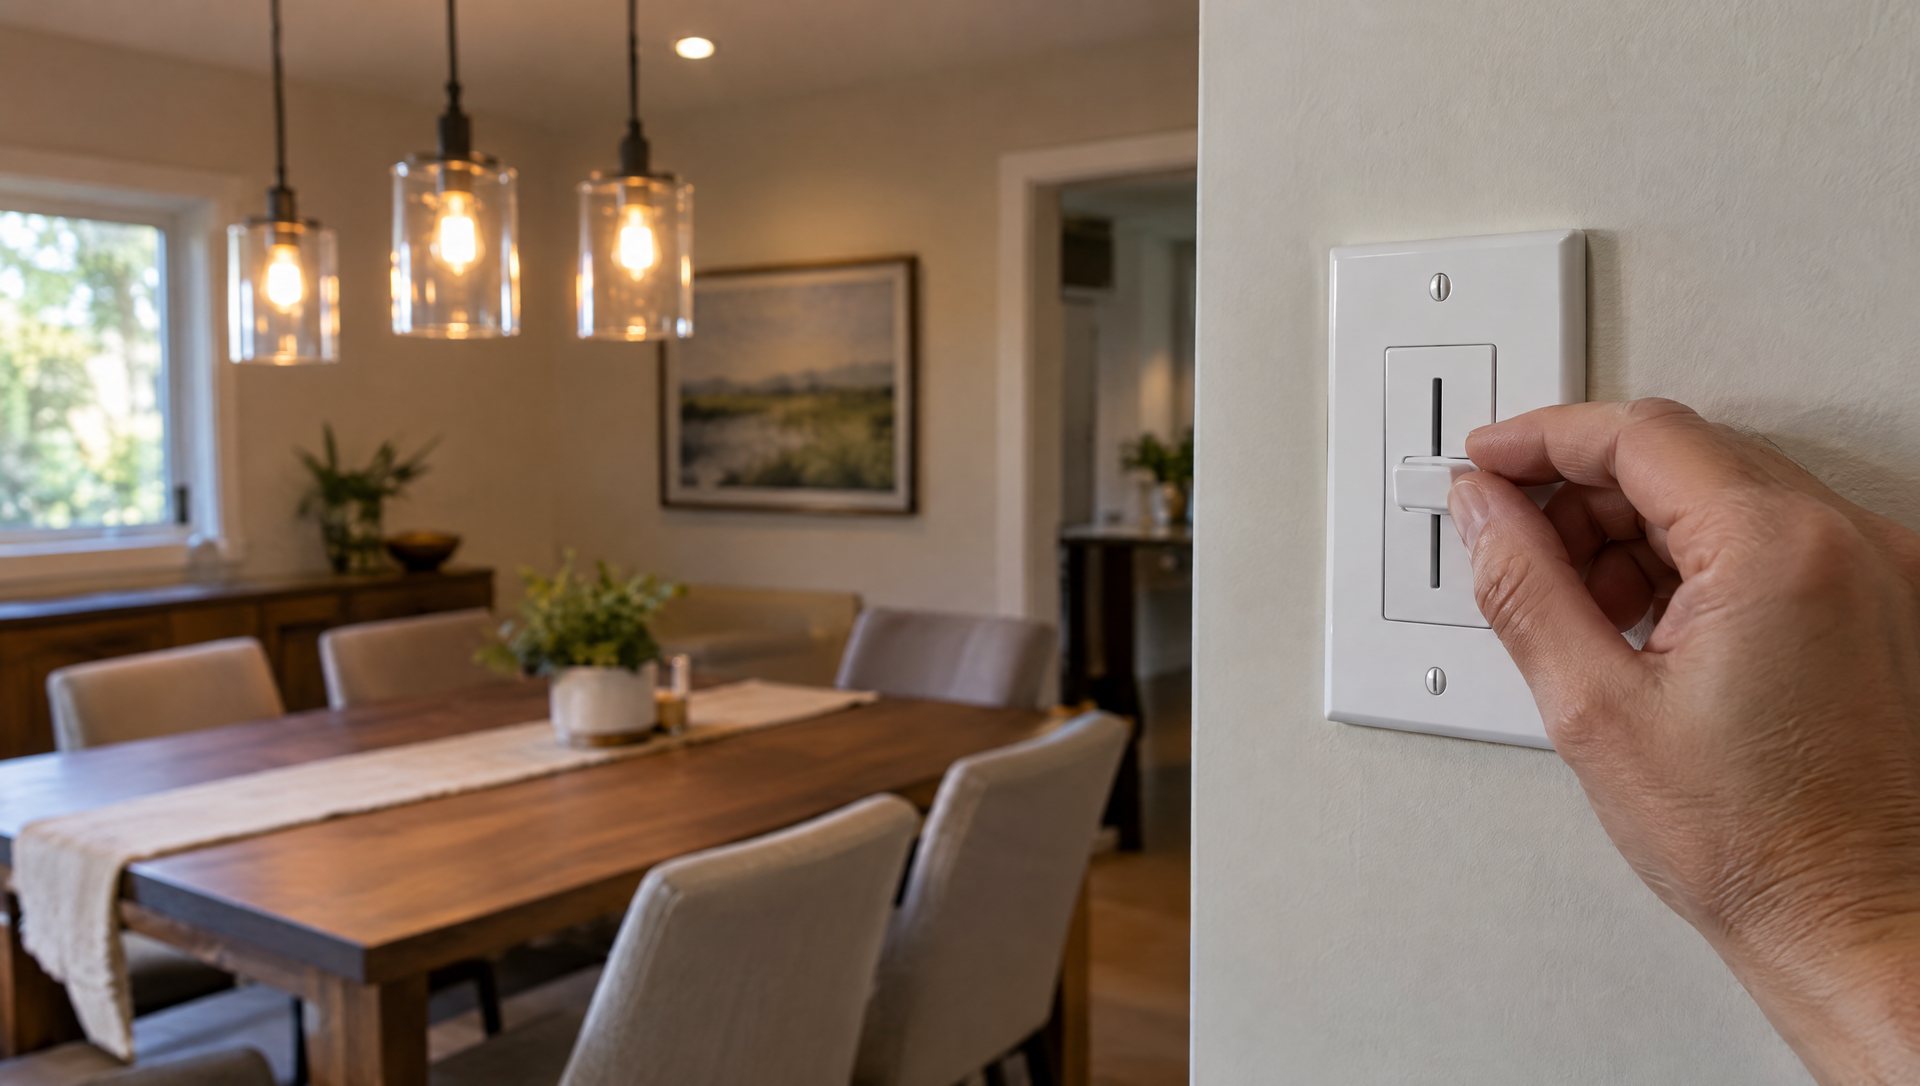
Most older wall dimmers were designed for incandescent bulbs, which draw a lot of power. An LED bulb has a small driver circuit inside, and how that driver reacts to a dimmer’s chopped waveform varies by brand. Older dimmers also often have a minimum load. Swap six 60 W incandescent bulbs for six 9 W LEDs and the dimmer may be running well under the load it needs to work smoothly.
6 x 60 W = 360 W; 6 x 9 W = 54 W, which is 15 percent of the old load.
Source: Sapien Lighting calculation from the figures in this post
Show the numbers
| Load on the dimmer | |
|---|---|
| Six 60 W incandescent bulbs | 360 W |
| Six 9 W LED bulbs | 54 W |
There are two main kinds of phase-cut dimmers: leading-edge (the older, cheaper type) and trailing-edge (often sold as ELV or “LED/CFL” dimmers). Many LEDs dim better on trailing-edge dimmers, but the only reliable guide is the bulb maker’s compatibility list.
The fix: buy bulbs labeled dimmable, then check the bulb manufacturer’s compatibility list for your dimmer model, or the dimmer maker’s list for your bulb. Replace the dimmer with an LED-rated model if needed, and set its low-end trim if it has one. Keep one brand and model of bulb on each dimmer.
Mistake 6: Unshielded Floodlights That Light the Neighbor’s Bedroom
What it looks like: a bare-bulb floodlight on the garage aimed at the driveway, a wall pack that glares into the street, a motion light that wakes up the house next door.
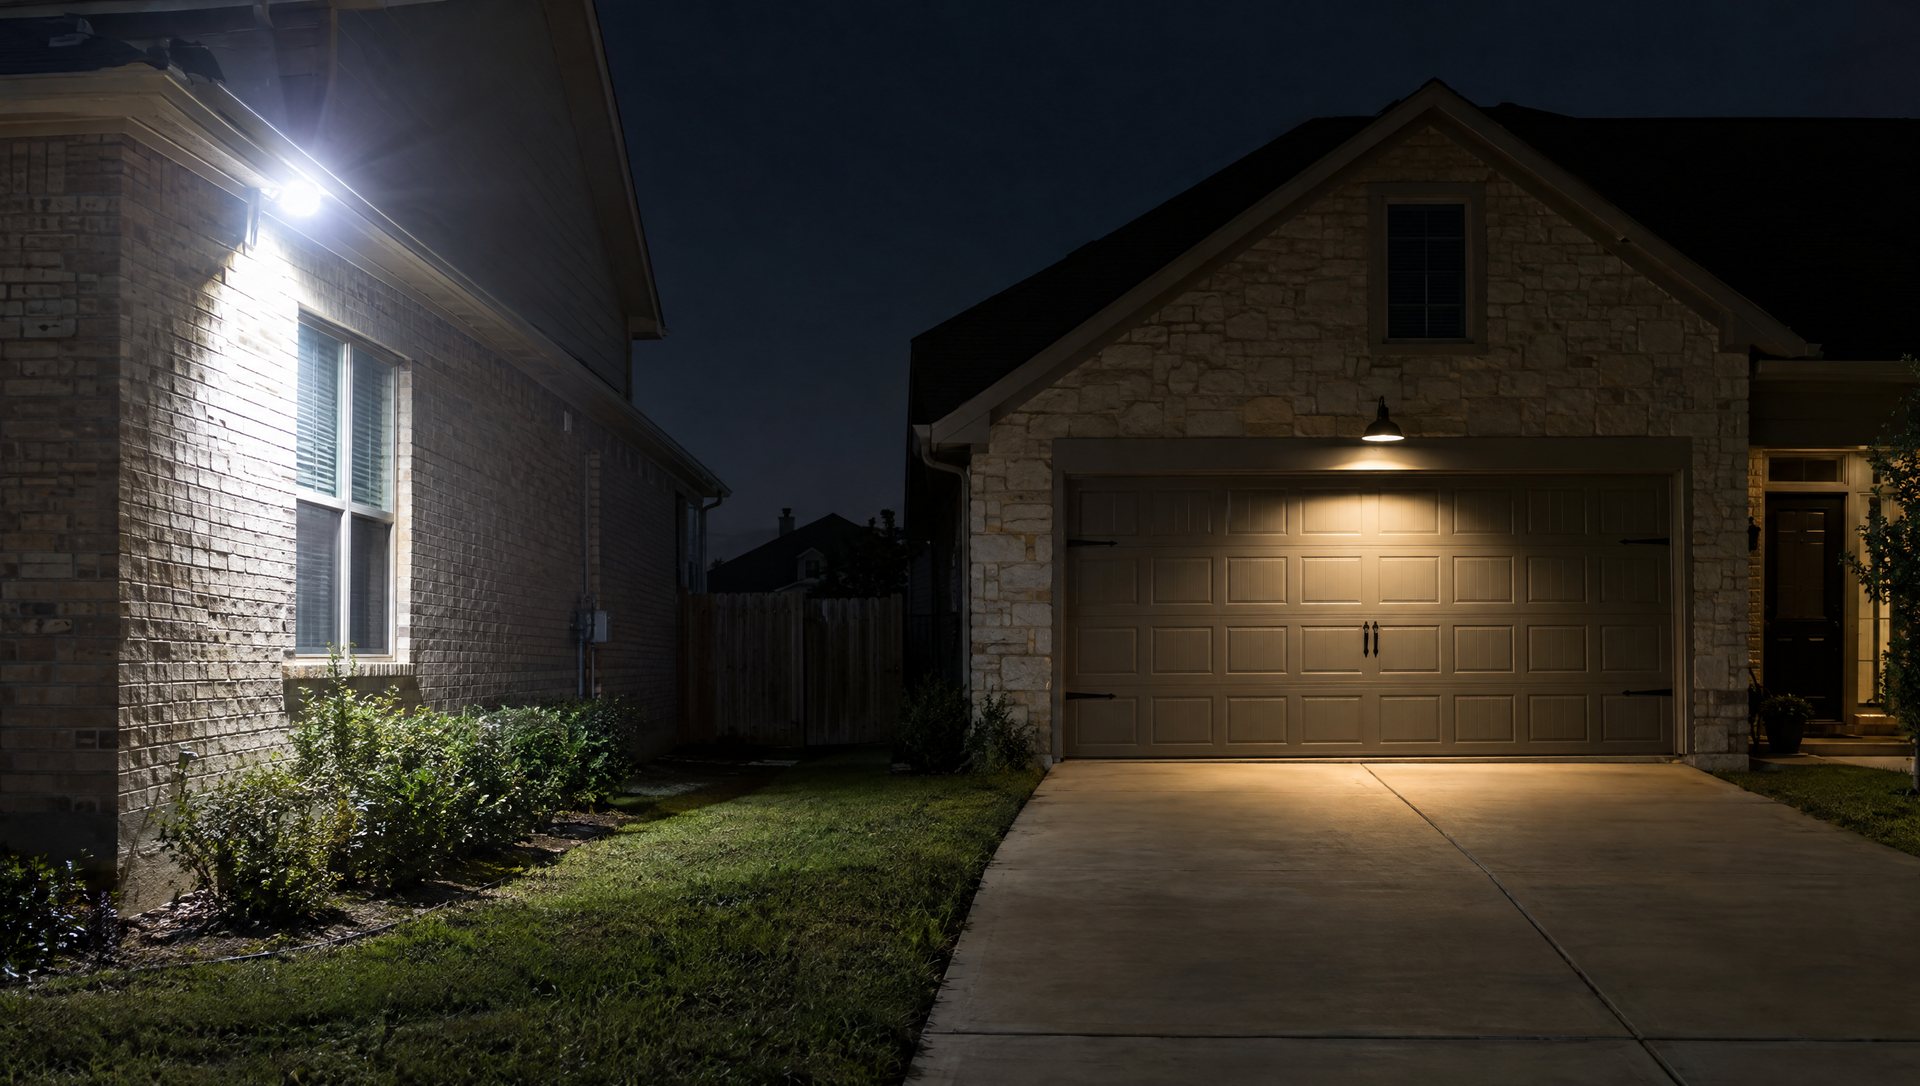
Unshielded lights throw light everywhere, including into your eyes. Glare shrinks your pupils, so the shadows beyond the bright spot get harder to see, not easier. A dimmer, shielded fixture aimed down cuts that glare.
The fix:
- Choose fully shielded (full cutoff) fixtures that send light down, not out.
- Aim floodlights at the ground below 45 degrees, not at the horizon.
- Use lower output than you think you need. Check the lumen rating on the box, and compare it to the porch light you already find comfortable.
- Add motion sensors so security lights are off most of the night.
- Retrofit existing fixtures with outdoor light shields if replacing them isn’t practical.
Mistake 7: Treating Holiday Lights as a Once-a-Year Scramble
What it looks like: pulling last year’s strings out of a tangle on the first cold weekend, plugging them all into the porch outlet, and climbing a ladder alone at dusk.
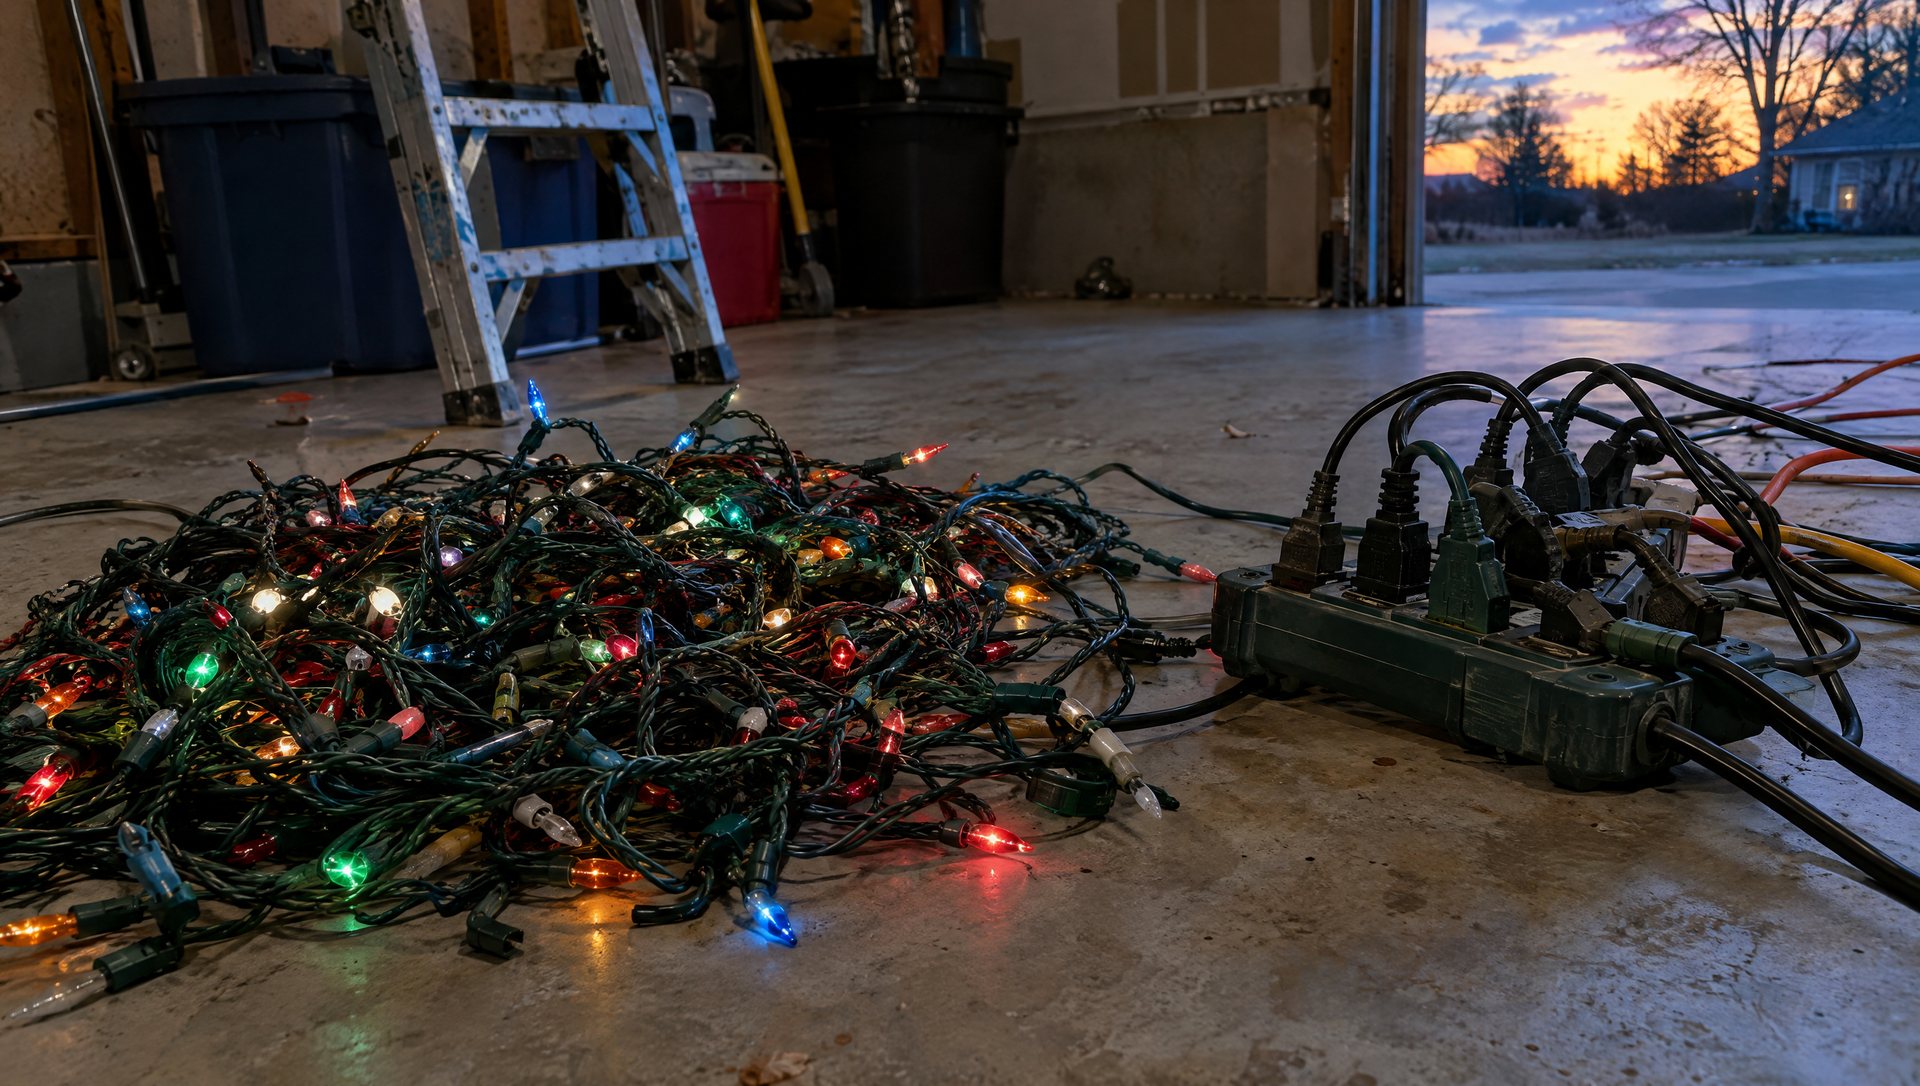
This is where the risk is highest. The CPSC estimates about 14,900 people were treated in emergency rooms for holiday decorating injuries in the 2023 season, and nearly half involved falls. The other problems are electrical: too many incandescent sets connected end to end, exterior outlets without GFCI protection, and connections lying in the path of the sprinklers.
The fix:
- Test every string on the ground before it goes up, and discard any with cracked sockets or damaged wire.
- Add up the wattage on each circuit and stay under 80% of the breaker rating, which is 1,440 W on a 15 A circuit.
- Use only GFCI-protected outdoor outlets with in-use covers.
- Use a fiberglass ladder, keep it 10 feet from the service drop, and have a second person on site.
Our light installation safety guide walks through each of these with a worked example on a typical Austin roofline.
Mistake 8: Going DIY on Permanent Lights Without a Plan
What it looks like: a permanent LED track installed over a weekend, with the controller zip-tied under the eave in direct rain, connectors facing up, and the far end of the house noticeably dimmer and a different shade than the near end.
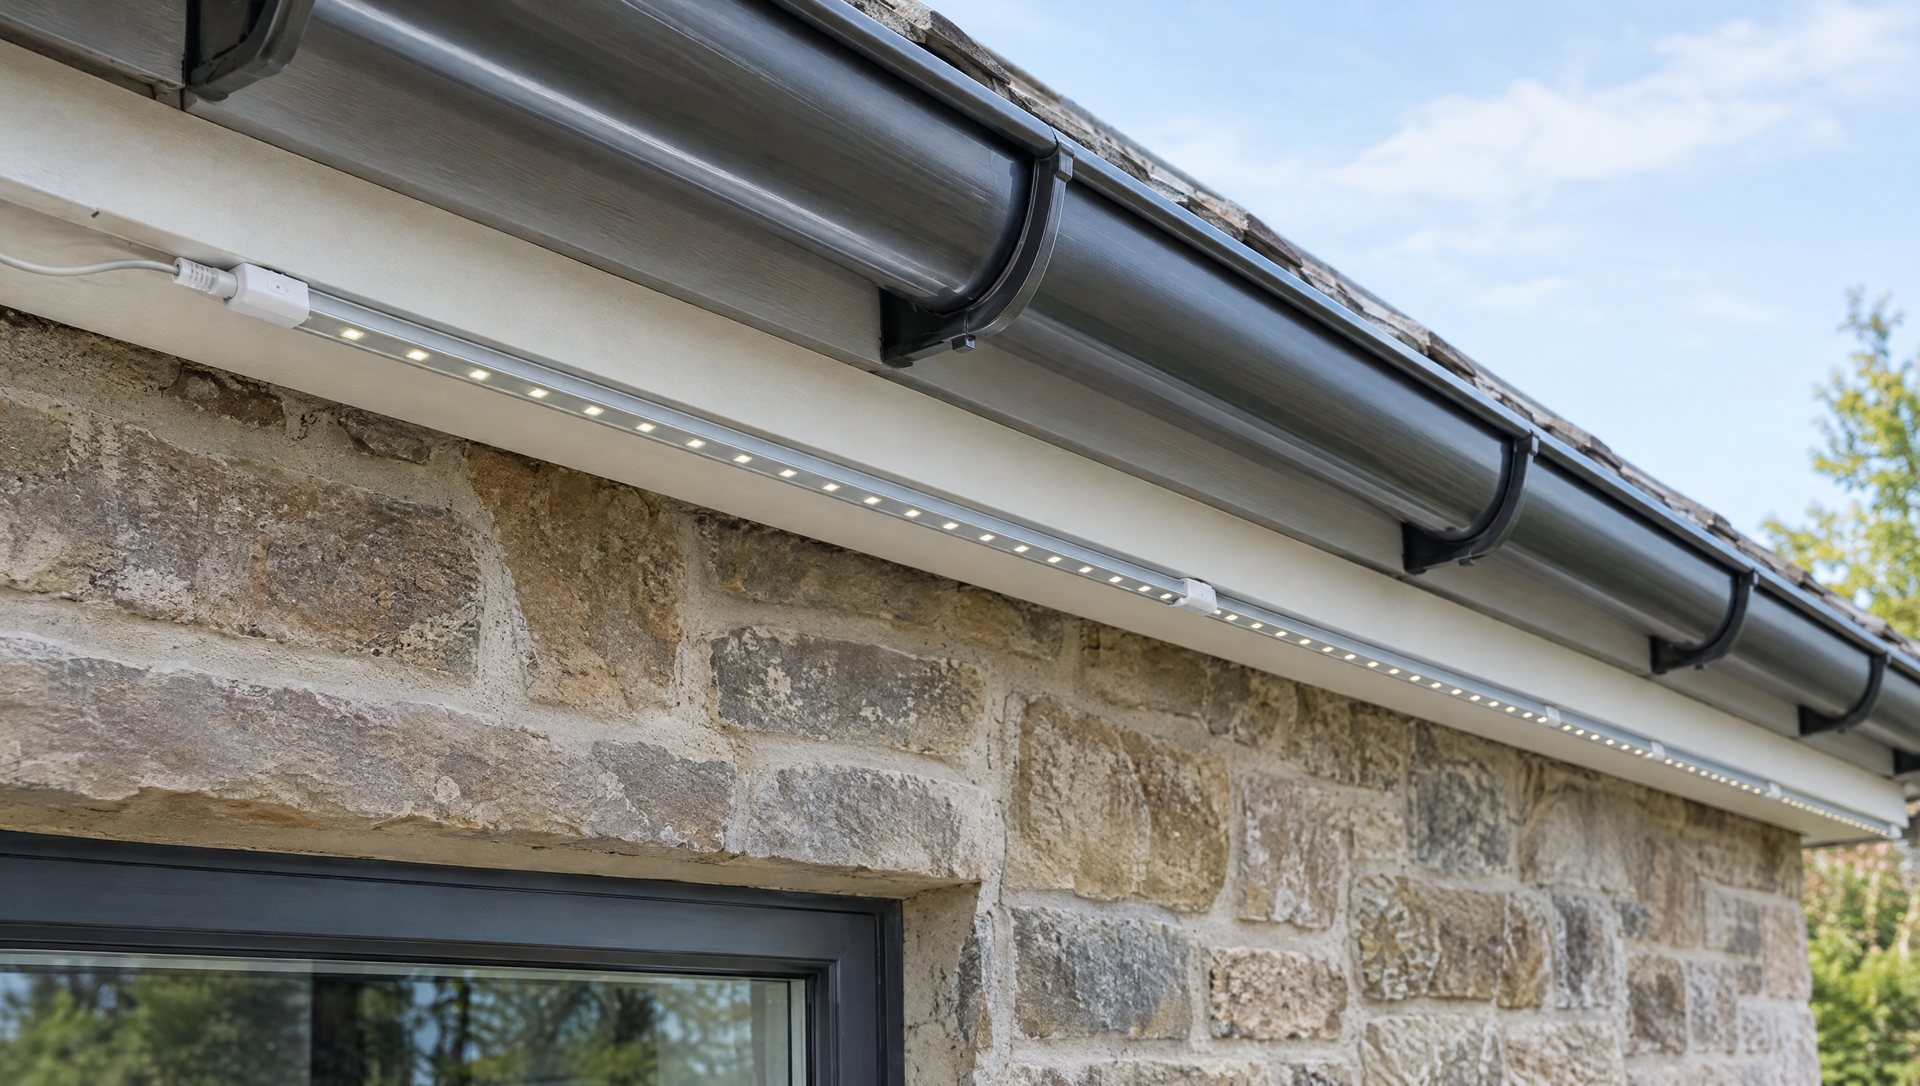
Permanent holiday and accent lighting systems are a good idea for a lot of houses. They’re also less forgiving than a string of plug-in lights. The common failure points:
- Power supply and controller placement. They need a protected, ventilated spot near a GFCI outlet, not the hottest corner of the attic or an exposed wall.
- Run length. Low-voltage LED runs can only go so far before voltage drop dims the far end and shifts its color. Manufacturers specify maximum run lengths and where to add power. Ignoring them is the most common reason a DIY install looks uneven.
- Mounting. Track fastened to soft or rotted fascia pulls loose, and track that interrupts gutter drainage holds water against the trim.
- Connections. Every splice is a place for water to get in. Connectors need to be sealed and oriented so water drains off them.
- Roof work. The install itself means hours on a ladder or roof along the whole roofline, which is the same fall risk as Mistake 7 for longer.
The fix: before you buy, measure every roofline section, sketch where the power supplies and controller will go, and check the manufacturer’s run-length limits against your measurements. Our permanent Christmas light installation guide covers how these systems are laid out, and the breakdown of the cost of permanent Christmas lights helps you compare DIY against hiring it out honestly.
Where to Start
You don’t need to fix all eight at once. If you’re picking one inside and one outside:

- Inside, fix the stairs first. It’s the mistake most likely to hurt someone.
- Outside, shield or re-aim the brightest fixture on the house. It costs little and m