



Christmas Light Fuses: How to Find, Check and Replace Them
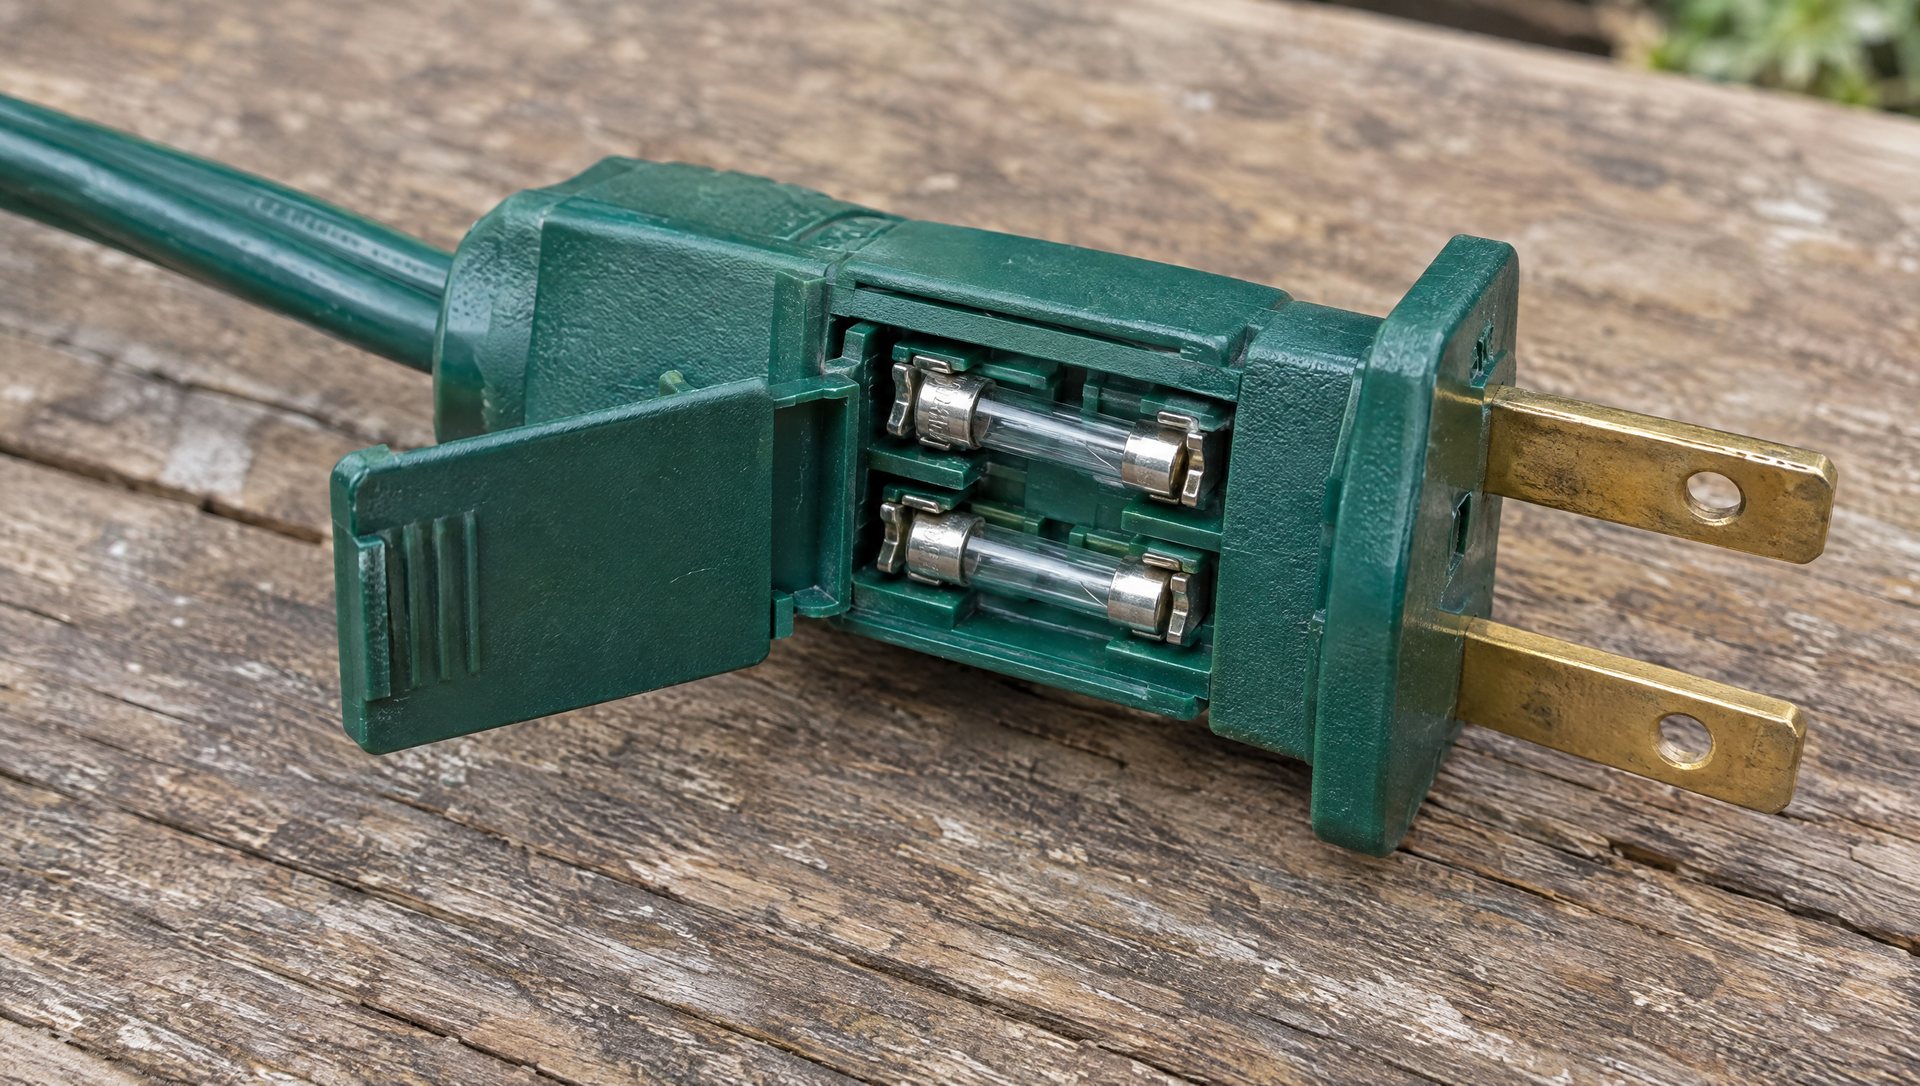
On most plug-in Christmas light strings, the fuses are in the male plug, the end with the prongs, behind a small door that slides toward the blades. Unplug the string, slide the door open with a thumbnail or a small flat screwdriver, and lift out the glass fuses. Replace them only with the rating printed on the plug or tag, commonly 3 amp on mini lights and 5 amp on many C9 sets, using the spares packed with the string. If the new fuse blows too, the string is done.
That’s the repair. The more useful question is why it blew, because a fuse that blew once will blow again unless you fix the cause. This guide is laid out as a diagnostic: start with what’s dark, rule out the things that aren’t the fuse, then open the plug, test, replace, and figure out what made it go.
Start here: what exactly is dark?
Before you touch a fuse, look at the pattern. It tells you where to look.

One bulb or a short section is dark, the rest of the string is lit. Not the fuse. A fuse cuts the whole string, never part of it. On incandescent mini lights, a dark section usually means a bad, loose or missing bulb in that section. Our Christmas light tester guide covers finding it.
One whole string is dark, and the strings before it in the chain are lit. Now the fuses are a real suspect, along with the connection into that string. Go to the plug.
The first string is dark and so is everything after it. The first plug’s fuses are the most likely culprit, because every string in the chain draws its power through them. Also check the outlet.
Every string on that outlet is dark, including ones that aren’t connected to each other. It’s upstream: the outlet, the GFCI, the timer or the breaker. Do the upstream checks below first.
The lights are flickering, not dark. That’s usually a loose connection or a failing controller, not a fuse. Our flickering lights guide works through it.
Rule out the outlet, the timer and the GFCI
These take two minutes and are quicker than opening a plug. Check them in order:
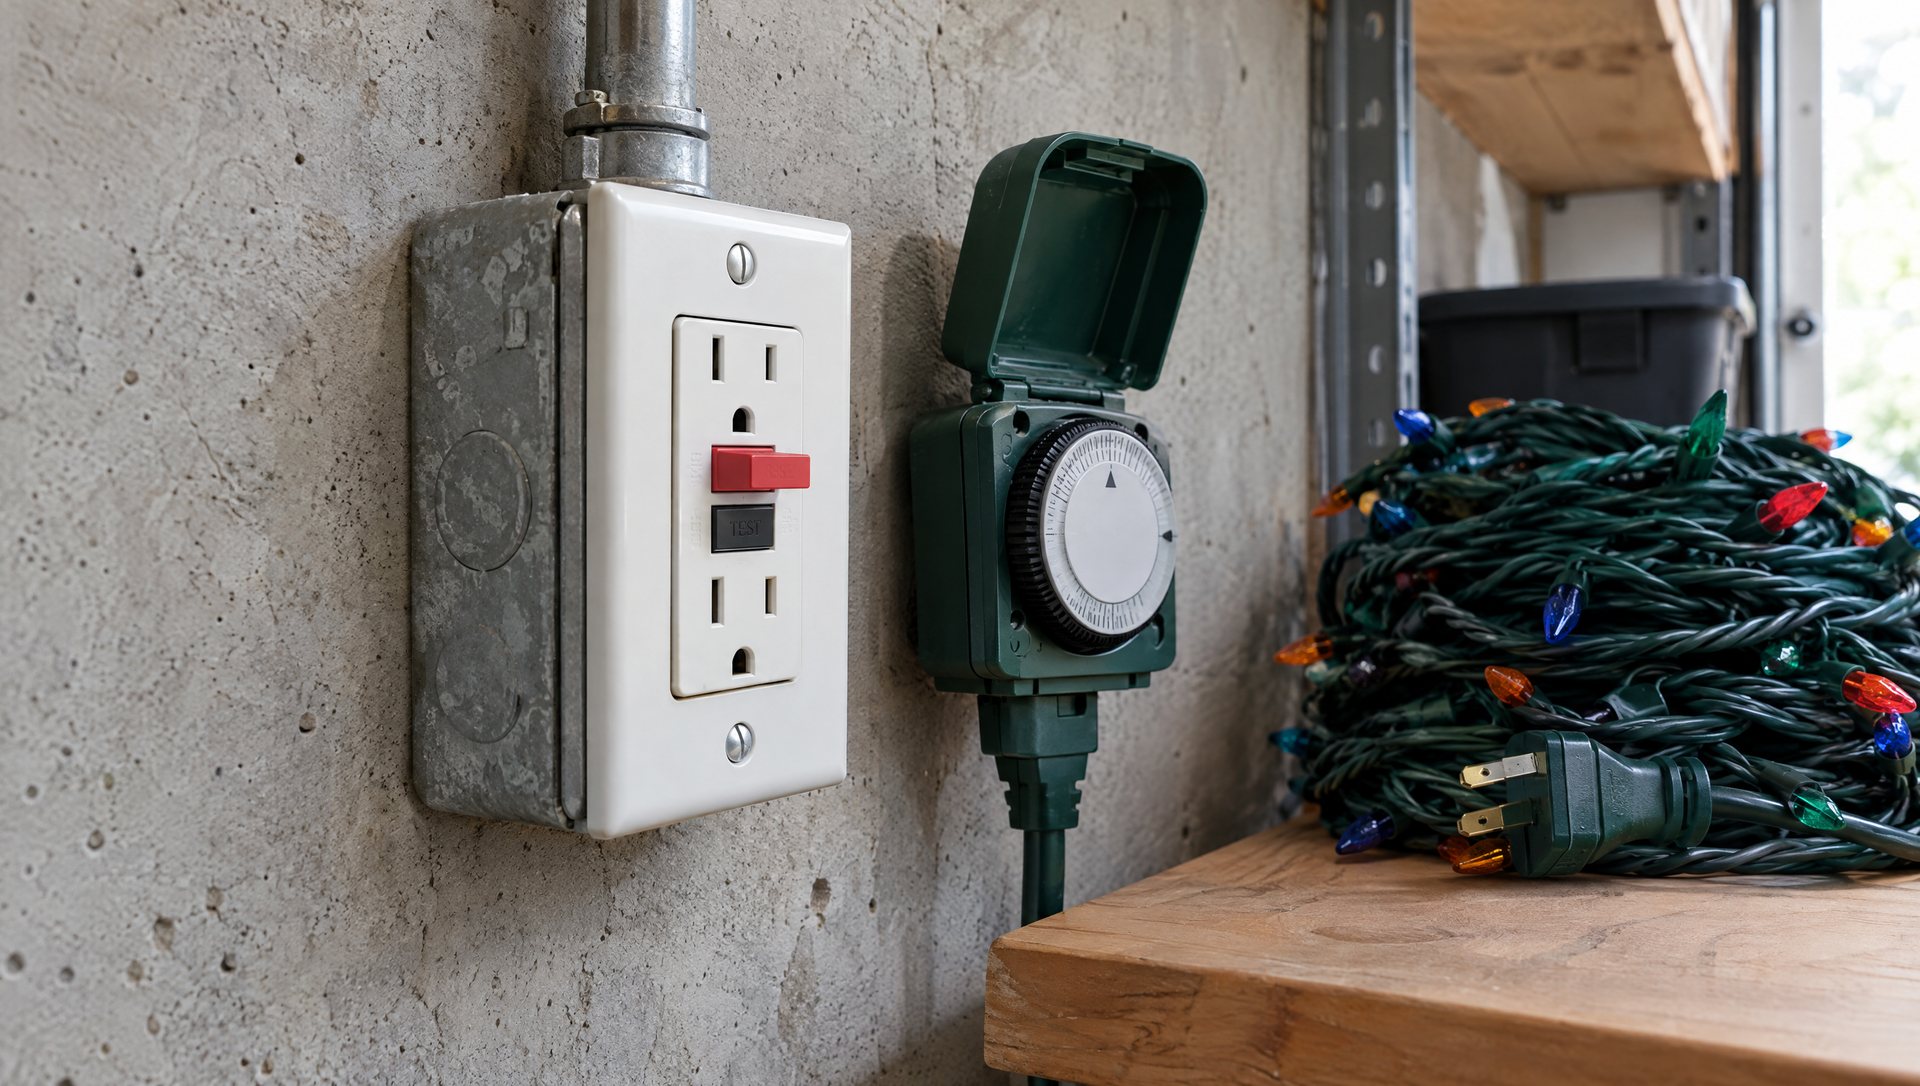
- The timer. Is it in an “on” period? Did someone bump the dial? After a power flicker, some digital timers reset. Plug the string straight into the outlet to bypass the timer for a moment.
- The GFCI. Outdoor outlets are GFCI-protected, and the protecting GFCI isn’t always on the outlet you’re using. It’s often an indoor outlet in the garage, a bathroom or by the back door that protects the outdoor ones downstream. Look for a tripped one with its reset button popped out.
- The breaker. If the GFCI is fine and the outlet is still dead, check the panel.
If a GFCI has tripped, reset it once, from a dry spot. If it trips again right away, a wet connection is the usual cause, especially after the first rain following installation or a night of sprinklers hitting a ground-level plug. Don’t keep resetting it. Unplug the strings one at a time to find the one that trips it, and dry or replace that connection.
If an outlet is scorched, hot to the touch, or other parts of the house are losing power, stop there. That’s a job for an electrician, not a light-string repair.
Open the fuse door
- Unplug the string. Pull it from the outlet and unplug anything connected to its far end.
- Find the door. It’s on the male plug, usually marked with a small arrow, the word “OPEN,” or “fuse” in raised letters.
- Slide it toward the blades. A thumbnail often does it. On a stiff plug, put a small flat screwdriver in the notch and push gently. If it doesn’t move with light pressure, check the manual before forcing it; a cracked plug housing ends the string’s life.
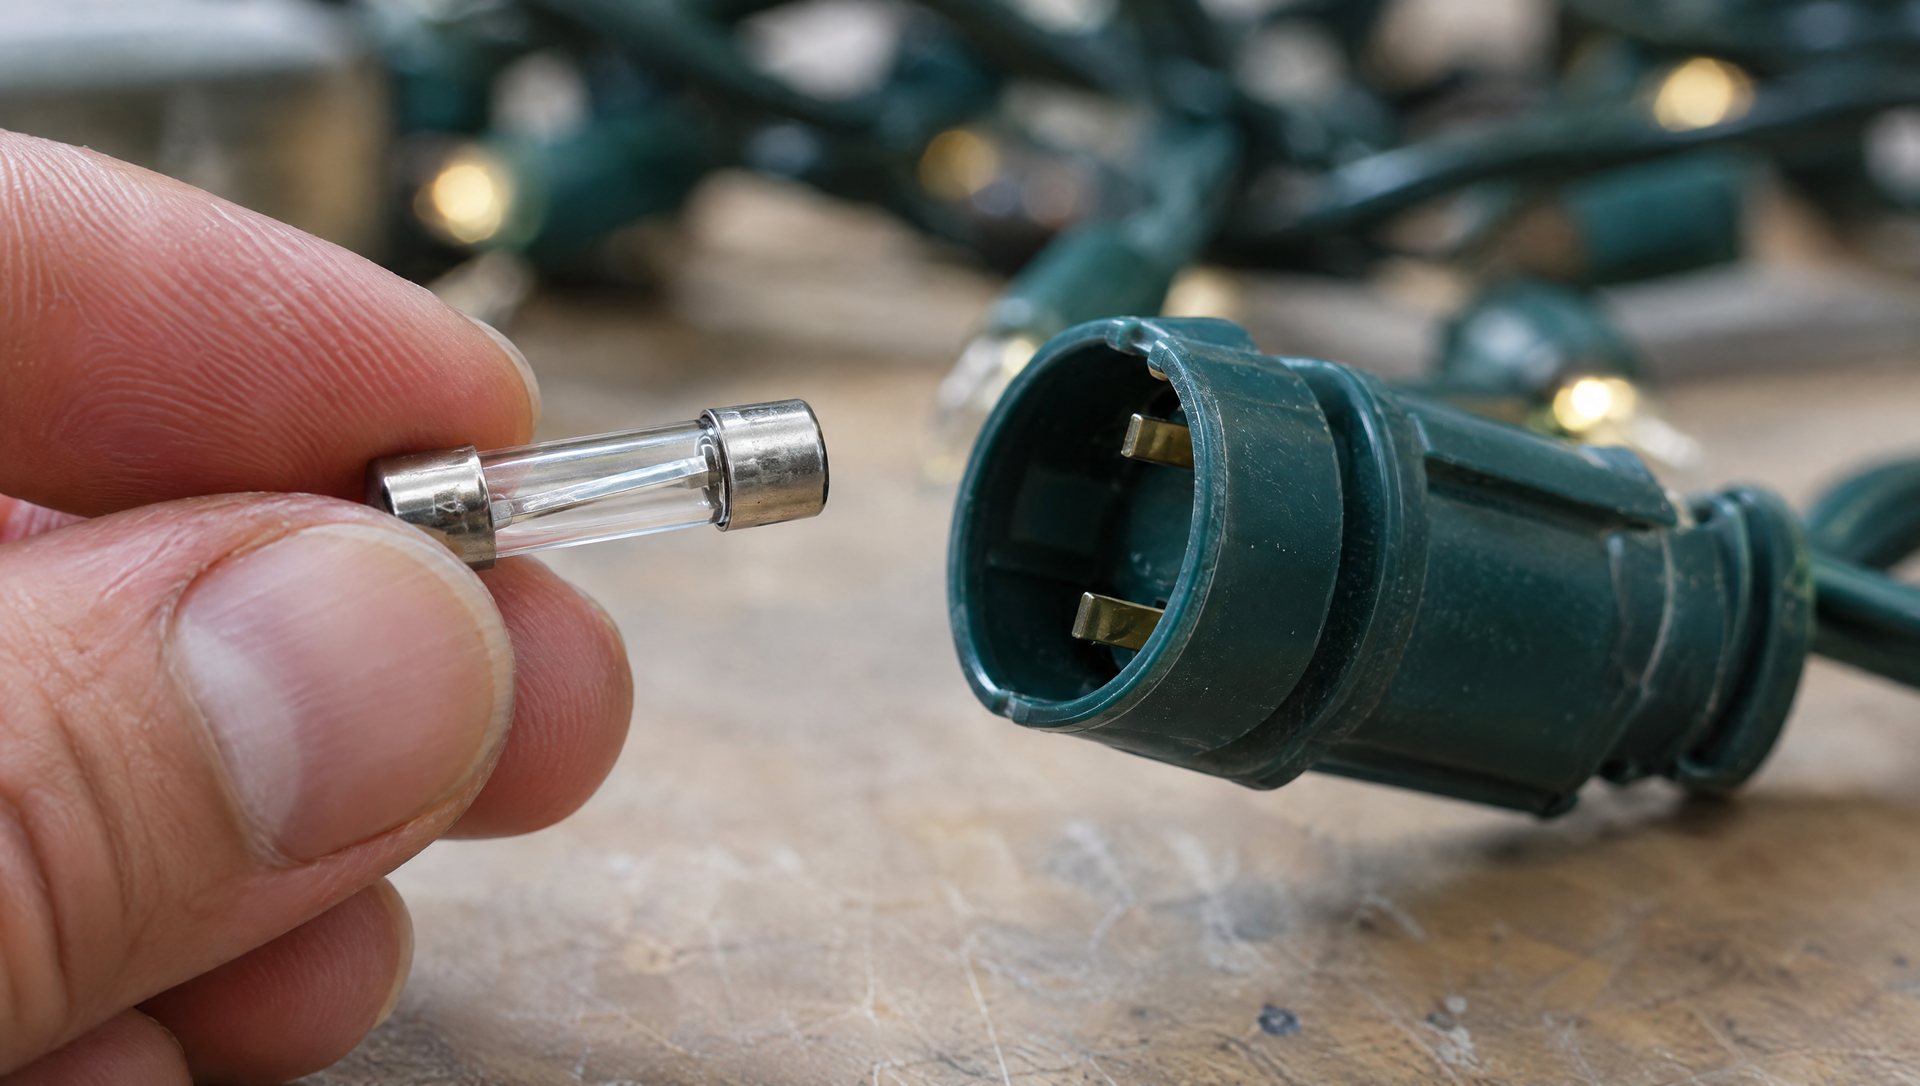
- Lift the fuses out. They’re tiny glass cartridges with metal caps. Ease them out with the screwdriver tip rather than prying.
Most plugs hold two fuses side by side. Check both and replace any that test bad. Spare fuses usually come in a tiny bag taped to the cord or tucked in the box. The manuals for two current GE indoor mini-light sets simply say to “open fuse door and check fuses,” and both include replacements with the product.
Why there’s almost always a fuse
Since 2015, the Consumer Product Safety Commission has treated 120-volt plug-in seasonal lights that lack proper overcurrent protection, adequate wire size or sufficient strain relief, as set out in the UL 588 standard, as a substantial product hazard. On ordinary light strings, that overcurrent protection is the fuses in the plug. Battery, solar and low-voltage products powered through a transformer or adapter are outside that definition, which is why many smart and adapter-powered sets have no fuse door at all.
Read the rating before you replace anything
The correct fuse is printed on the plug, the cord tag or the manual, along the lines of “use 3 Amp, 125 Volt fuse.” Match the amps, the voltage and the physical size.
Two real examples show why you have to read it. GE’s manual for an LED pathway-light set calls for a 3 amp, 125 volt fuse. A Home Accents Holiday 50-bulb C9 LED string calls for 5 amp, 125 volt. “Christmas lights take 3 amp fuses” is right for a lot of mini-light strings and wrong for plenty of others.
A fuse that fits the slot isn’t automatically the right fuse. Never fit a higher amp rating because it’s what you have, and never bridge the slot with foil or wire. The fuse is the only thing protecting that thin wire from overheating. If the rating has worn off and the manual is gone, contact the maker or retire the string.
Test the fuse
A blown fuse often shows a broken wire inside or smoky, darkened glass. But a fuse can look perfectly clear and still be open, so looks are only a first check.
- A light tester with a fuse slot. Many light-repair tools, including the LightKeeper Pro, have a fuse-test slot that lights up when the fuse is good.
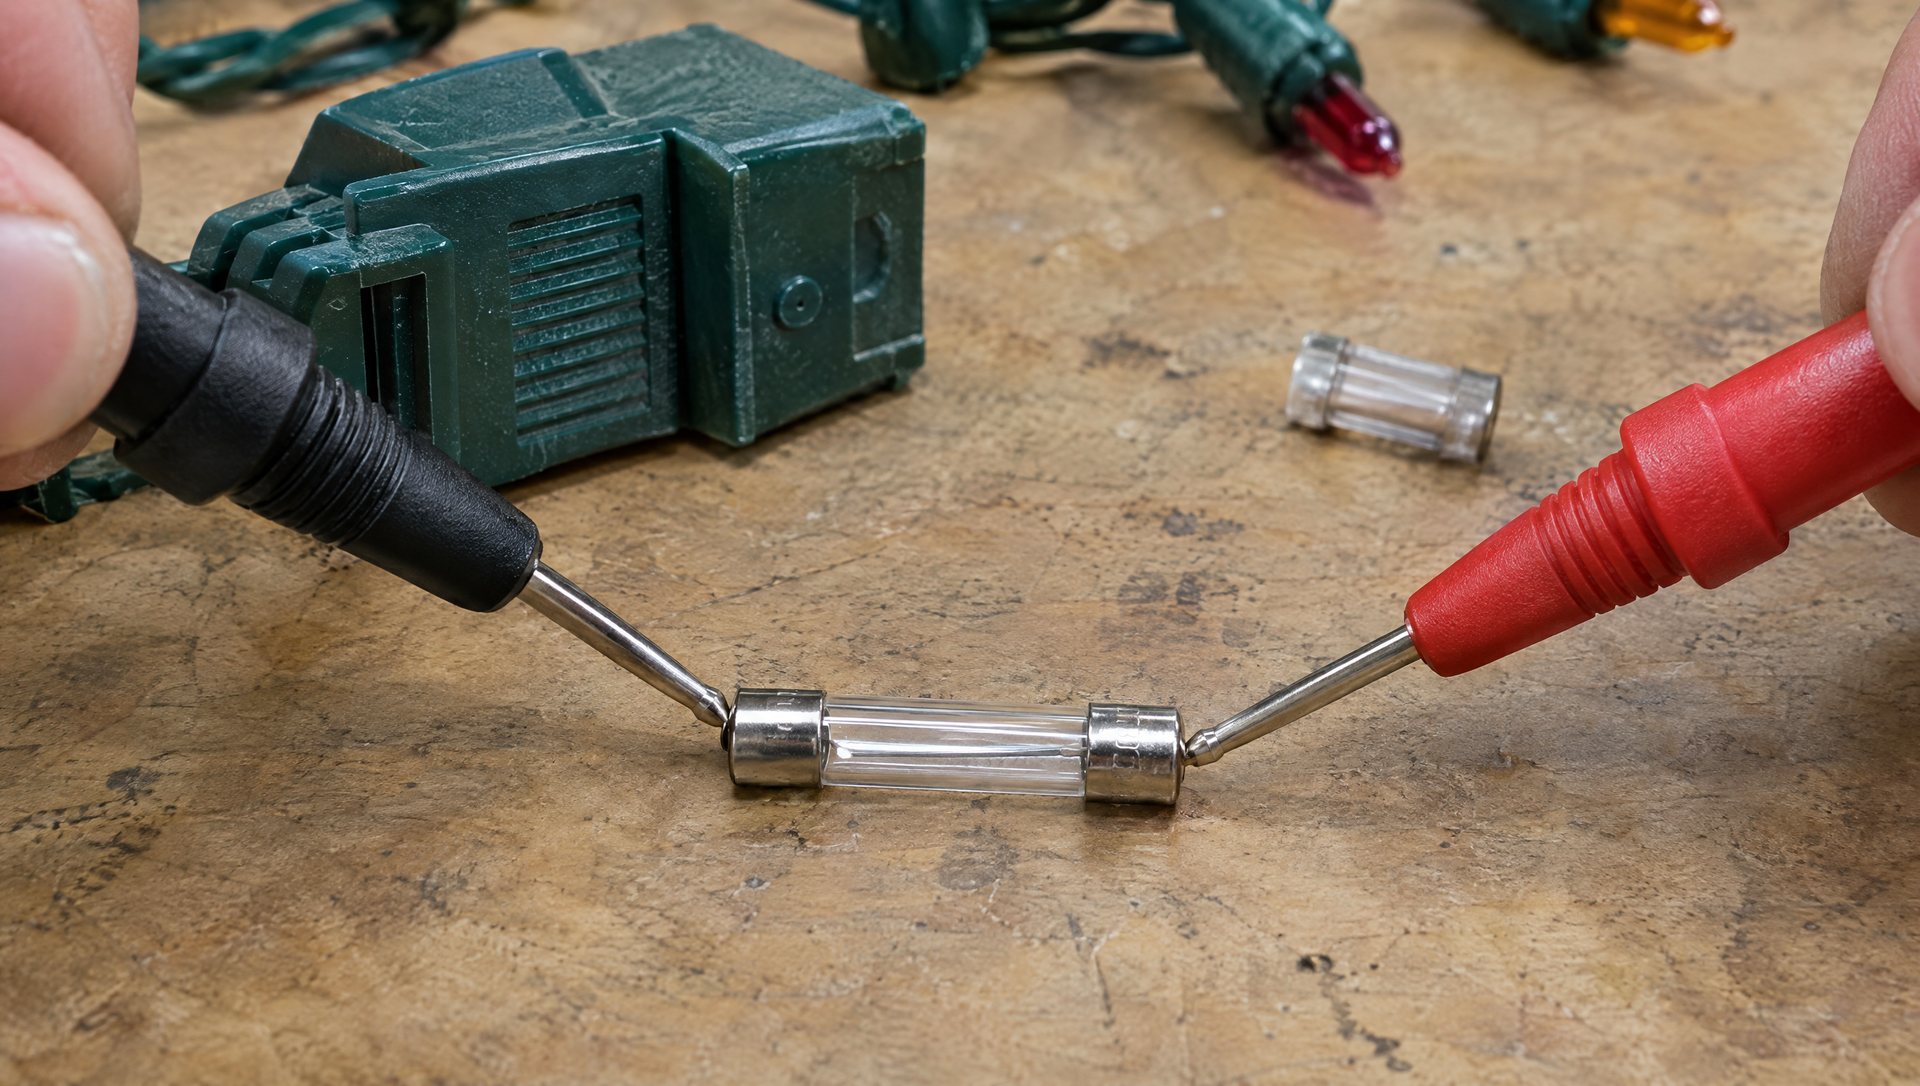
- A multimeter. On the removed fuse only, set the meter to continuity or low ohms and touch a probe to each metal cap. A beep or a near-zero reading means good; no reading means blown. Never use continuity or resistance mode on anything plugged in.
- No tester at all. Swap in a matching spare from that string’s bag. If the string lights, the old fuse was the problem.
Replace the fuse and retest the string alone
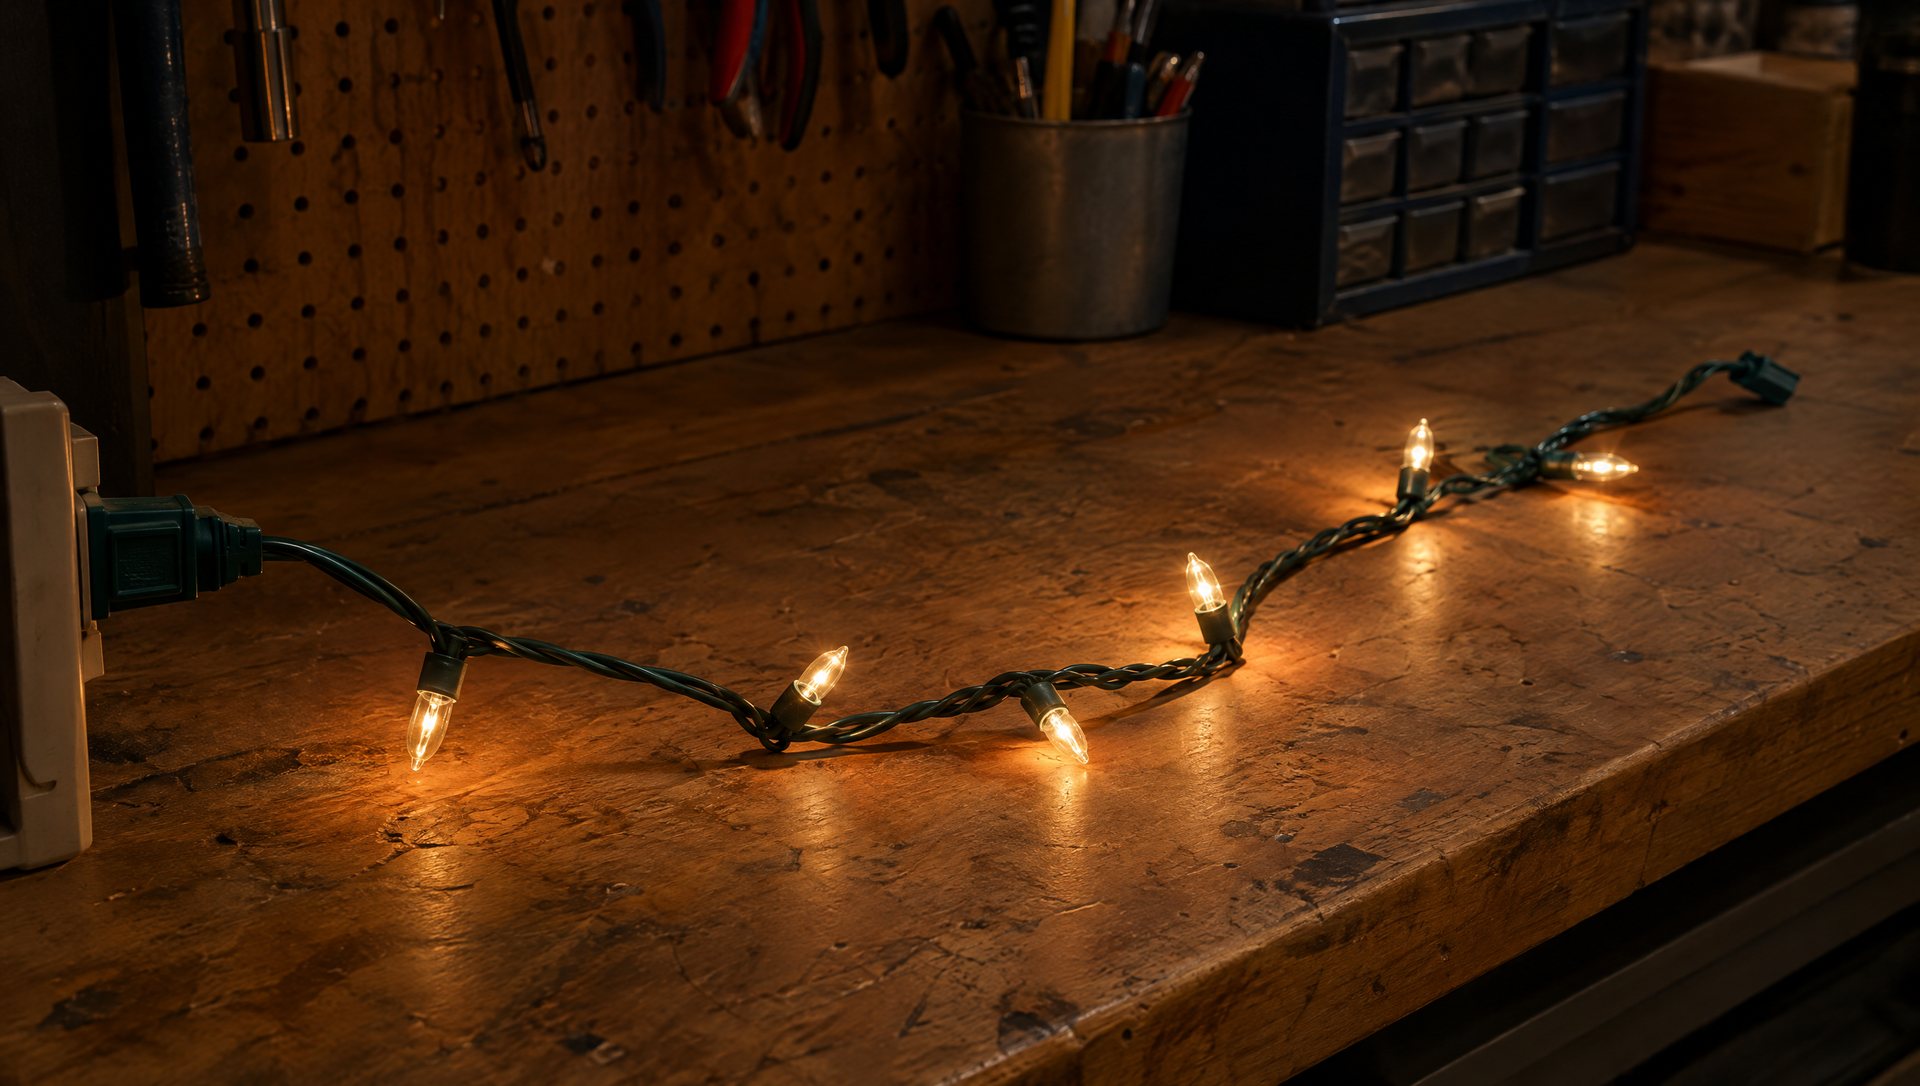
- With the string still unplugged, seat the correct replacement fuse in each position.
- Slide the door fully closed. Don’t plug in a string with the door open.
- Plug in that string by itself, with nothing connected to its far end.
- If it lights, reconnect the run, staying within the “connect up to” limit on the tag.
- If the new fuse blows, or you notice heat, a smell or sparking, unplug it and stop.
That last step is where people get into trouble. A replacement that blows immediately means the short or overload is still there. GE’s manual says it plainly: if the replacement fuse blows, a short circuit may be present and the product should be discarded. A string isn’t worth a second fuse and a fire risk.
If it lights alone but blows again when you reconnect the chain, the problem is the chain, not the string. Keep reading.
Why it blew, part 1: too many strings end to end
This is the cause to check first. Every string you plug into the end of another draws its power through the first string’s wire and the first string’s fuses. Add enough and the first plug’s fuses are the weak point, which is exactly what they’re designed to be.
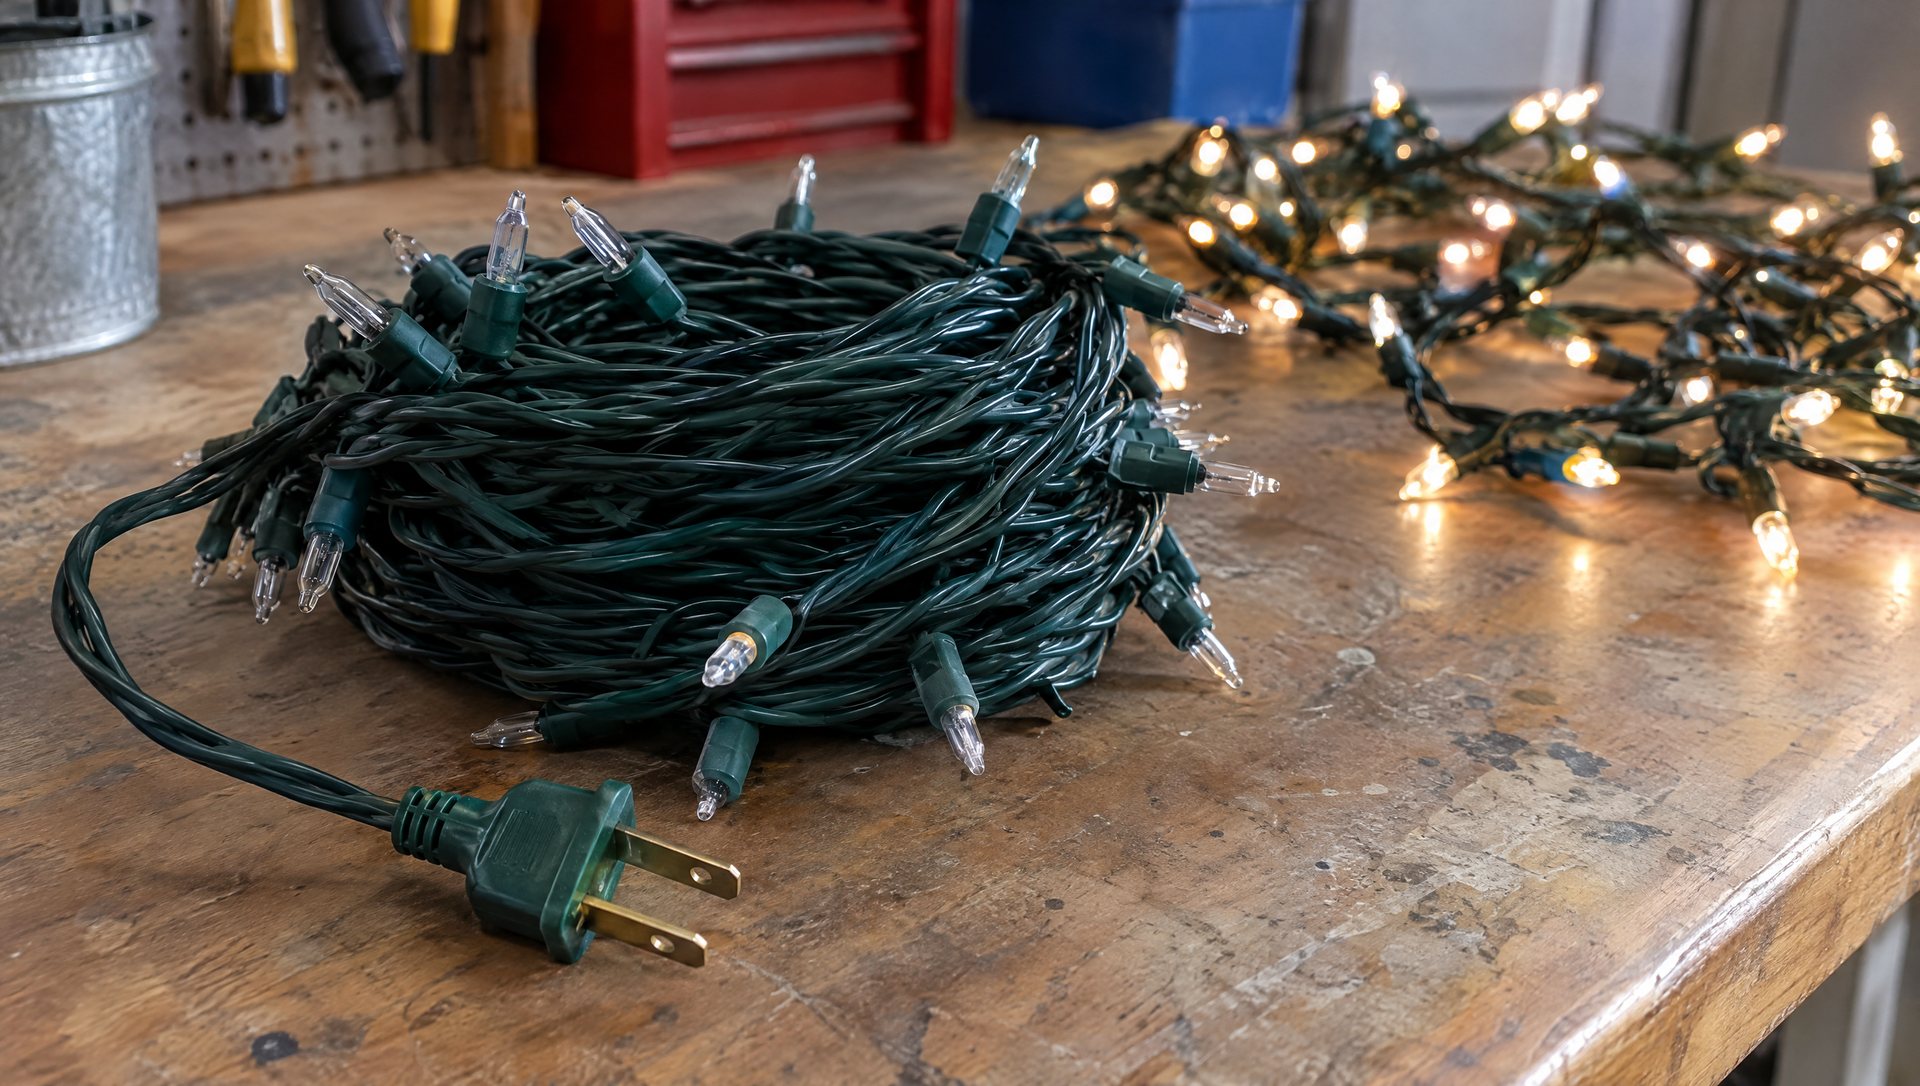
The tag tells you the limit, either as a number of sets or as total watts. Here’s how that works out with the two manuals above:
- The Home Accents C9 LED string draws 0.25 amps, which is about 30 watts at 120 volts, and allows up to 432 watts end to end. That’s 432 ÷ 30 = 14 strings of that same model.
- The GE pathway set is rated at 30 watts and caps the chain at 216 watts: 216 ÷ 30 = 7 sets.
Two catches. First, the limit only applies to identical sets. Plug an old incandescent string into the end of an LED chain and the math changes completely: a 25-bulb incandescent C9 string with 7-watt bulbs draws about 175 watts by itself, more than five of those LED strings combined. Second, mixing brands means you’re relying on the lowest limit in the chain.
The fix is shorter chains. Start a second run from the outlet with an outdoor-rated extension cord instead of adding one more string to the end. Our LED vs incandescent guide shows how much difference the switch to LED makes to how many strings you can run.
Why it blew, part 2: a short
If the chain is within its limit and the fuse still blows, look for a short. On an outdoor display, the usual suspects are:
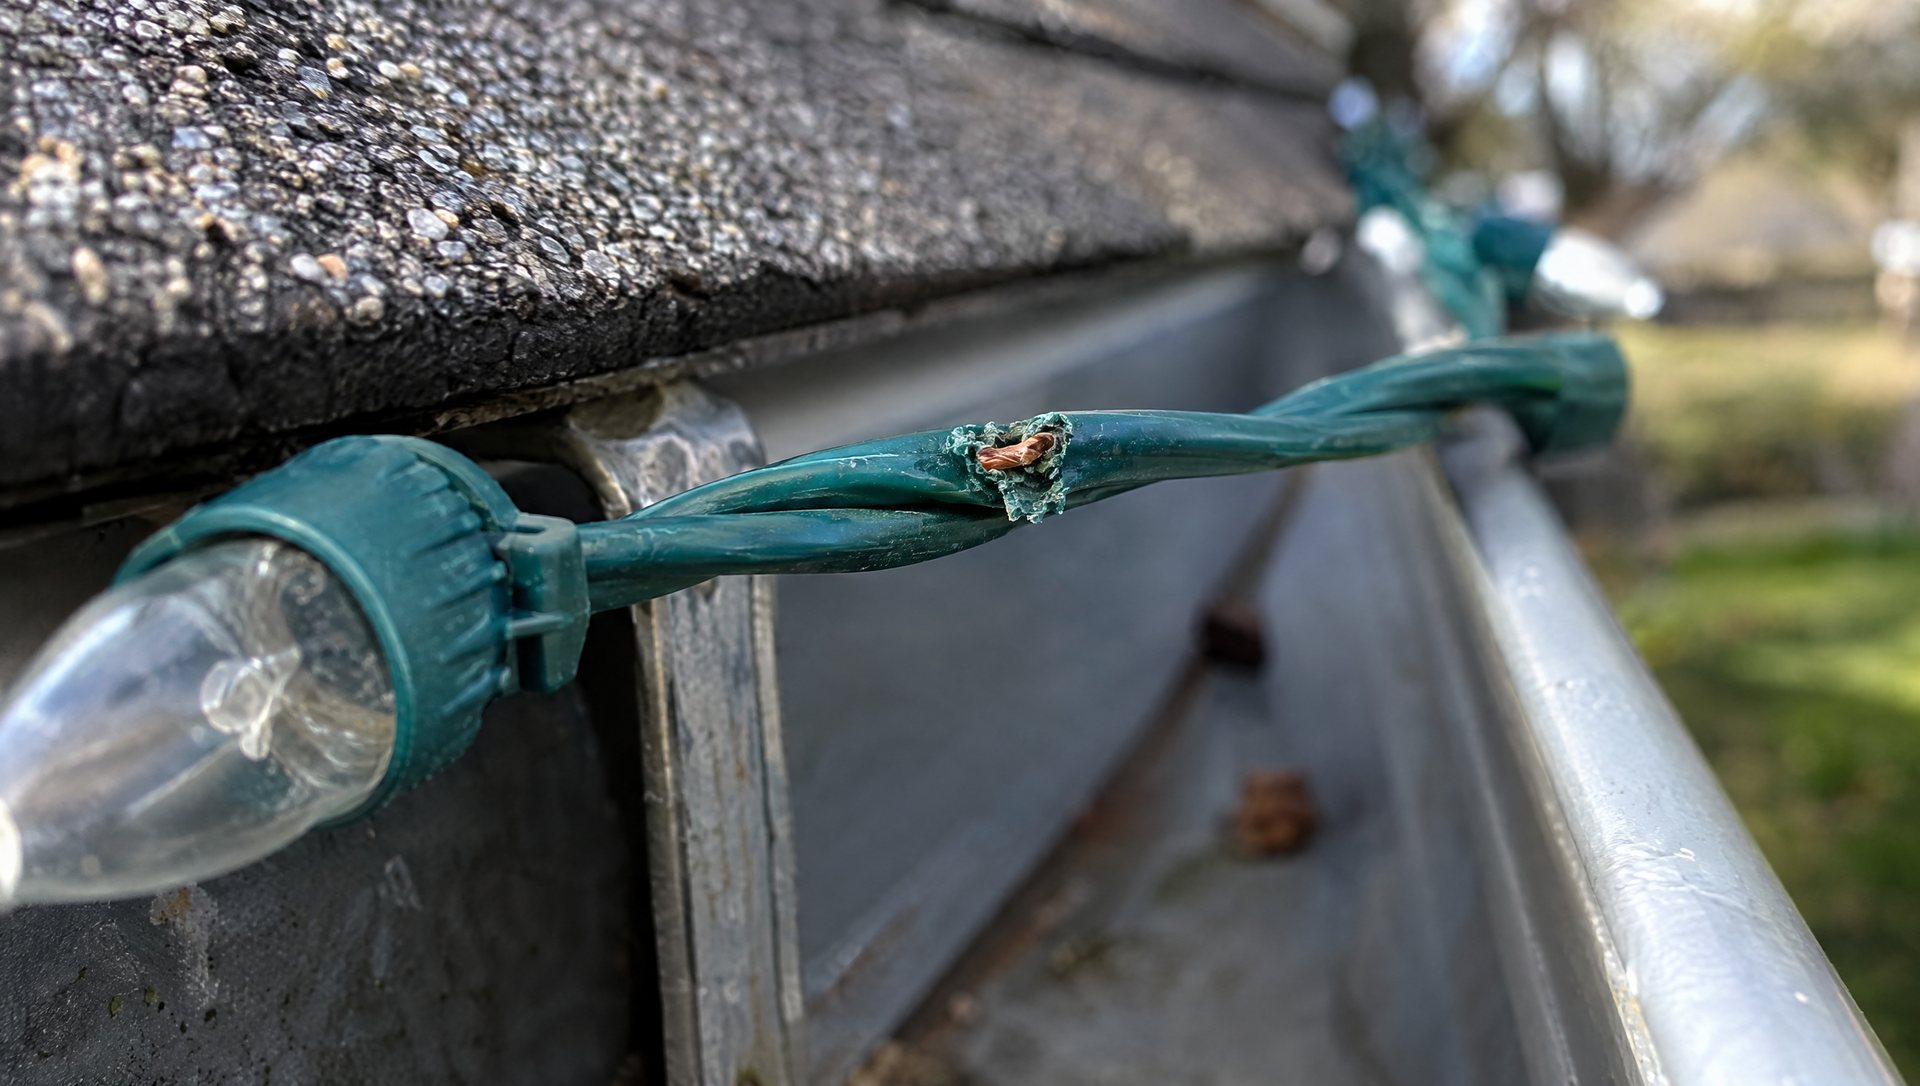
- Water in a plug or socket. A connection sitting in a puddle, in a gutter that holds water, or in sprinkler spray at ground level. Ground-level connections on pathway lights are the worst offenders; our pathway lighting guide covers keeping them dry.
- Crushed or pierced wire. A staple through the cord, a wire pinched in a window or a gutter bracket, a cord run over by a car.
- Chewed wire. Squirrels and other animals chew holiday lights. Look closely along the run for nicks and exposed copper.
- A damaged socket. A cracked socket or a bulb base that’s corroded.
Walk the string in daylight with it unplugged and look along every inch, especially where it passes over sharp edges or through clips. A damaged string goes in the trash, not back on the house.
Why it blew, part 3: the bigger picture on the circuit
There are three different limits in play, and people confuse them.
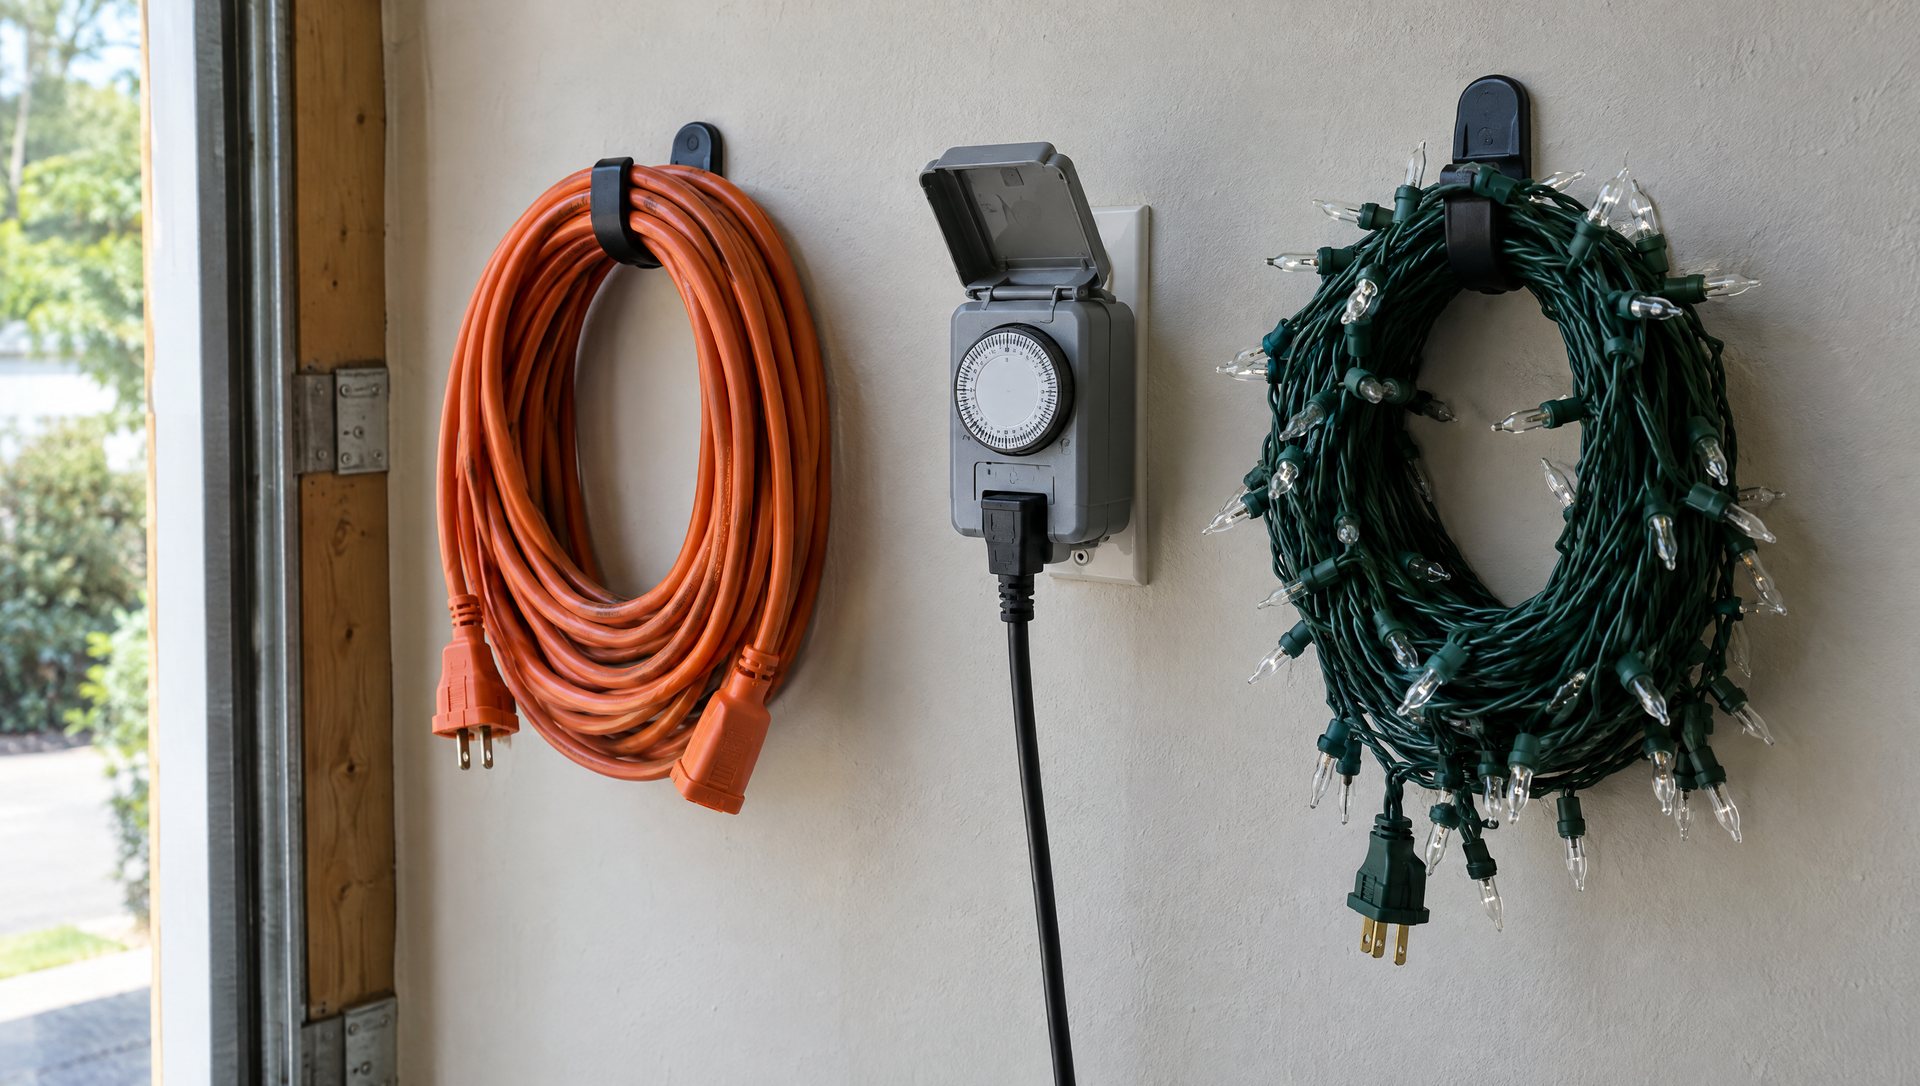
The string’s limit. The tag tells you how many matching strings or total watts you can connect end to end. It’s set by the string’s thin wire and its fuse.
The cord and timer limit. Your extension cord and outdoor timer have their own amp or watt ratings. The lowest rating in the chain is the one that counts.
The household circuit. Most outlets are on 15- or 20-amp breakers that often feed other rooms too. A 20-amp breaker doesn’t mean one light string can carry 20 amps. The plug fuse exists because the string can’t.
If you keep running out of capacity, spread the display over more outlets or more circuits rather than building longer chains. If you need a new outdoor outlet, that’s a job for a licensed electrician. Sapien’s seasonal installs use plug-in equipment; we don’t add circuits.
When new fuses don’t fix it
If the fuses test good and the string is still dark, the problem is somewhere else:
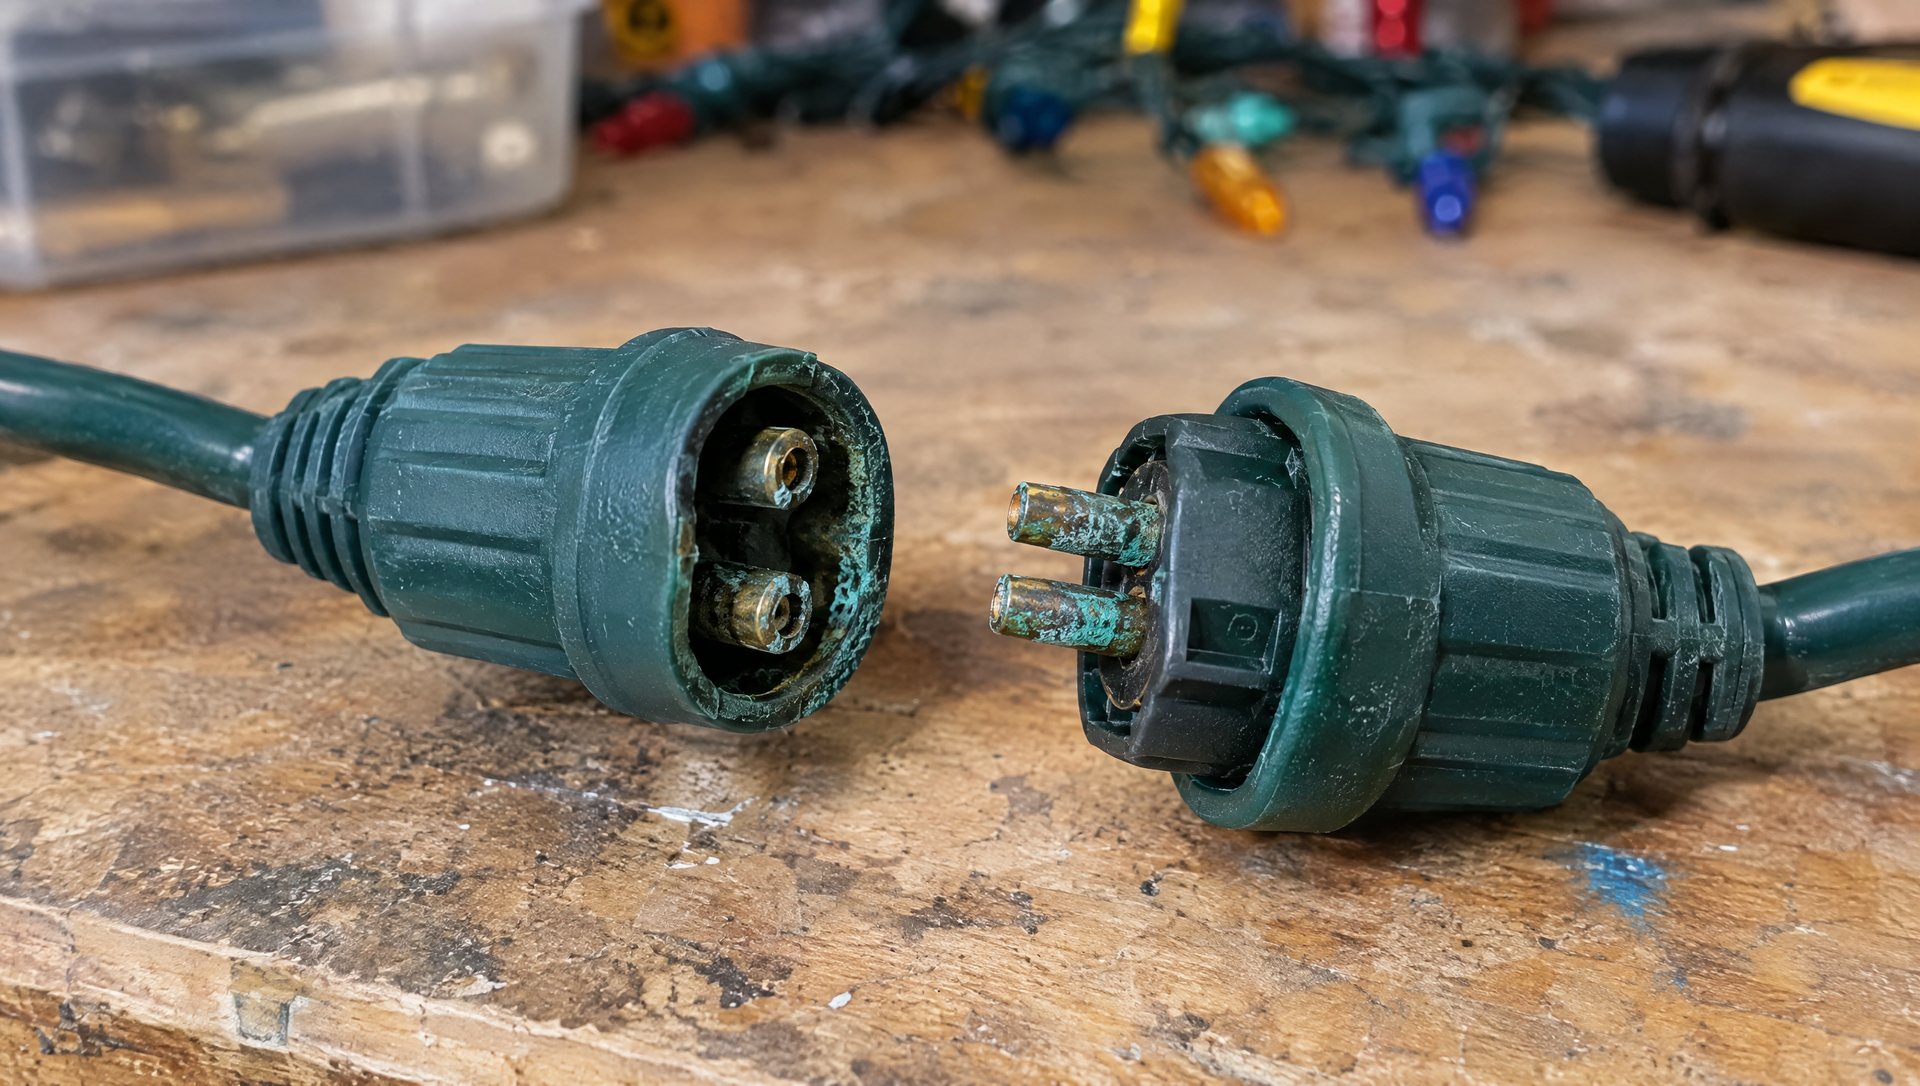
- The connection between strings. A loose or corroded end connector.
- A damaged cord somewhere along the run.
- A failed controller or adapter on an LED, twinkle or smart set.
- A break inside a sealed LED string, which usually can’t be repaired.
Don’t confuse plug fuses with the “fuse bulb” some older incandescent strings use. That’s a special bulb in a socket, not a glass cartridge in the plug, and it needs its own exact replacement.
Repair it or retire it?
Our rule of thumb: a fuse swap is worth it once. Retire the string if any of these are true.
- The replacement fuse blew.
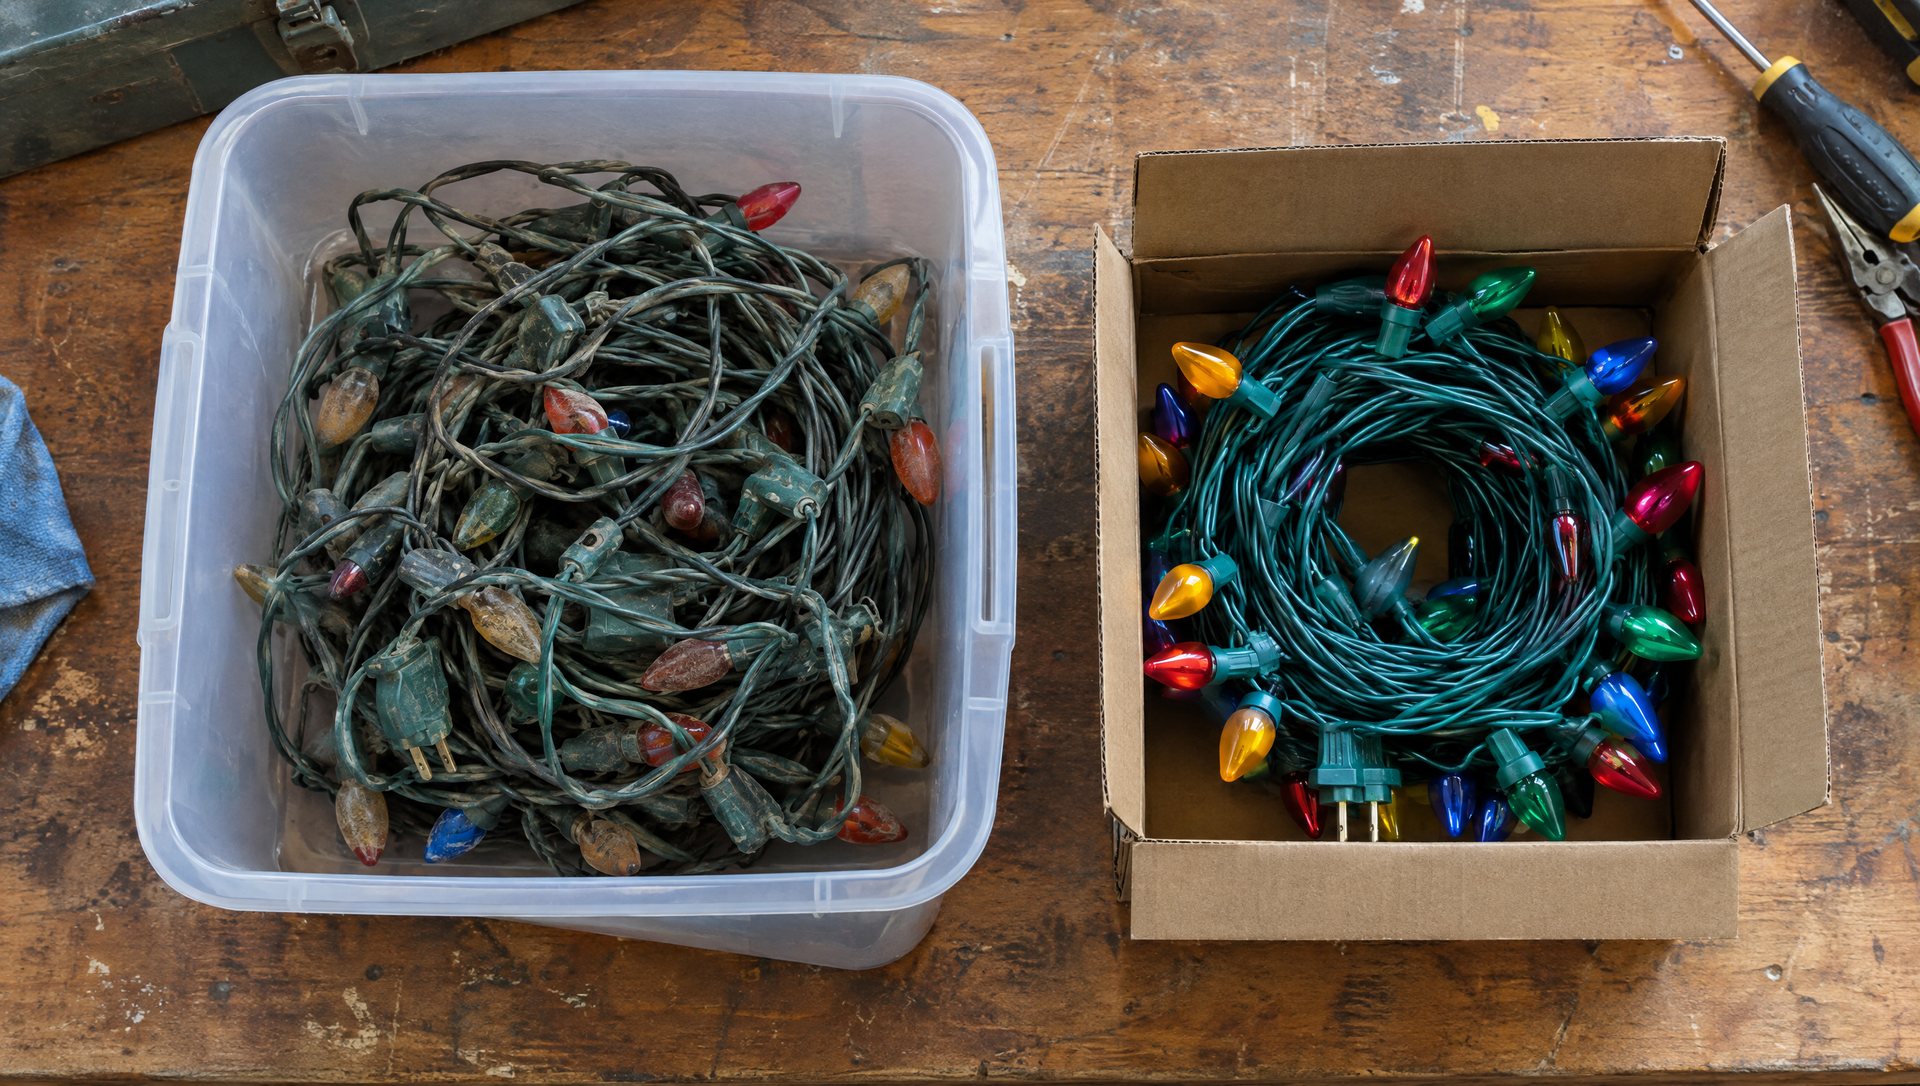
- The wire is brittle, cracked, spliced or taped.
- The cord tag is missing and you can’t confirm the fuse rating or the connection limit.
- It’s an old incandescent string you’ve repaired before.
A new set costs less than the time and risk of nursing an old one through another season. Mark a retired string clearly, or cut the plug off, so it doesn’t drift back into the “probably fine” bin. If you’re replacing a lot of old incandescent strings, our C9 guide covers what to buy instead.
Store it so next year is easier
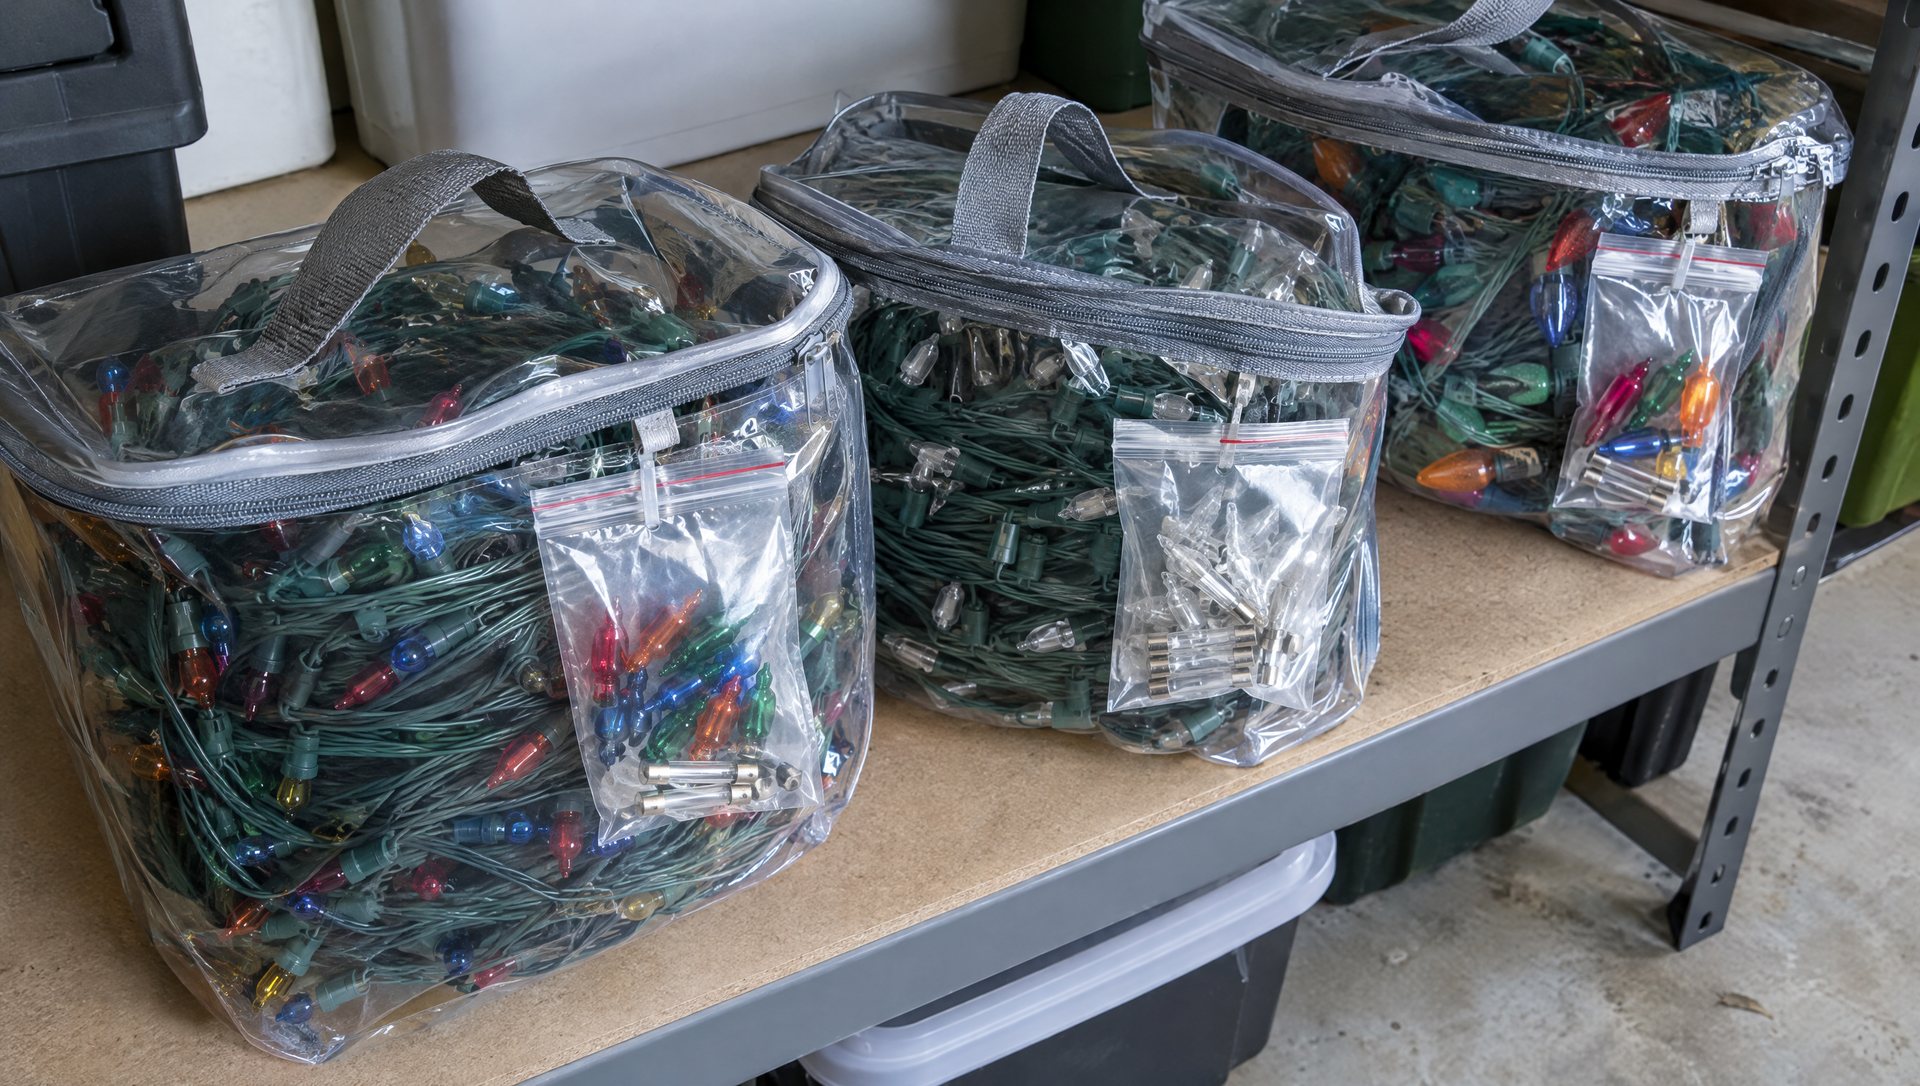
When you take lights down, keep each string’s spare fuses and spare bulbs in a small bag with that string, plus a phone photo of the cord tag, since the printing fades. Tag any string you pulled because it failed, with the symptom written on the tag. Next November, you’ll know which strings to trust.
If a section of your installed display has gone dark, text a photo showing the whole affected area, and the outlet it runs from, to (737) 777-9099 or use our contact page, and tell us which sections still work.
Sources
About the author. Rick Safeman owns Sapien Lighting & Installation in Austin, Texas.