


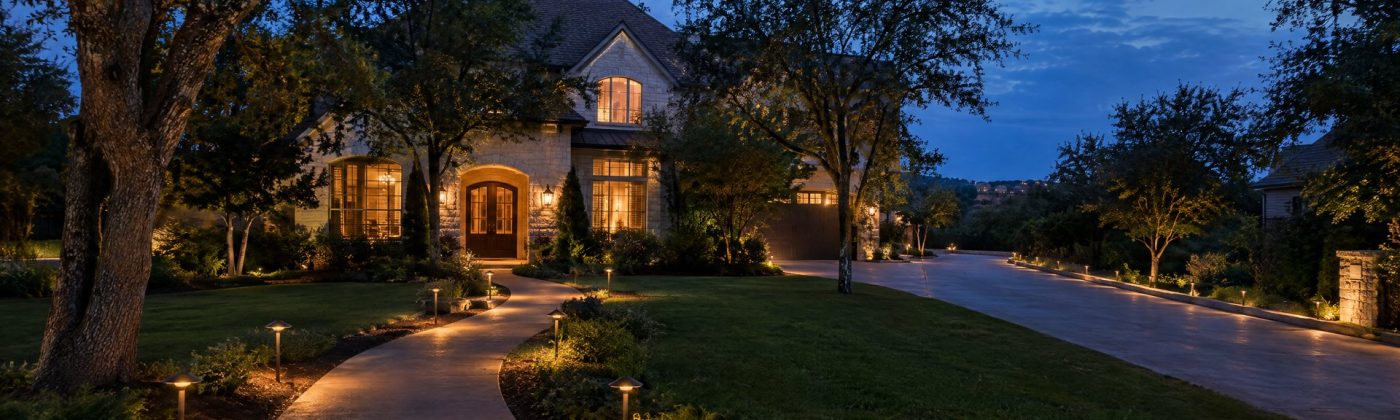
Pathway, Walkway and Driveway Christmas Lights
Pathway and driveway Christmas lights look best when they mark a route without crowding it. Space C9 stake lights 12 to 24 inches apart and larger decorative stakes 3 to 6 feet apart, set the row 6 to 12 inches back from a walk and at least 18 inches back from a driveway, and keep every cord out of foot and tire traffic. Then finish with one stronger feature at the door so the path leads somewhere.
A path is a line with a job. People follow it carrying grocery bags, holding a toddler’s hand, reading a phone, or trying to figure out which door you use. Good pathway lighting leaves that job intact and makes it look better. This guide walks through the build in order, from the daylight walk-through to the night test, with a worked example and the Austin ground conditions that catch people out. If you want the walk designed together with the roofline and trees, our Austin installation service does the whole front yard.
Step 1: Walk the route in daylight
Before you choose a single light, walk from the curb to the front door the way a visitor would. Notice four things:
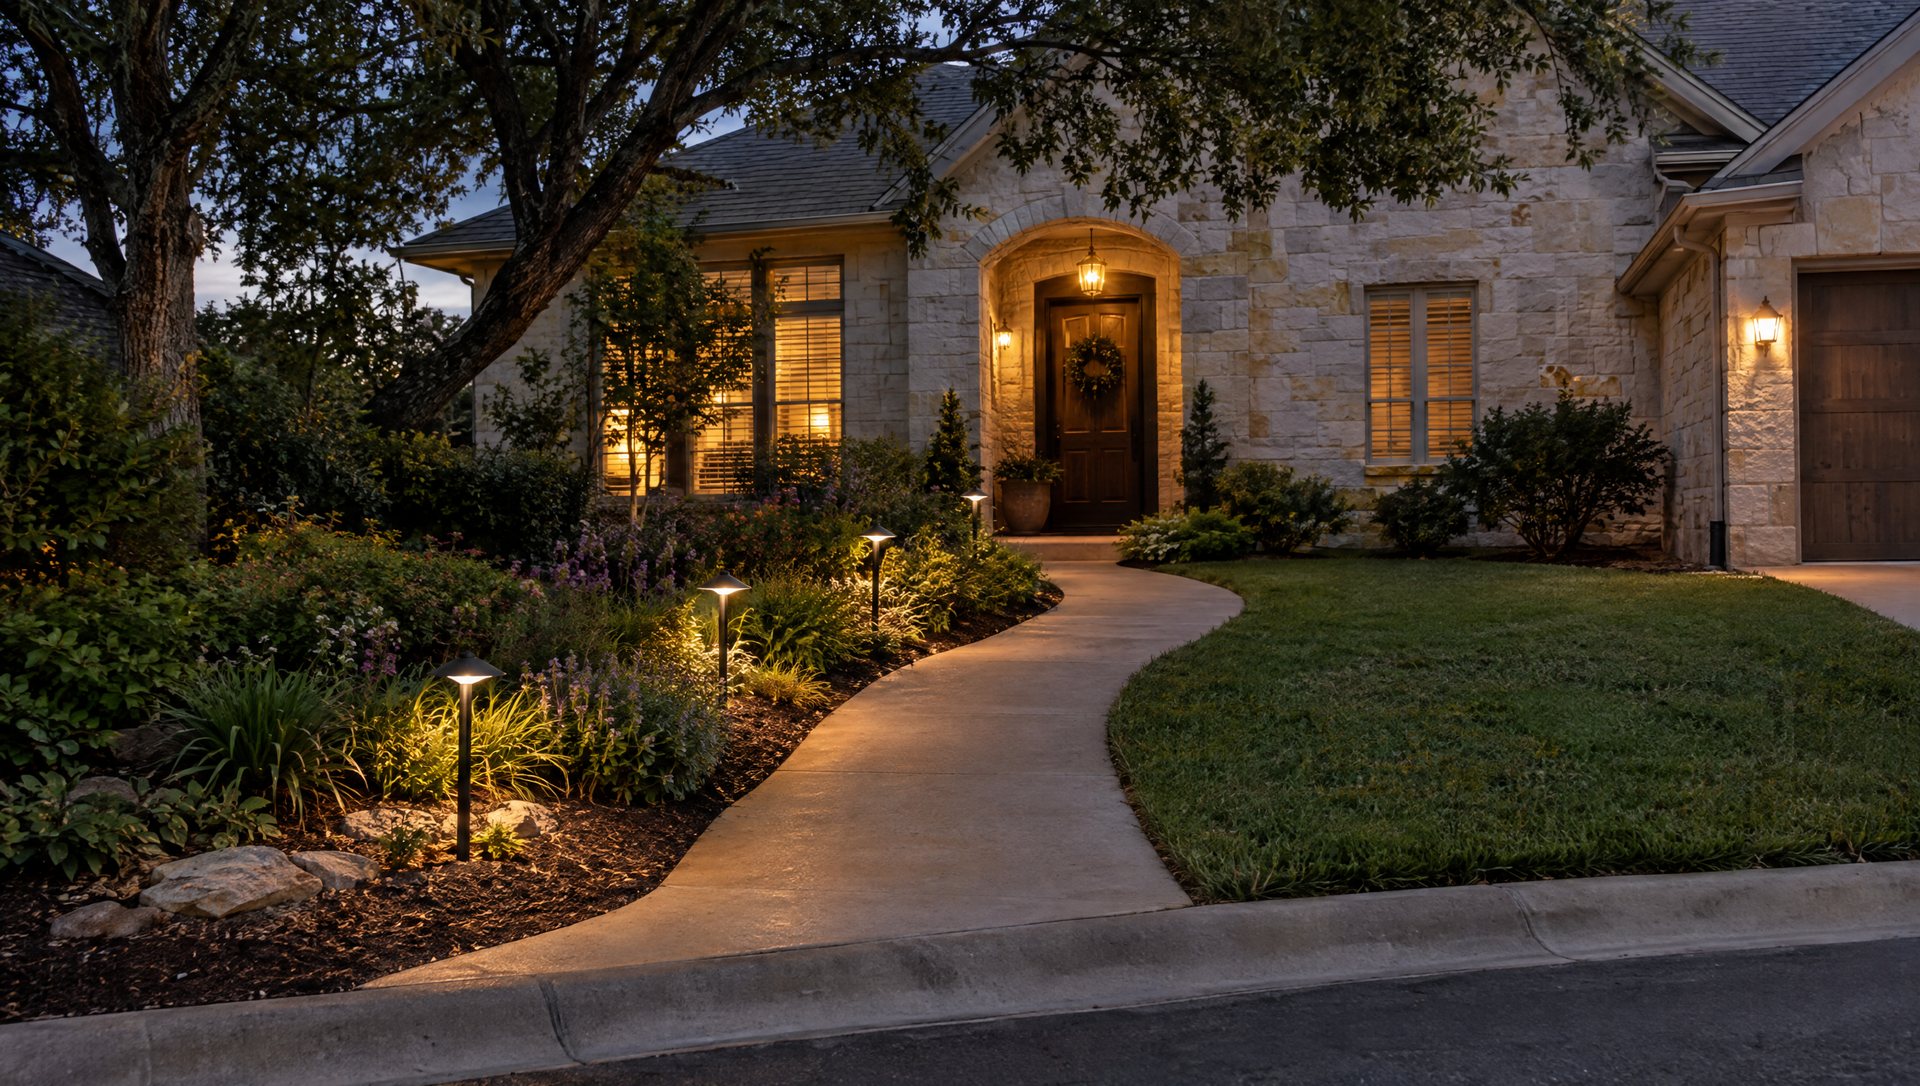
- The narrowest point. That’s where a border is most likely to get stepped on.
- Steps and level changes. Lights should never sit on a step or at the edge of a riser.
- Where car doors open. The passenger door and the path from the trunk to the house matter as much as the tires.
- The shortcut. Every yard has a spot where people leave the pavement to cut across the grass. A stake border placed there will get kicked over by the second weekend.
Then go stand where a visitor first sees the house: at the curb or across the street. A short section near the front door may do more for the whole picture than a long row disappearing behind parked cars. You don’t have to light every foot of concrete to decorate the approach.
One rule from the start: keep your regular entry and step lights working. Decorative bulbs mark the edge; they don’t light the walking surface well enough to replace them.
Step 2: Choose the kind of line you want to draw
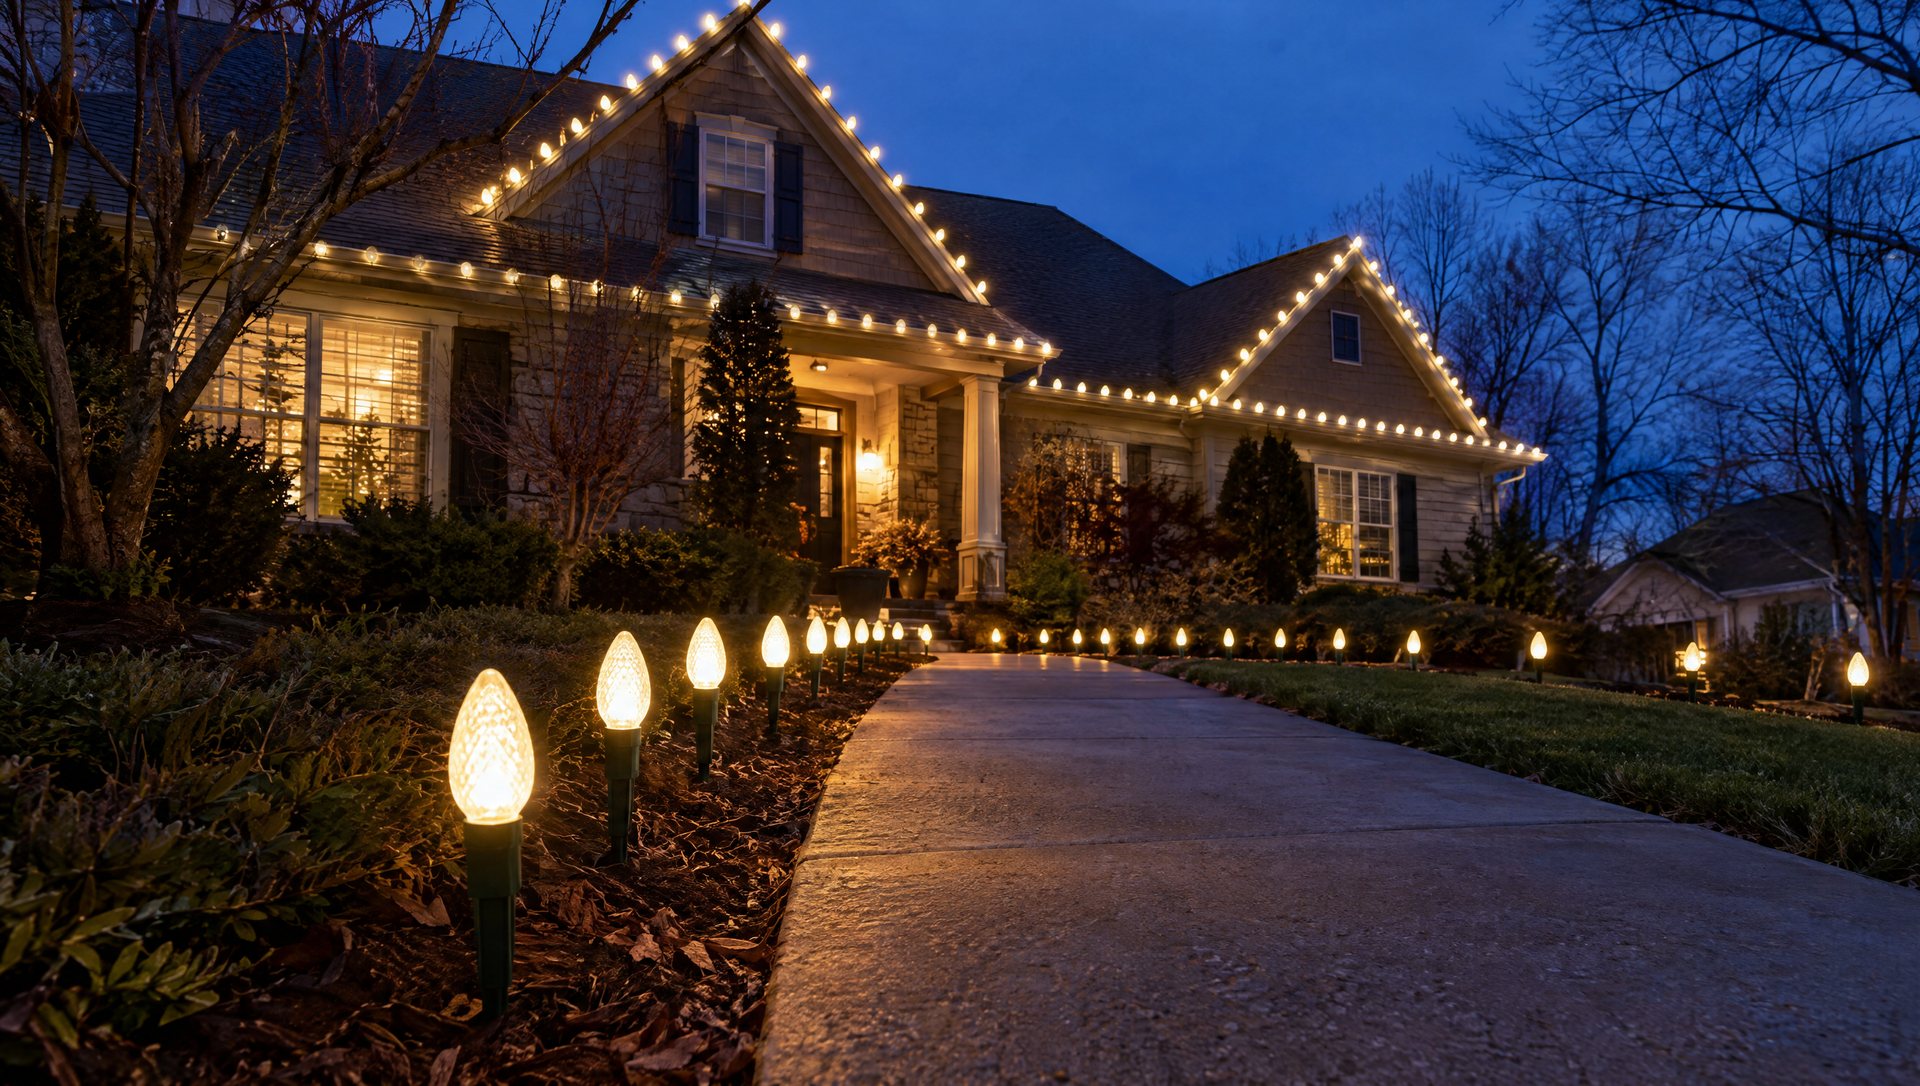
C9 bulbs on stakes. A row of larger bulbs gives the path a clear rhythm, and it ties in beautifully with a C9 roofline: the same bulb on the roof and along the ground makes the yard look designed as one piece. Use stakes made for your bulb’s socket system so each socket sits firmly with no pinched wire. Our C9 guide covers bulb and socket sizes.
Decorative stake sets. Stars, candy canes, globes and similar sets work well on a short entry. Treat them as repeated objects: one shape, one orientation, one height. Check the real dimensions of the kit; a photo of six candy canes can look like a driveway border when the cable only spans a flower bed.
A supported low line. If there’s already a low fence, a landscape wall or a garden border along the path, a string run along it gives the effect without stakes in the ground. Our fence and railing guide covers attaching to those. Never suspend a loose wire across a shortcut; the wire still exists when the timer is off.
Lanterns or planters at the destination. On a very short path, two lit planters or outdoor-rated lanterns at the door may be all you need. The decoration goes where visitors stop, instead of making them walk through an obstacle course.
Step 3: Set the spacing and the setback
Spacing is a design decision with a hardware limit. Start with the socket spacing the product actually has. C9 stake strings usually come with sockets 12 or 15 inches apart, and you put a stake at every socket.
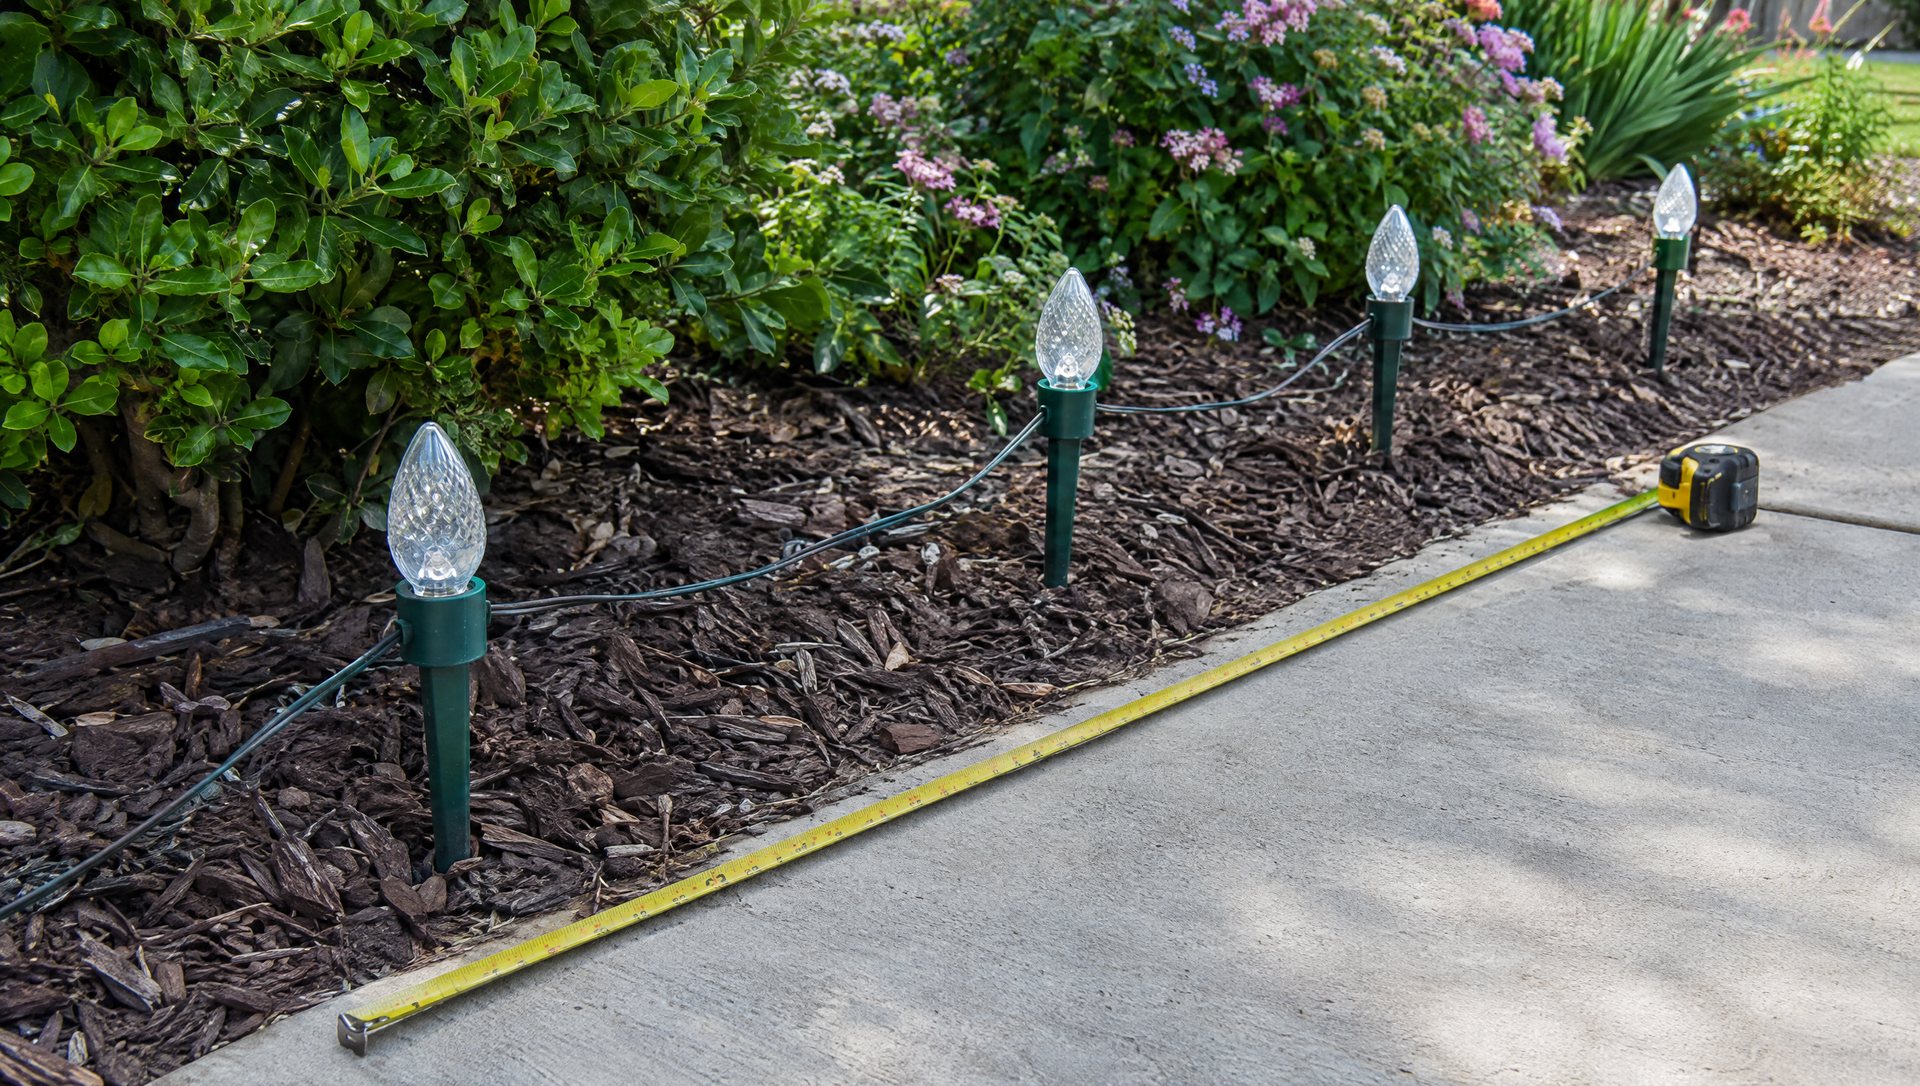
- 12 inches gives a dense, playful border that reads as a continuous line from the street.
- 18 or 24 inches gives a calmer, more spaced-out look. Buy wire with that spacing rather than skipping sockets on 12-inch wire, which leaves unlit bulbs or empty sockets lying in the grass between stakes.
- Decorative stakes (stars, candy canes, globes) read best 3 to 6 feet apart along a typical 3- to 4-foot-wide walk.
You can change products. You can’t stretch a manufactured set into a different spacing.
Setback from the edge. Set the row 6 to 12 inches back from the edge of a walk so a stray foot or a stroller wheel doesn’t catch it. Along a driveway, give it at least 18 inches: drivers cut corners, and car doors swing out past the pavement.
Make the ends land. Plan where the first and last bulbs fall before you push in a single stake. A row that starts beautifully and ends with three bulbs crowded against a step looks like an accident. Shift the whole row or shorten the decorated section so both ends land on purpose.
One side or both? One side suits most narrow walks and asymmetrical front gardens, and on a curved walk, lighting the outside of the curve shows the shape best. Both sides make a more formal entrance and work when they end at matching planters or columns. On a long driveway, both sides doubles the material and the maintenance; try one side or the section nearest the house first.
Step 4: Give the driveway room to work
Cars don’t travel along a pencil line. They turn, reverse, open doors and occasionally arrive with a wider car than the one usually parked there. Check the layout with your vehicles in place, including the passenger side and the route from the trunk to the front door. Lights should sit clear of all those movements, not just clear of the tires when the car is parked perfectly.
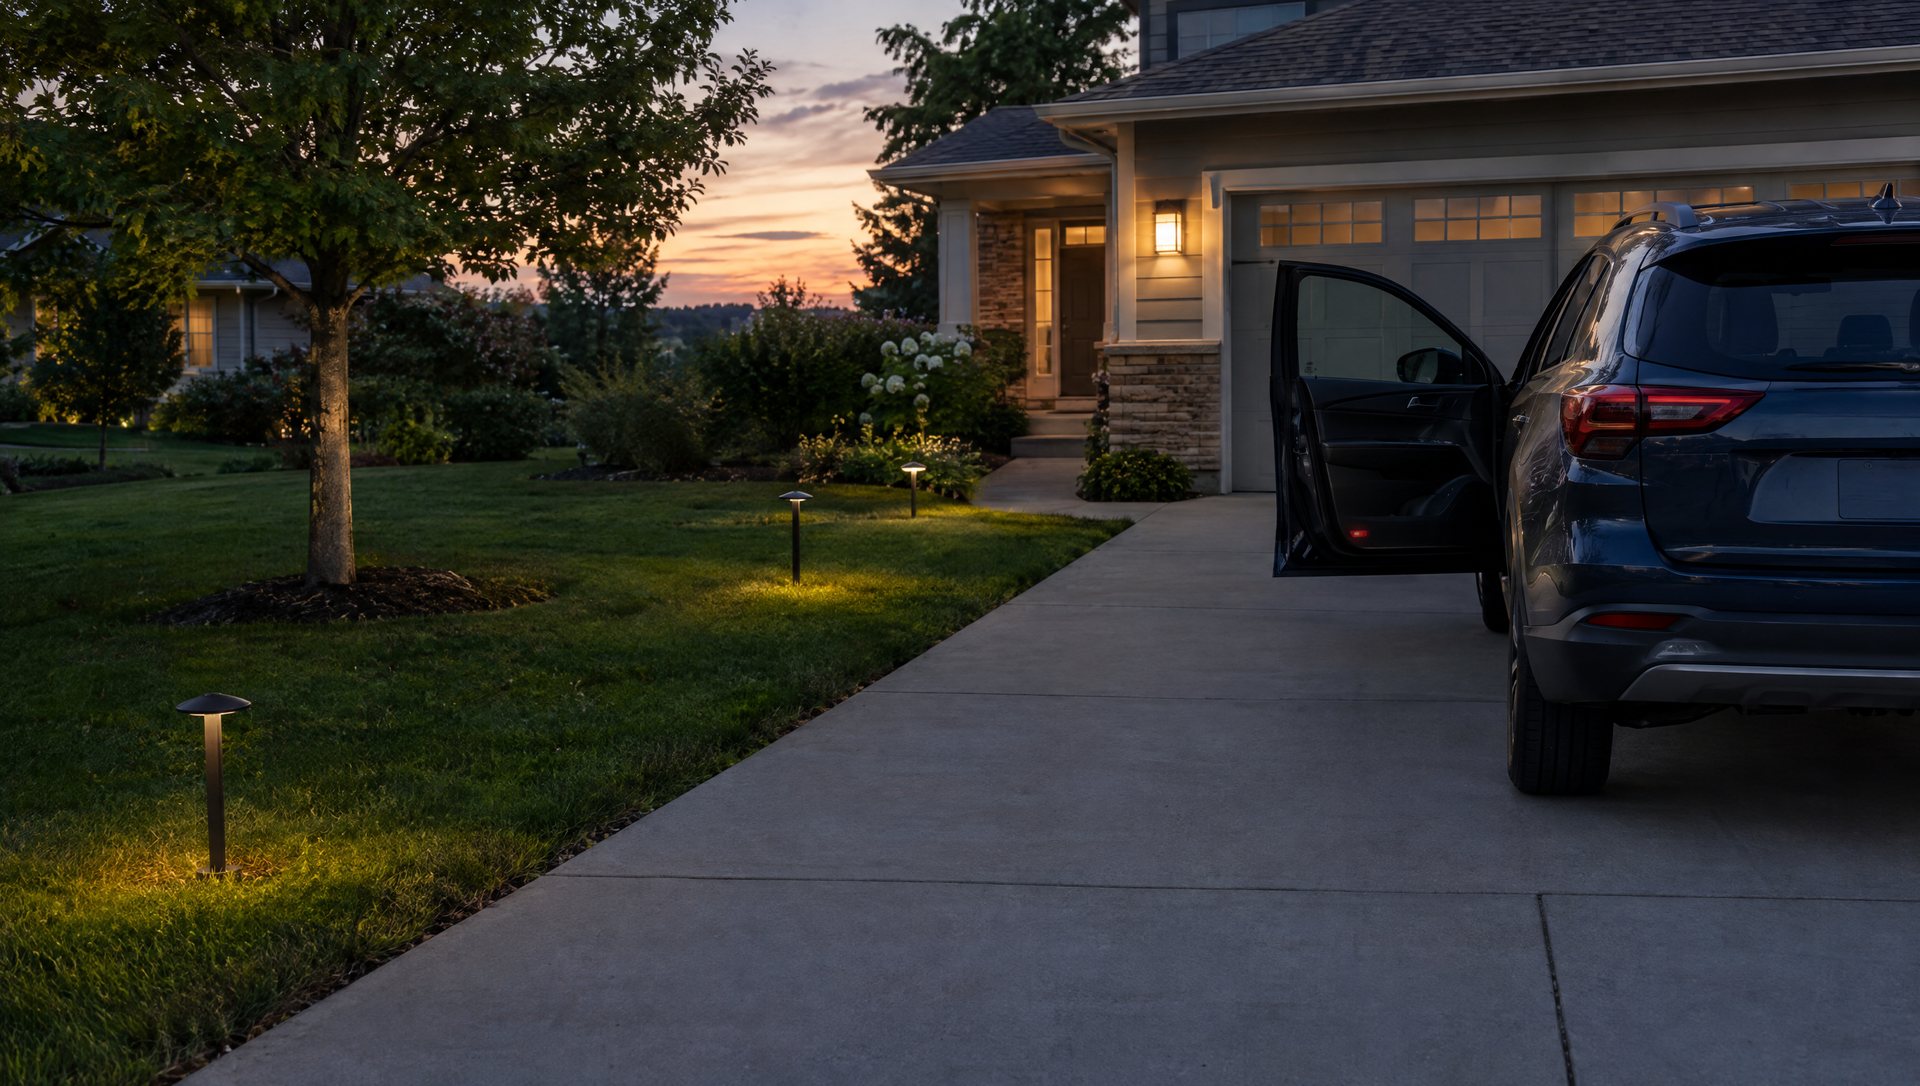
Keep decorations off the public sidewalk and out of any shared access. Where the driveway meets the street, don’t build a cluster that hides the house number or blocks a driver’s view of the sidewalk as they back out.
The firm rule: never run an ordinary extension cord across a driveway for cars to roll over. If the border needs power on the far side and there’s no safe route around, redesign the border. A licensed electrician can tell you whether an outdoor outlet on that side makes sense. Sapien’s seasonal work is plug-in only; we don’t add outlets or circuits.
Step 5: Plan the power before the border
Find your outdoor outlet first and plan the run from there. The route has to work for the whole system, including the less photogenic parts: the plug, the timer, the connections.
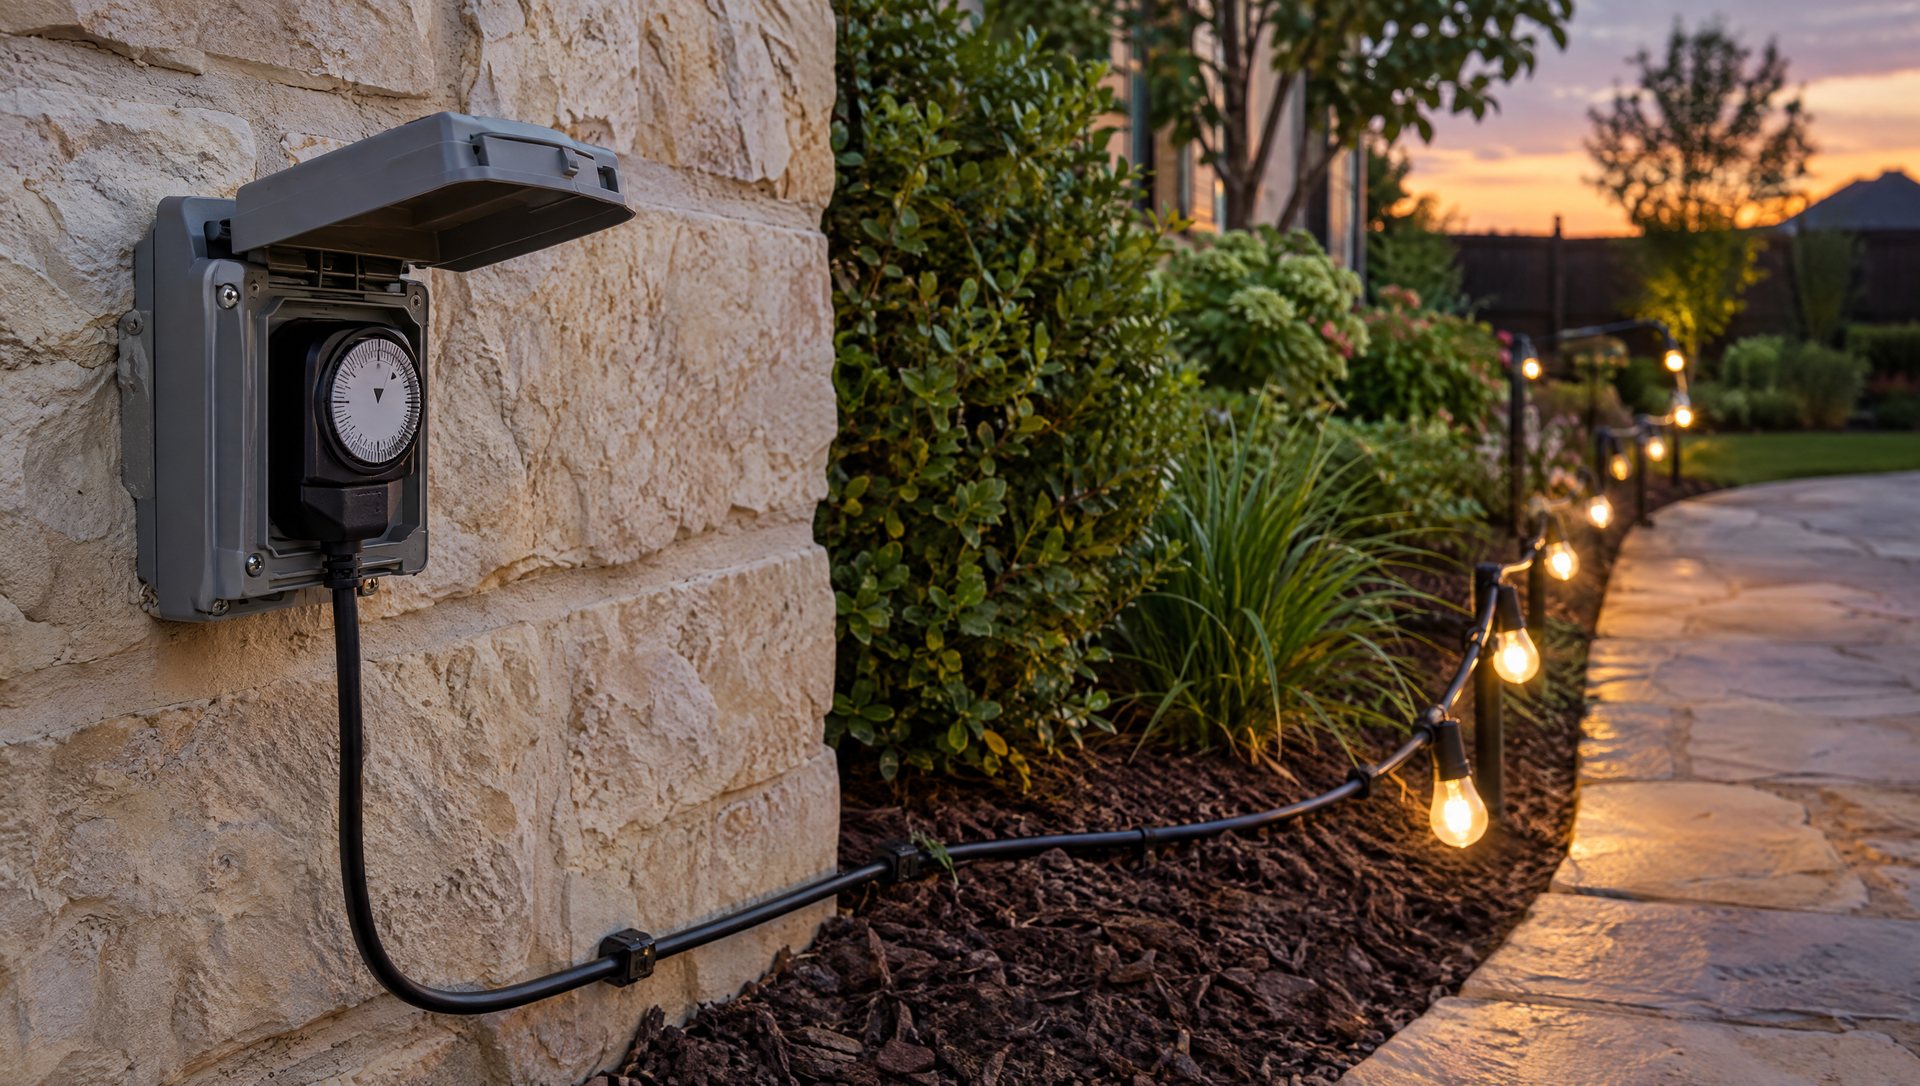
Use a GFCI-protected outlet. Every outdoor display should be on one. If the outlet trips, the GFCI may be inside the garage or a bathroom.
Count against the “connect up to” limit. Every set lists how many sets or watts you can connect end to end. The manufacturer instructions for a GE pathway set, for example, cap the whole chain at 216 watts. Those numbers belong to that model; read the tag on yours.
Check the lead length. Some of the cable between the outlet and the first bulb is unlit lead. Use the lead length on the product to plan where the first lit point lands.
Keep connections dry. Route connections away from low spots, and raise them off the ground with the right outdoor connection covers. A grocery bag isn’t a weatherproof enclosure. Never bury temporary light strings or cover them with mulch to hide them.
Put it on a timer. Pathway lights are the ones you’re most likely to forget, and our guide to leaving lights on all night explains why a dusk-to-bedtime schedule is the better choice.
Step 6: Get stakes into Austin ground
This is the step that photos never show. Much of the Austin area sits on shallow, rocky soil over limestone, and in many yards there are only a few inches of soil before you hit rock or caliche. Plastic light stakes are not built to be hammered.
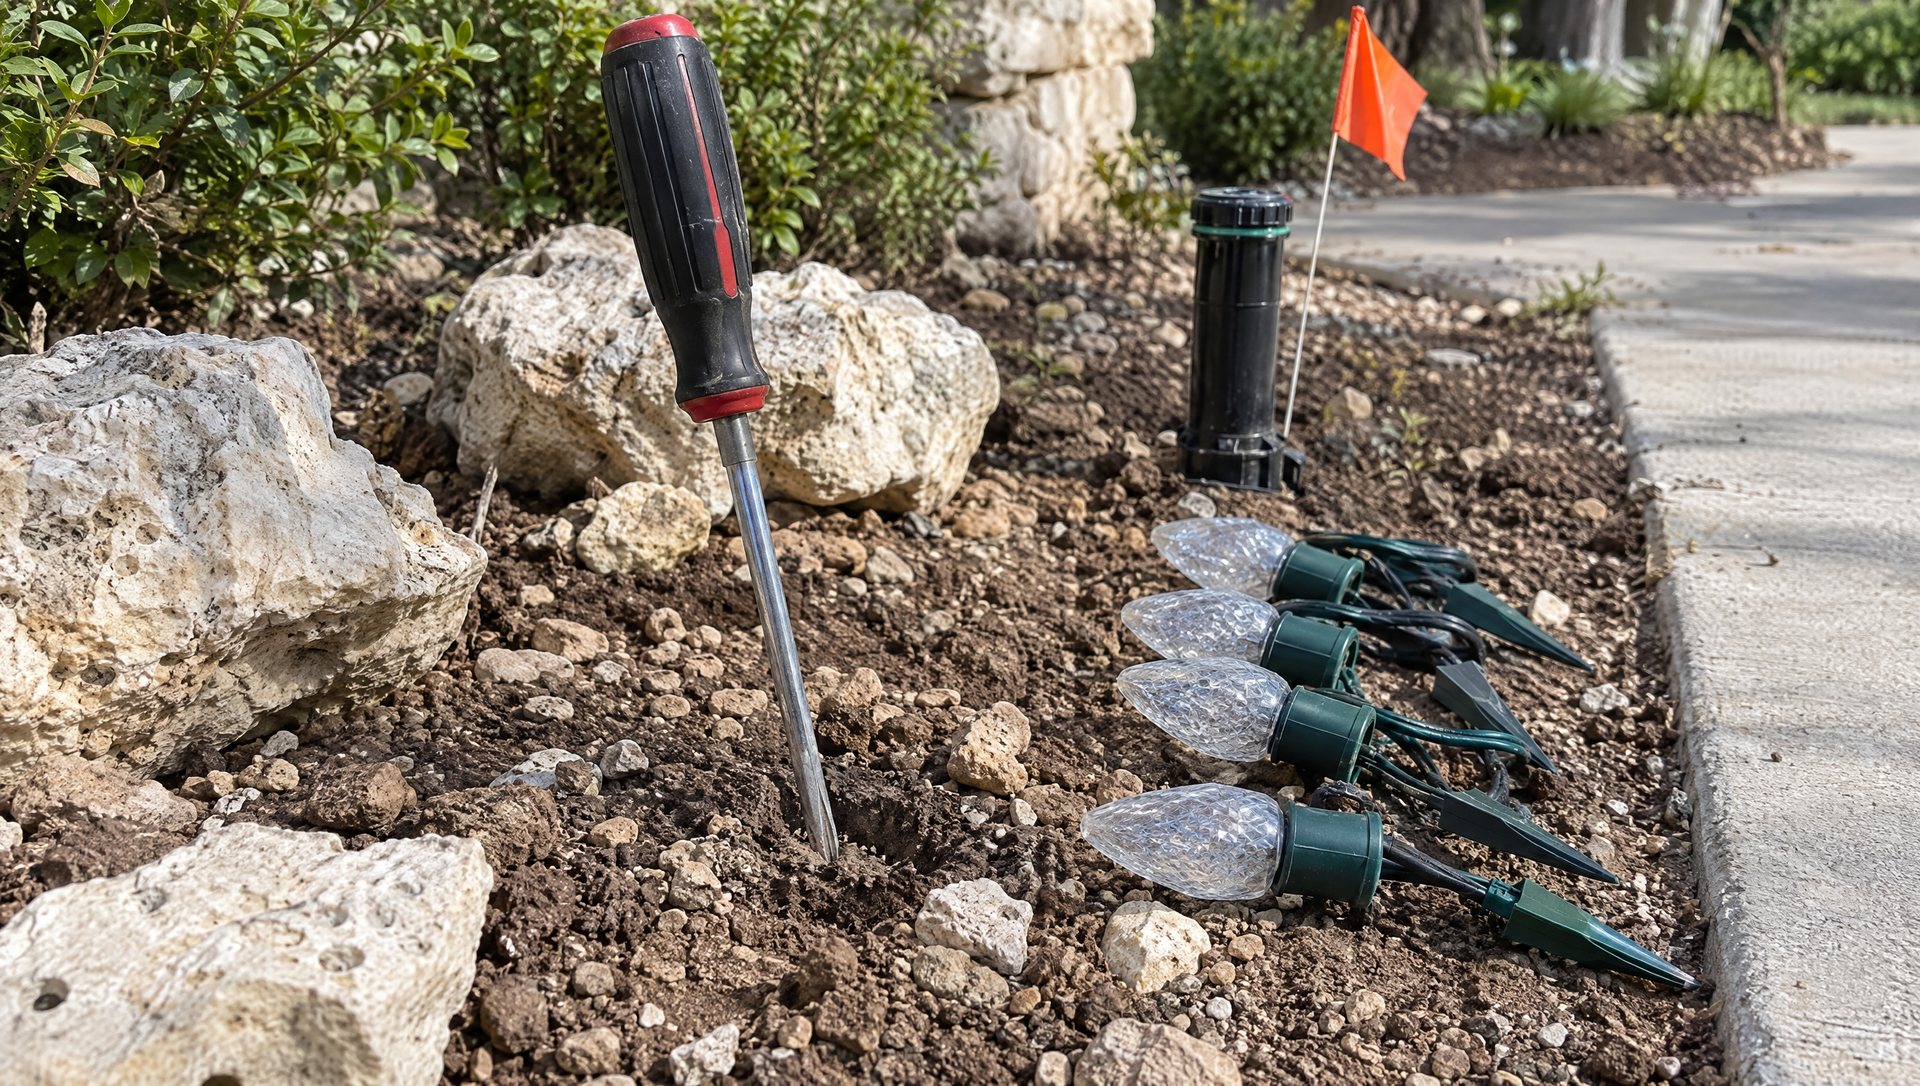
- Make a pilot hole. Push a long screwdriver or a thin steel rod into the ground where each stake goes. If it stops at two inches, move the stake a few inches along the row and try again. On rocky ground, plan for this to take longer than hanging the lights.
- Dampen hard ground first. In a dry fall, clay can be as hard as the rock. Water the bed the evening before staking and the ground will take stakes far more easily.
- Watch for sprinkler heads and lines. Pop-up heads usually sit right along walk and driveway edges, exactly where your border goes. Flag them before you stake, and keep stakes clear so the spray doesn’t hit sockets every watering day.
- Check for fire ants. Mounds love the warm edge of a concrete walk. Look before you kneel.
- Decomposed granite and gravel paths won’t hold a stake upright for long. Set the row in the bed beside the path instead.
- Flagstone with no bed beside it? Skip stakes entirely and use lit planters or lanterns at the ends of the walk.
Worked example: a 36-foot walk and a two-car driveway
Here’s how we’d plan a common Austin front yard: a curved 36-foot walk from the driveway to the porch, a two-car driveway, an outdoor outlet by the garage, and a C9 roofline already in warm white.
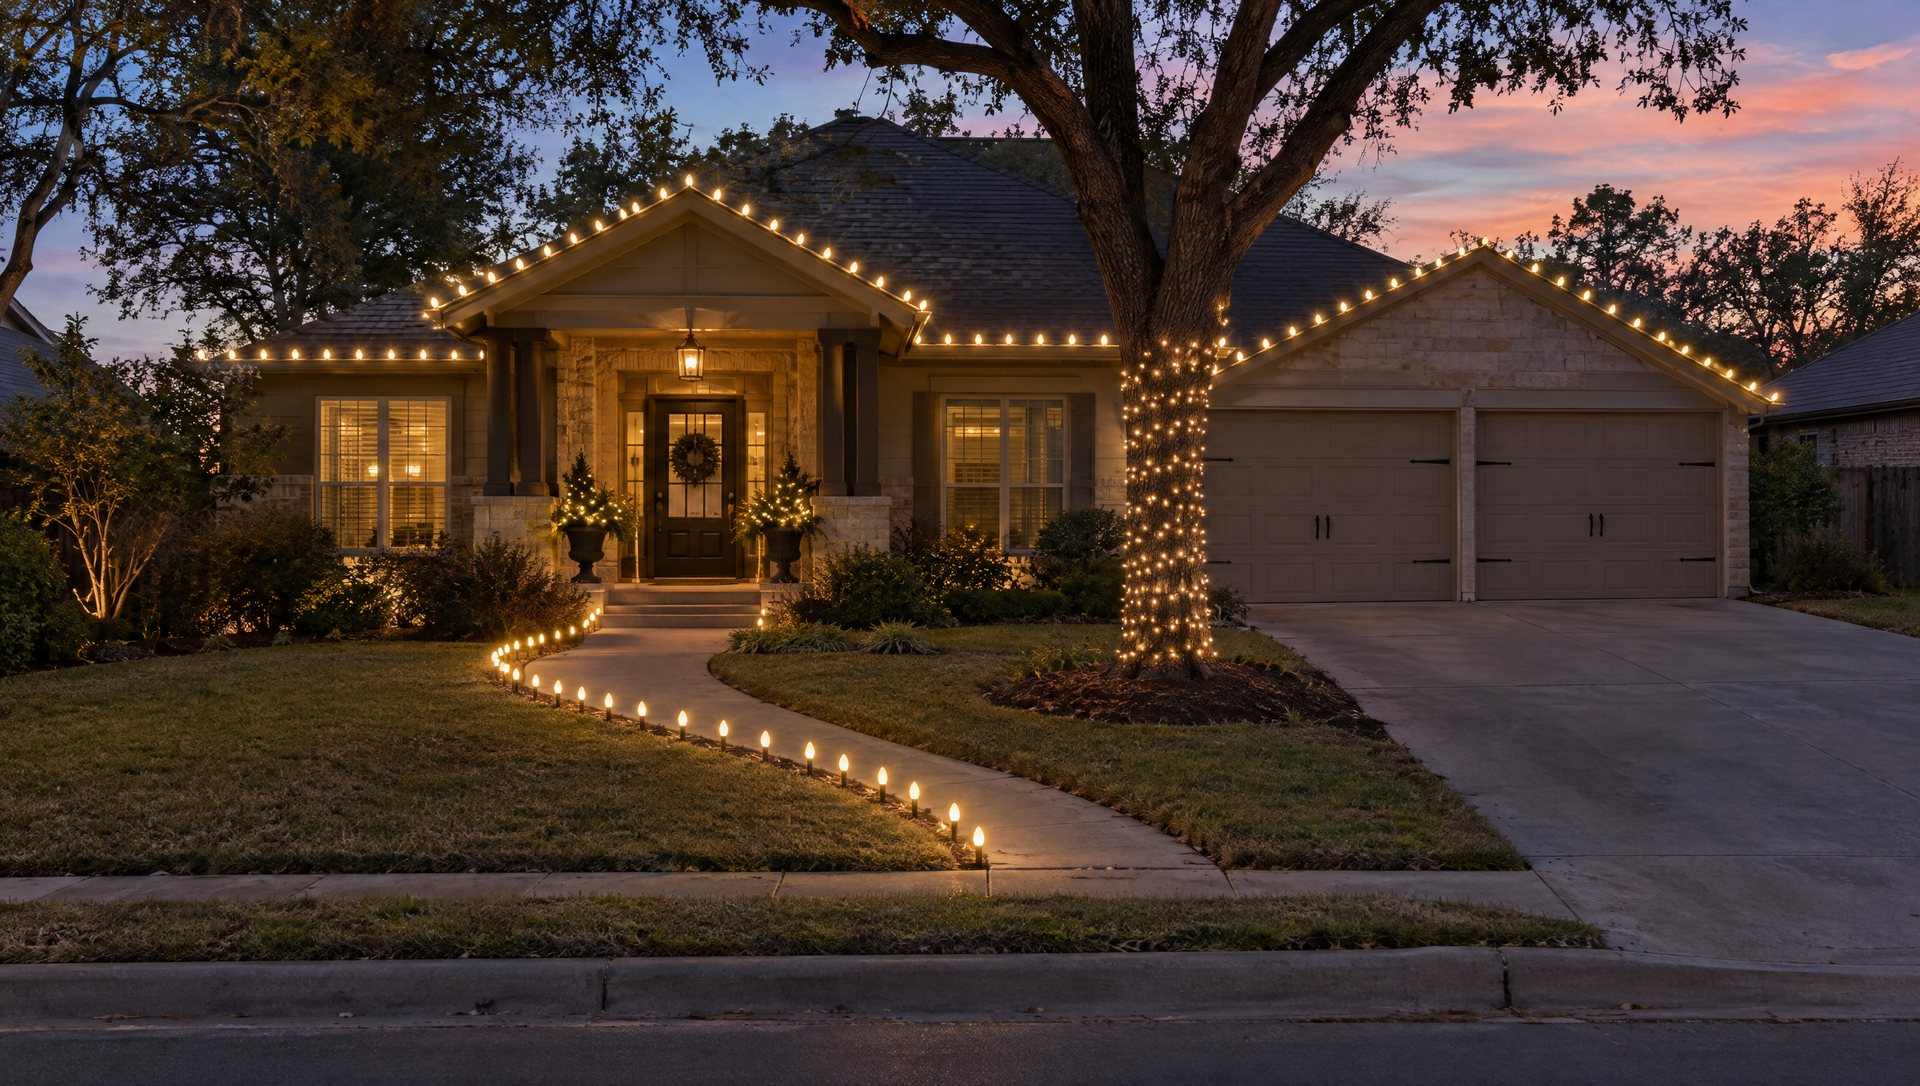
The walk. We light the outside of the curve, one side only, with warm white C9 stakes at 12 inches to match the roofline. That’s about 36 stakes, 8 inches back from the edge. The common 25-foot, 25-socket C9 strings mean two strings, 50 sockets, so we either start the row a little earlier along the driveway side or choose a 50-foot run at a different spacing for the lead-in. We’d rather plan that than end up with 14 unlit sockets in a coil behind a shrub.
The driveway. No border. It would need power on the far side, and the outlet is on the garage side. Instead, the wrapped trunk of the tree beside the driveway carries the light there.
The door. Two lit planters at the porch steps finish the walk, so the line of light ends somewhere.
The power. LED C9 bulbs commonly draw about half a watt each; one multicolor LED C9 pack, for example, lists 0.5 watt per bulb. Thirty-six bulbs is about 18 watts, about 0.15 amps. On a timer for six hours a night over 37 nights (Thanksgiving through New Year’s Day), that’s 18 × 6 × 37 = 4 kWh. At Austin Energy’s residential rates as checked in October 2026, about 12.2¢ per kWh in Tier 2 or 14.7¢ in Tier 3 including the pass-through charges, the whole walk costs roughly 50 to 60 cents to run for the season.
The same walk in old 7-watt incandescent C9s would draw about 252 watts, more than the whole-chain limit on many small pathway sets, and use about 56 kWh, roughly $6.80 to $8.20 for the season. The bigger issue isn’t the money; it’s the load on a single outdoor circuit that is probably also powering the roofline. Our LED vs incandescent guide covers the full comparison.
Four layouts worth trying
The front walk in quotation marks. Light only the beginning and the end of the walk: a small pair of accents at the approach and a brighter pair of planters at the door. Leave the middle dark. This suits a short city front yard where a continuous border would feel crowded.
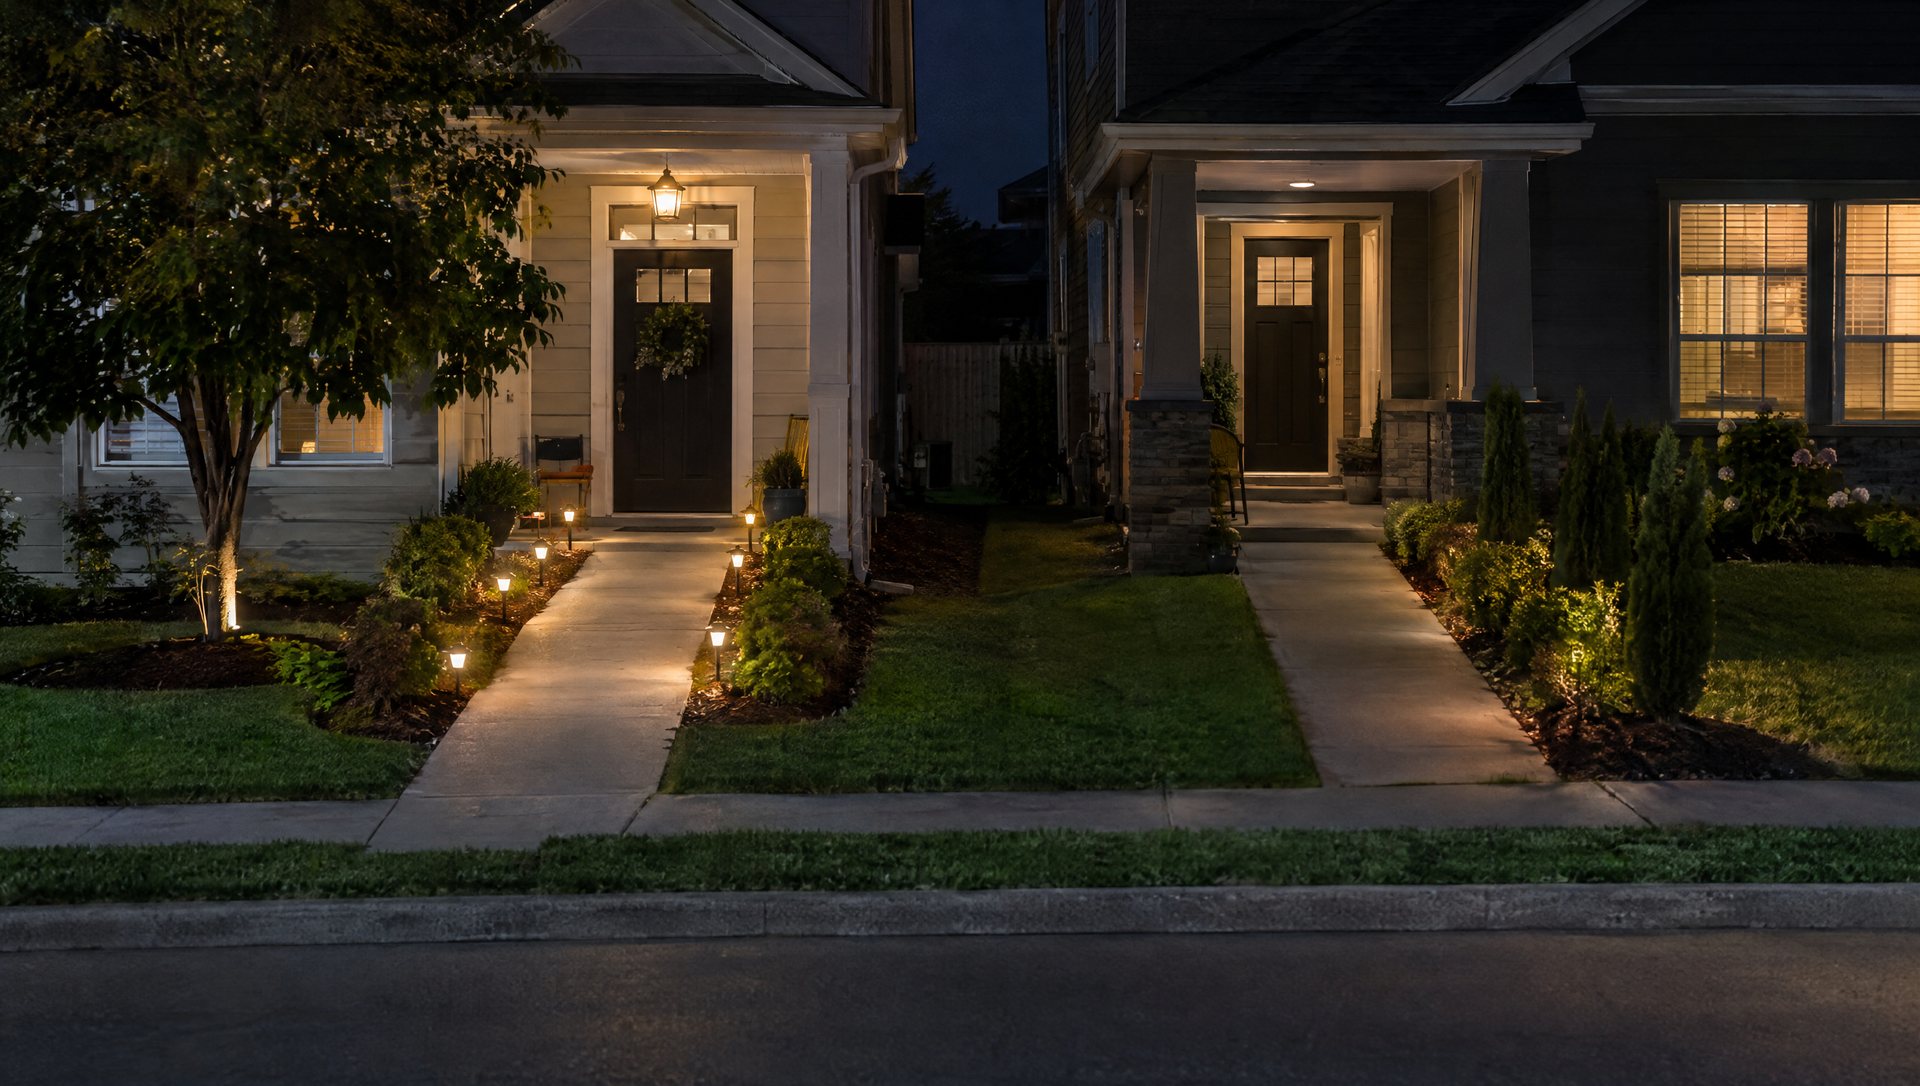
The candy-cane turn. Red and warm white along one curved section, then warm white carrying on to the porch. The curve becomes the playful feature. Keeping the rest quieter stops the yard from looking like several unrelated displays.
The garden-side ribbon. A restrained line along the planted side of the walk, with one wrapped trunk behind it. From the street you see a low curve and a vertical point, and that difference in height gives a small yard depth. Lights in the shrubs behind the row can help; see our bush lighting guide for how to keep them from competing.
The long-drive welcome. On a long driveway, concentrate the light near the house and on one prominent tree. Leave long stretches of driveway unlit. The arrival still has a destination, and you skip building a border where it adds little to the view.
Step 7: Test it in the dark
Check the lights after dusk from three places, because each answers a different question.
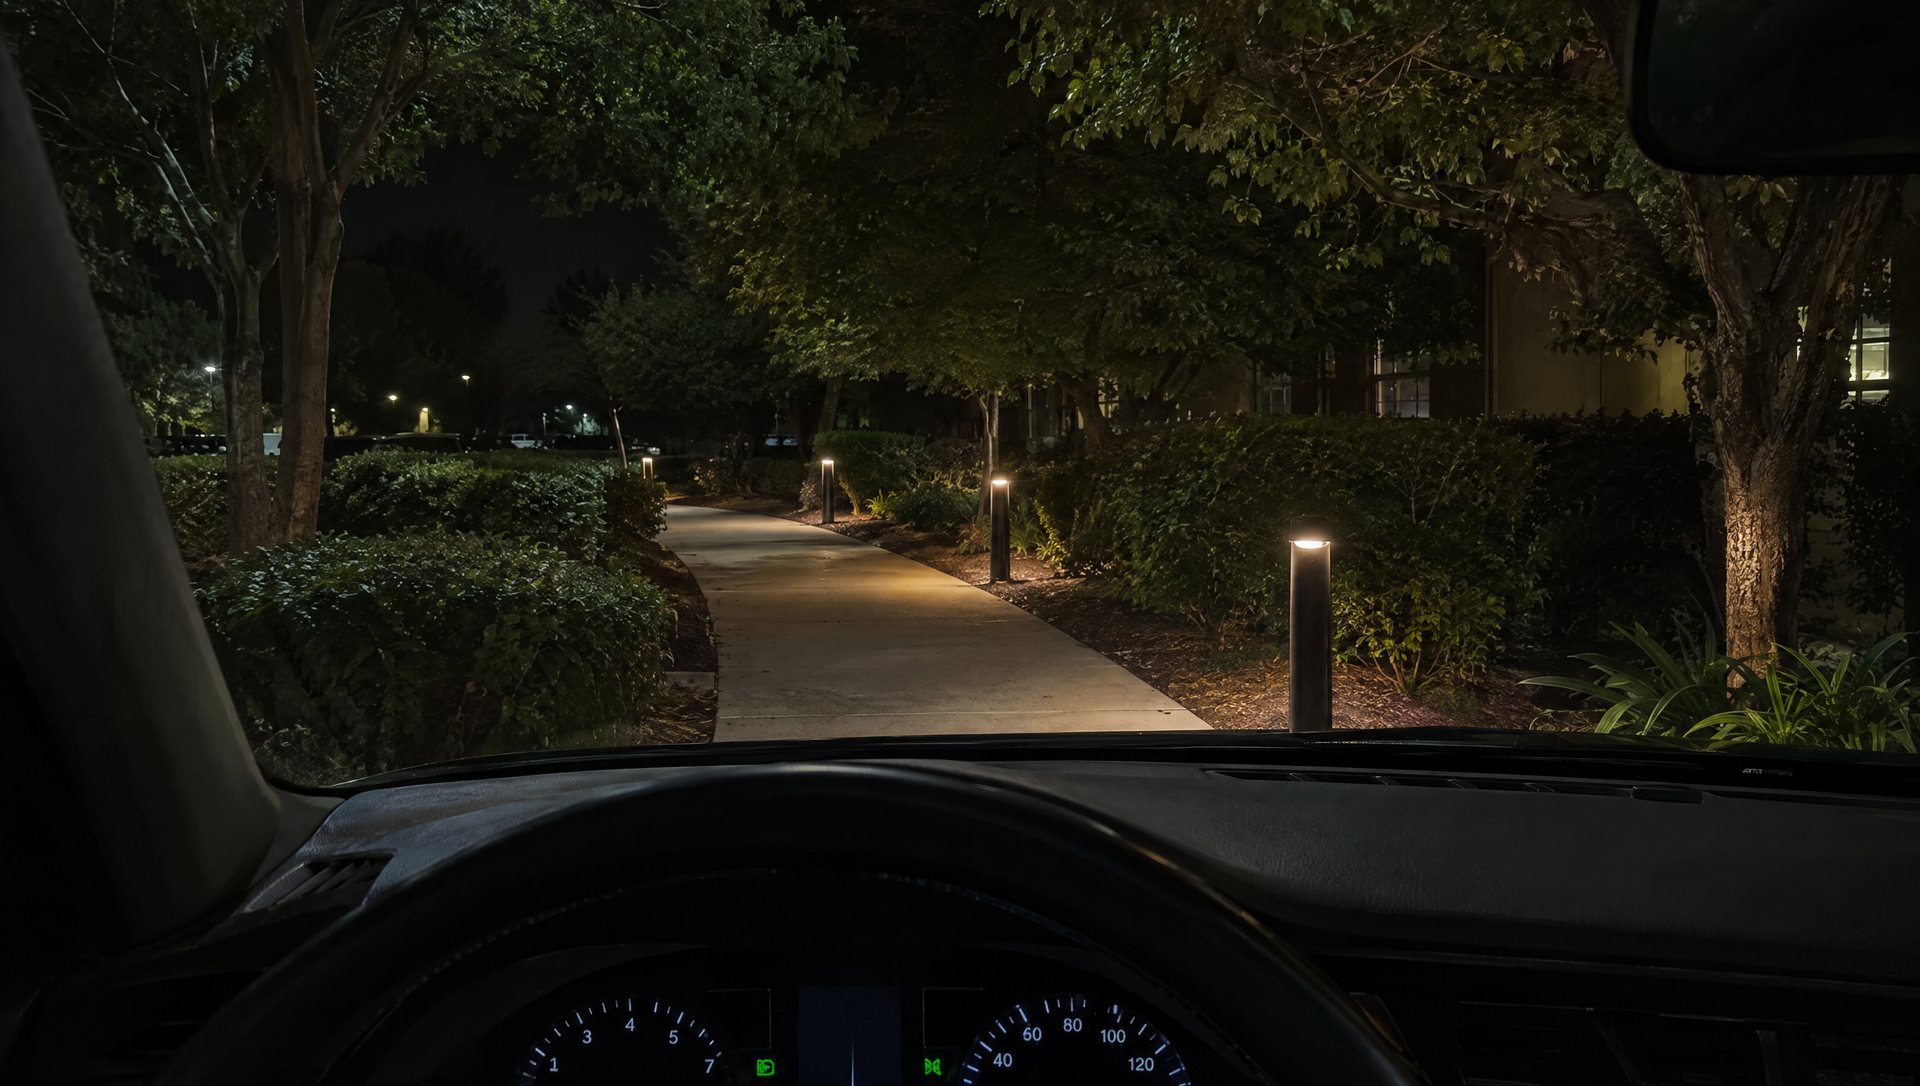
- From the street: is the rhythm even? Do both ends land where you planned?
- From the driver’s seat while parked: does any bulb shine straight into your eyes as you pull in?
- From the front door: is there room to step aside while someone opens the door?
Then do the boring tests. Open the gate. Roll the trash and recycling bins along their normal route to the curb. Walk past carrying something bulky. A layout can photograph beautifully and still make everyday life irritating.
If the border looks too bright, light a shorter section or use the product’s own brightness setting if it has one. Don’t put a non-dimmable light set on a dimmer as a workaround.
Living with it: rain, sprinklers and yard work
Ground-level lights take more abuse than anything on the roof. They get sprinkler spray, leaves, mowers, leaf blowers and the neighbor’s dog.
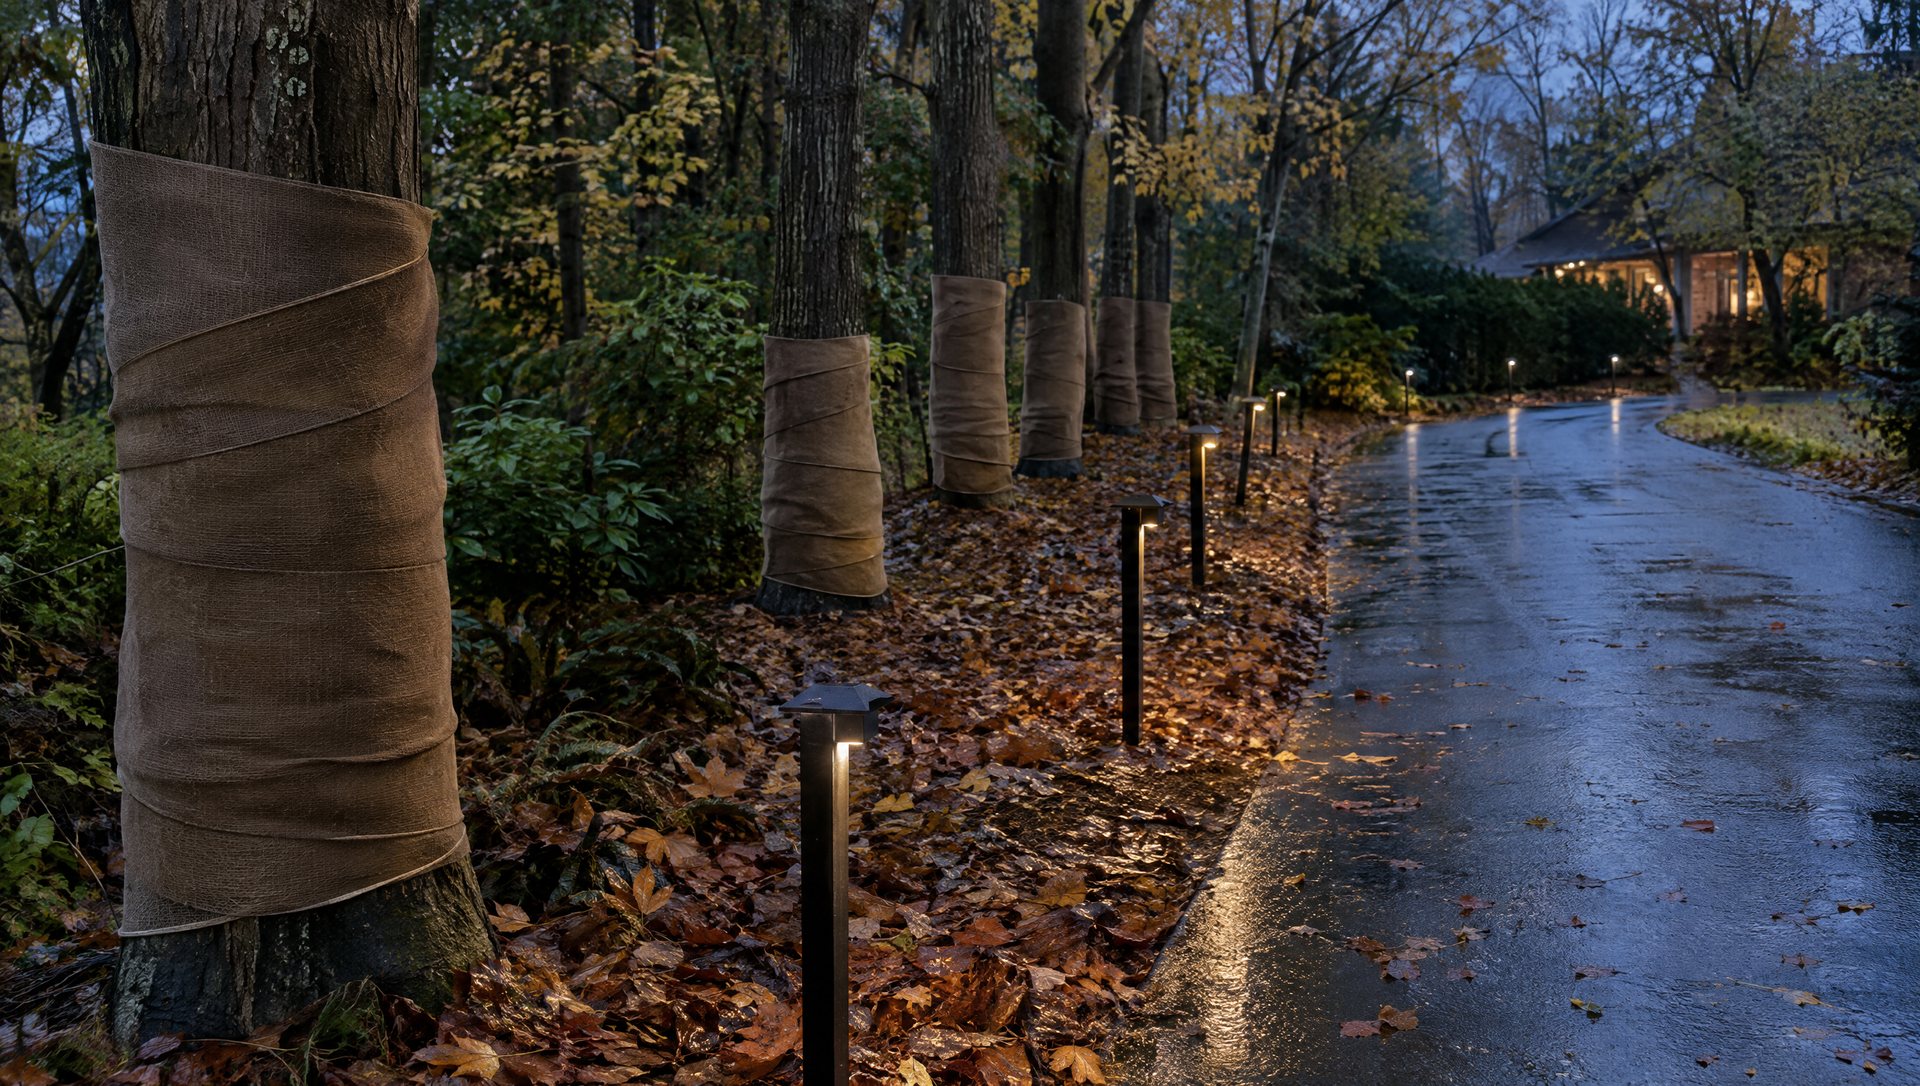
- Plan the mowing. Know how the yard will be mowed and the leaves cleared without moving an energized display. A border set back from the edge is easier to mow around.
- Check after storms. After wind or heavy rain, look for leaning stakes, displaced connections or anything sitting in water. Turn the display off before you touch it.
- Respect the warning signs. Repeated GFCI trips, damaged insulation or a warm connection mean stop and find the cause. Our light installation safety guide covers the basics.
- Take it down in sections. Photograph the layout before removing it, label the first and last stake of each row, and store stakes with the string they belong to. Next year’s setup then starts with a plan instead of a pile of almost-compatible parts.
The best pathway display is one you can live around for the whole season. It should welcome people on the evening you photograph it and on the ordinary Tuesday when the recycling needs to go out.
Want help laying out the walk? Text a daytime photo of the front of the house from the street, with the walk and driveway in view, to (737) 777-9099 or use our contact page.
Sources
About the author. Rick Sa