


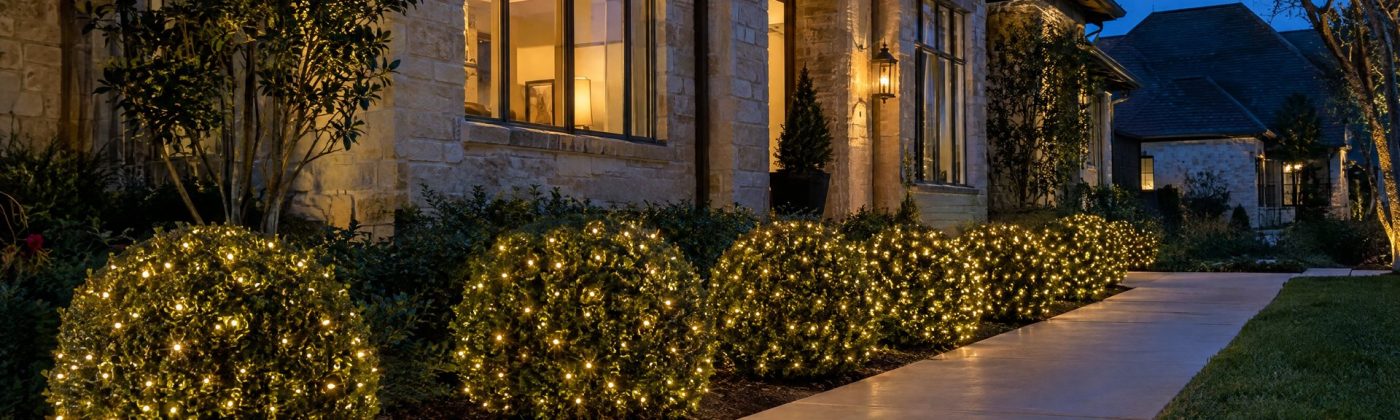
Christmas Lights on Bushes: Net Lights or Hand-Wrap, Shrub by Shrub
Put net lights on round or boxy shrubs that fit a standard 4-by-6-foot net, roughly 4 feet wide and 6 feet measured over the top. Hand-wrap mini lights on anything loose, tall, oddly shaped, or right by the front door. And leave agave, yucca and sotol dark.
That rule covers most yards. What it doesn’t tell you is which of your actual plants falls on which side, how many lights each one takes, and what to do with the awkward ones. So this guide goes plant by plant through what grows in Austin front beds, then does the math on a real bed.
Net or hand-wrap: the two-question test
Does it fit a net without stretching? A standard net is 4 by 6 feet. It covers a shrub up to about 4 feet wide and about 6 feet measured from the ground at the front, over the top, to the ground at the back. If the shrub fits, a net gives you even spacing in a minute. If it doesn’t, a stretched net shows its grid and bunches at the edges.
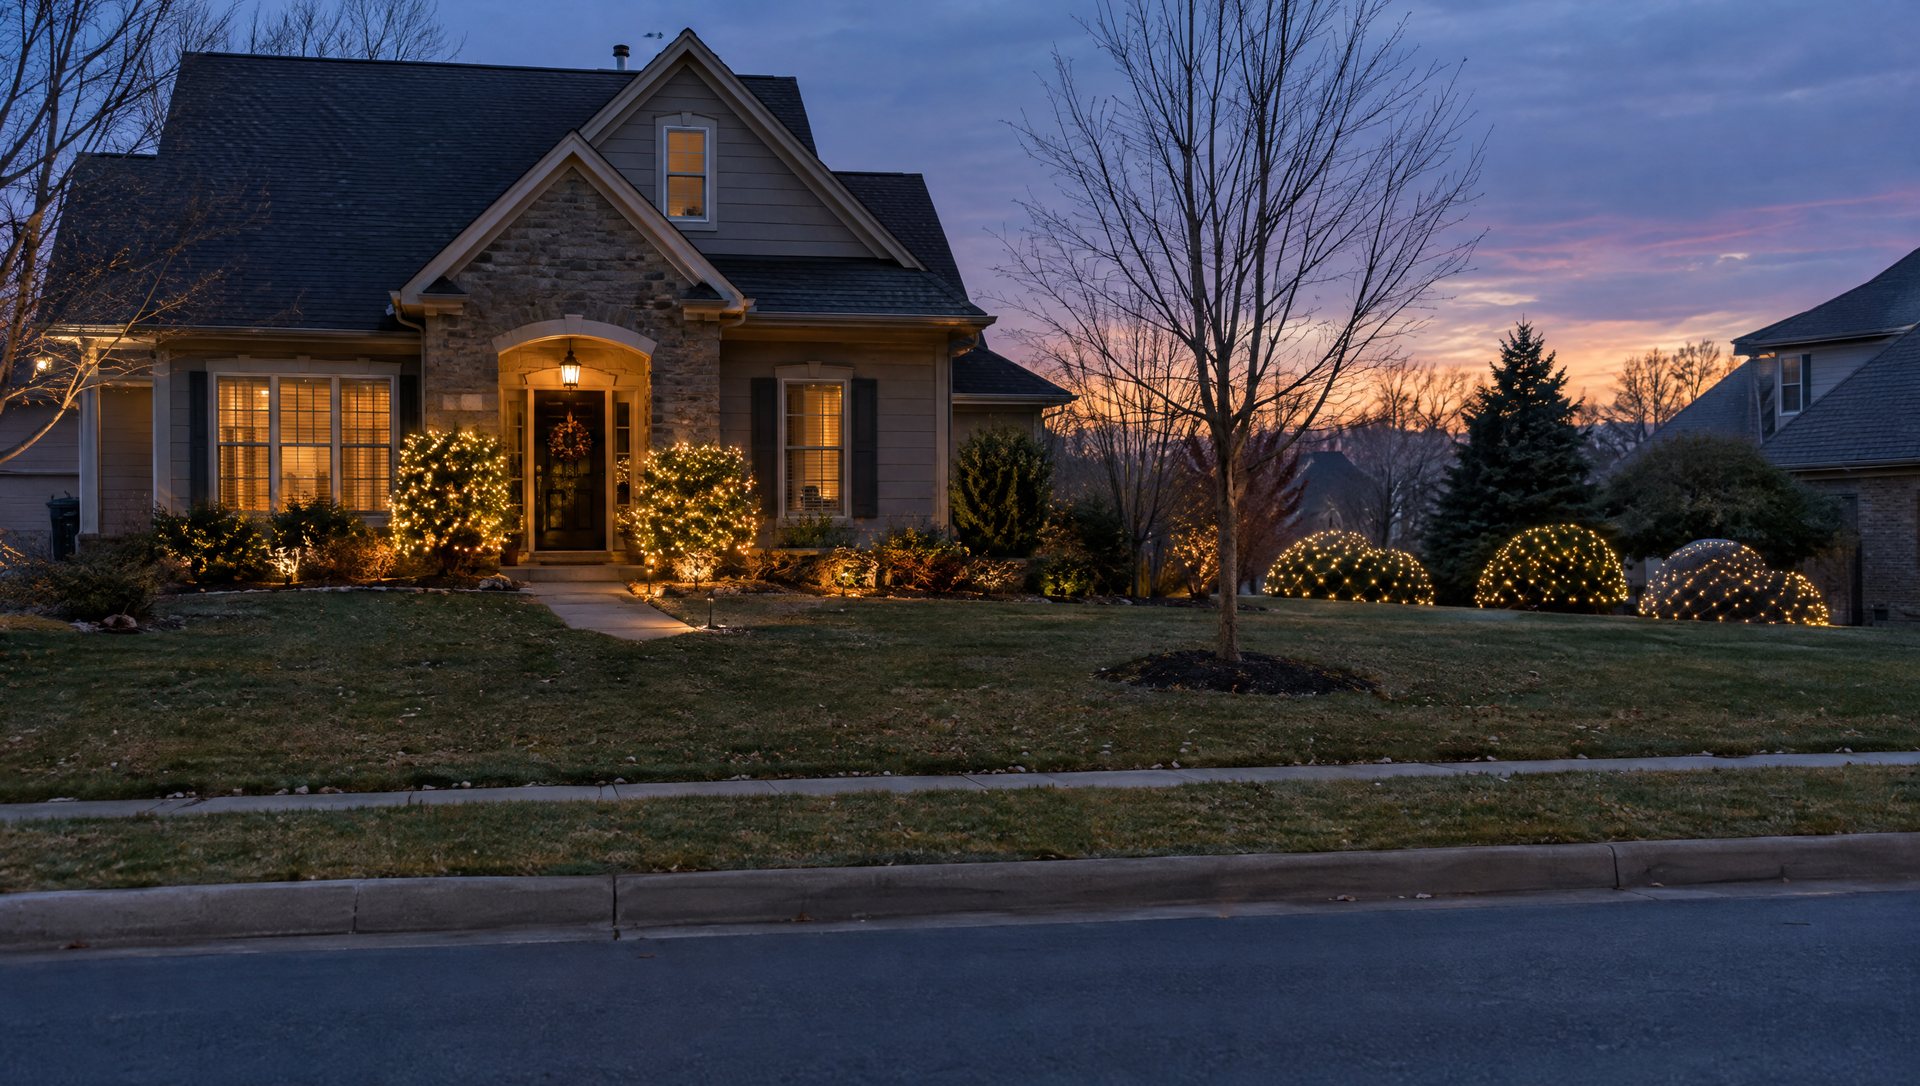
How close will people see it? From the street, a well-fitted net and a careful hand-wrap look nearly the same: an even field of points. From the front walk, the net’s grid lines and square edges show. That’s why the shrubs flanking a front door are worth hand-wrapping even when they’d fit a net.
Hand-wrapping isn’t automatically better. A rushed wrap with uneven passes looks patchier than a net that fits. If the shrub fits and it’s out in the yard, use the net.
Austin shrubs, one by one
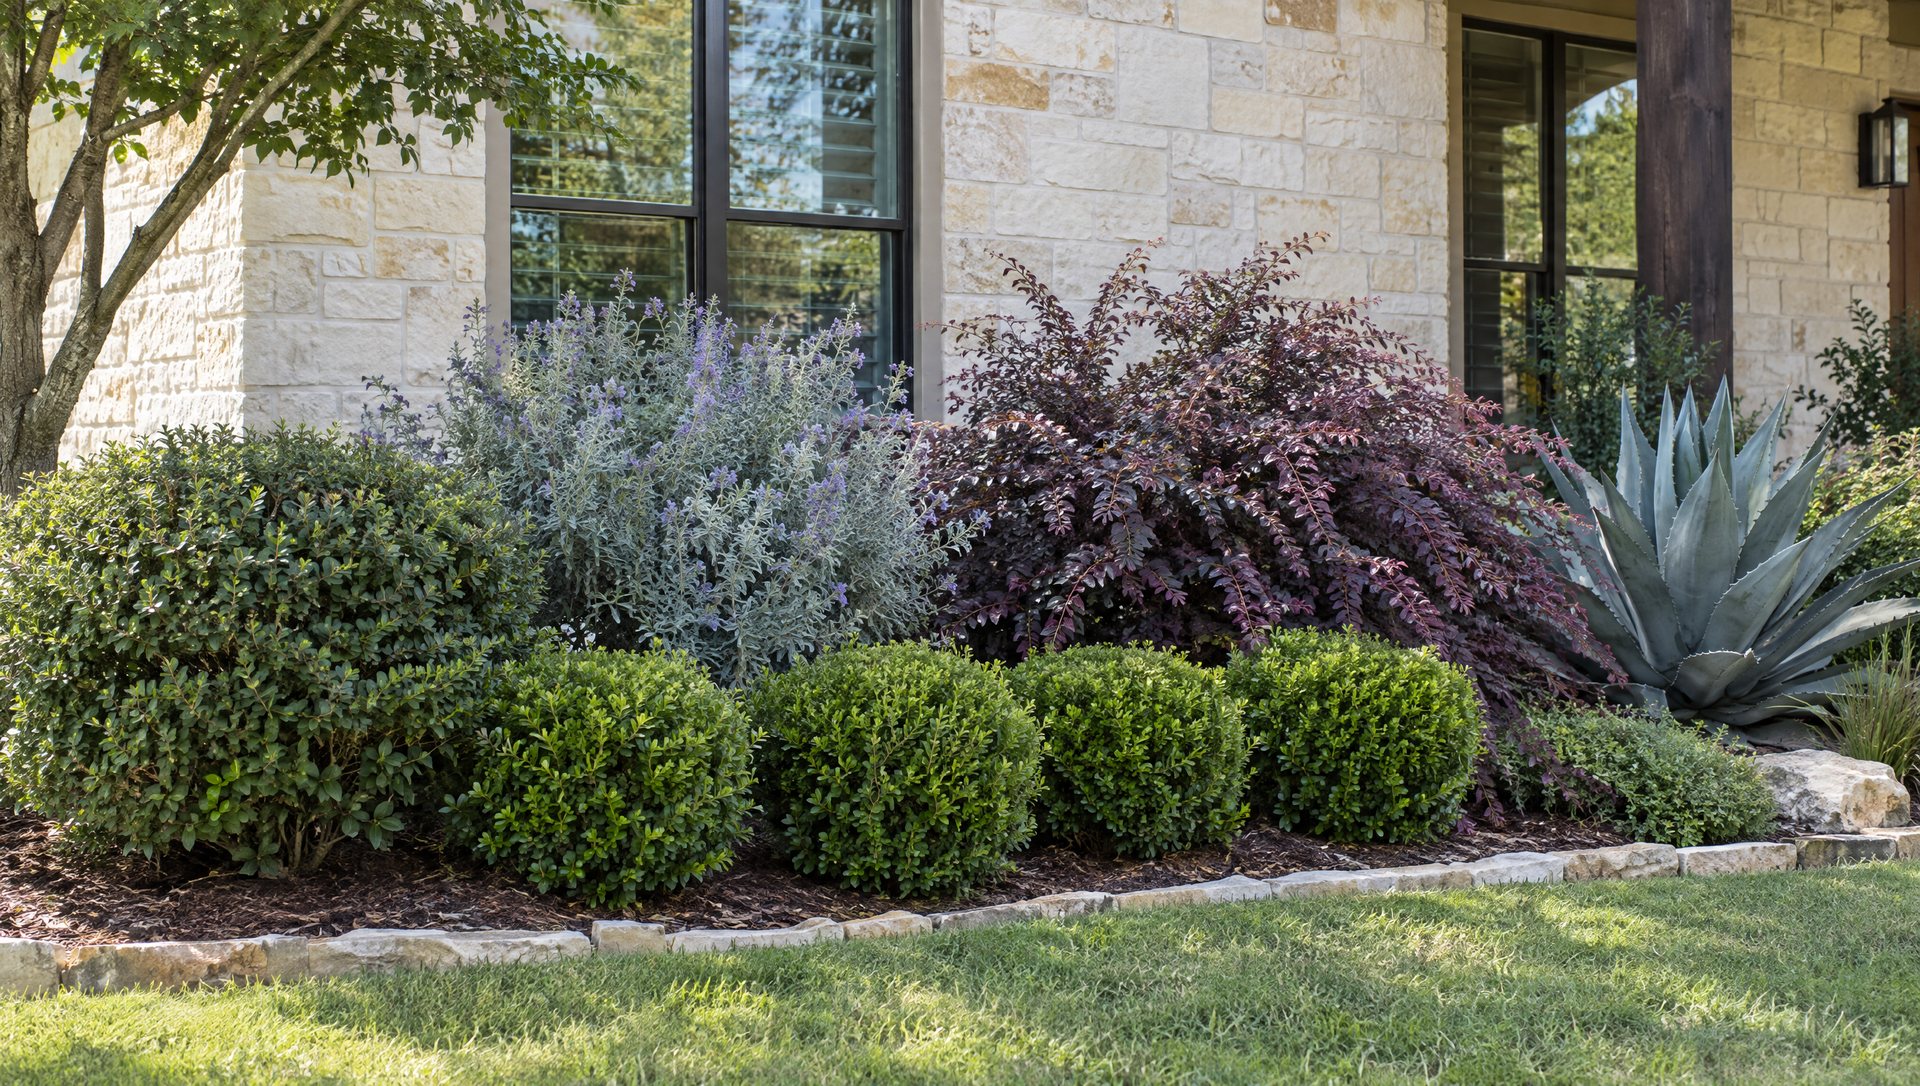
What actually grows in front of Austin houses, and what we’d do with each.
Boxwood
Dense, clipped, usually round or boxy. The ideal net shrub. A typical 4-foot boxwood takes one net with the bottom edges tucked in. By the front door, hand-wrap it; the dense leaves hold wire tucked 2 to 3 inches in, and the bulbs sit evenly.
Dwarf yaupon holly
Same story as boxwood: dense, mounded, and usually kept to net size. Net it. Dwarf yaupons planted in a row and clipped into a hedge are perfect for nets laid side by side.
Indian hawthorn
Mounded but a bit looser than boxwood, with stiff leathery leaves. Nets work on the tighter ones. On older, leggier plants with gaps, hand-wrap so the light follows the foliage instead of hanging over holes.
Loropetalum
Arching branches, often taller than a net, frequently planted as a single specimen by a corner or the porch. Hand-wrap. The dark purple leaves make warm-white bulbs stand out, so you can go a little wider on the pass spacing.
Texas sage (cenizo)
Open, silvery and irregular. A net looks like a net thrown over a bush. Hand-wrap loosely, following the main branches, or skip it and let the silver leaves pick up spill from nearby lights. It’s one of the plants that looks good just being near a lit tree.
Nandina and other cane shrubs
Upright canes, not a mound. Lay the wire in vertical runs up the canes instead of horizontal passes, or leave them dark. A net laid over the top collapses into the canes.
Italian cypress, upright junipers and other columns
The tall, narrow evergreens beside many Mediterranean-style Austin entries. A horizontal net bunches all its lights at the top. Use column or ribbon wraps (very narrow nets, commonly 6 inches by 12 or 15 feet) spiraled from the base to the tip, or hand-wrap a spiral. Nets hung vertically, like a curtain panel, also work on shorter cones.
Wax myrtle, yaupon in tree form, tall ligustrum
Anything over about 6 feet is a small tree, not a bush. Wrap the trunks and main stems like a tree. Lighting the full canopy as well gives the biggest effect, but it’s ladder work, so plan it like a tree install rather than a shrub.
Lantana, salvia and other perennials that freeze back
Skip them. By mid-December, a hard freeze may have turned them to brown sticks, and you’ll be lighting a dying plant. They’ll be cut back before spring anyway.
Agave, yucca, sotol, prickly pear
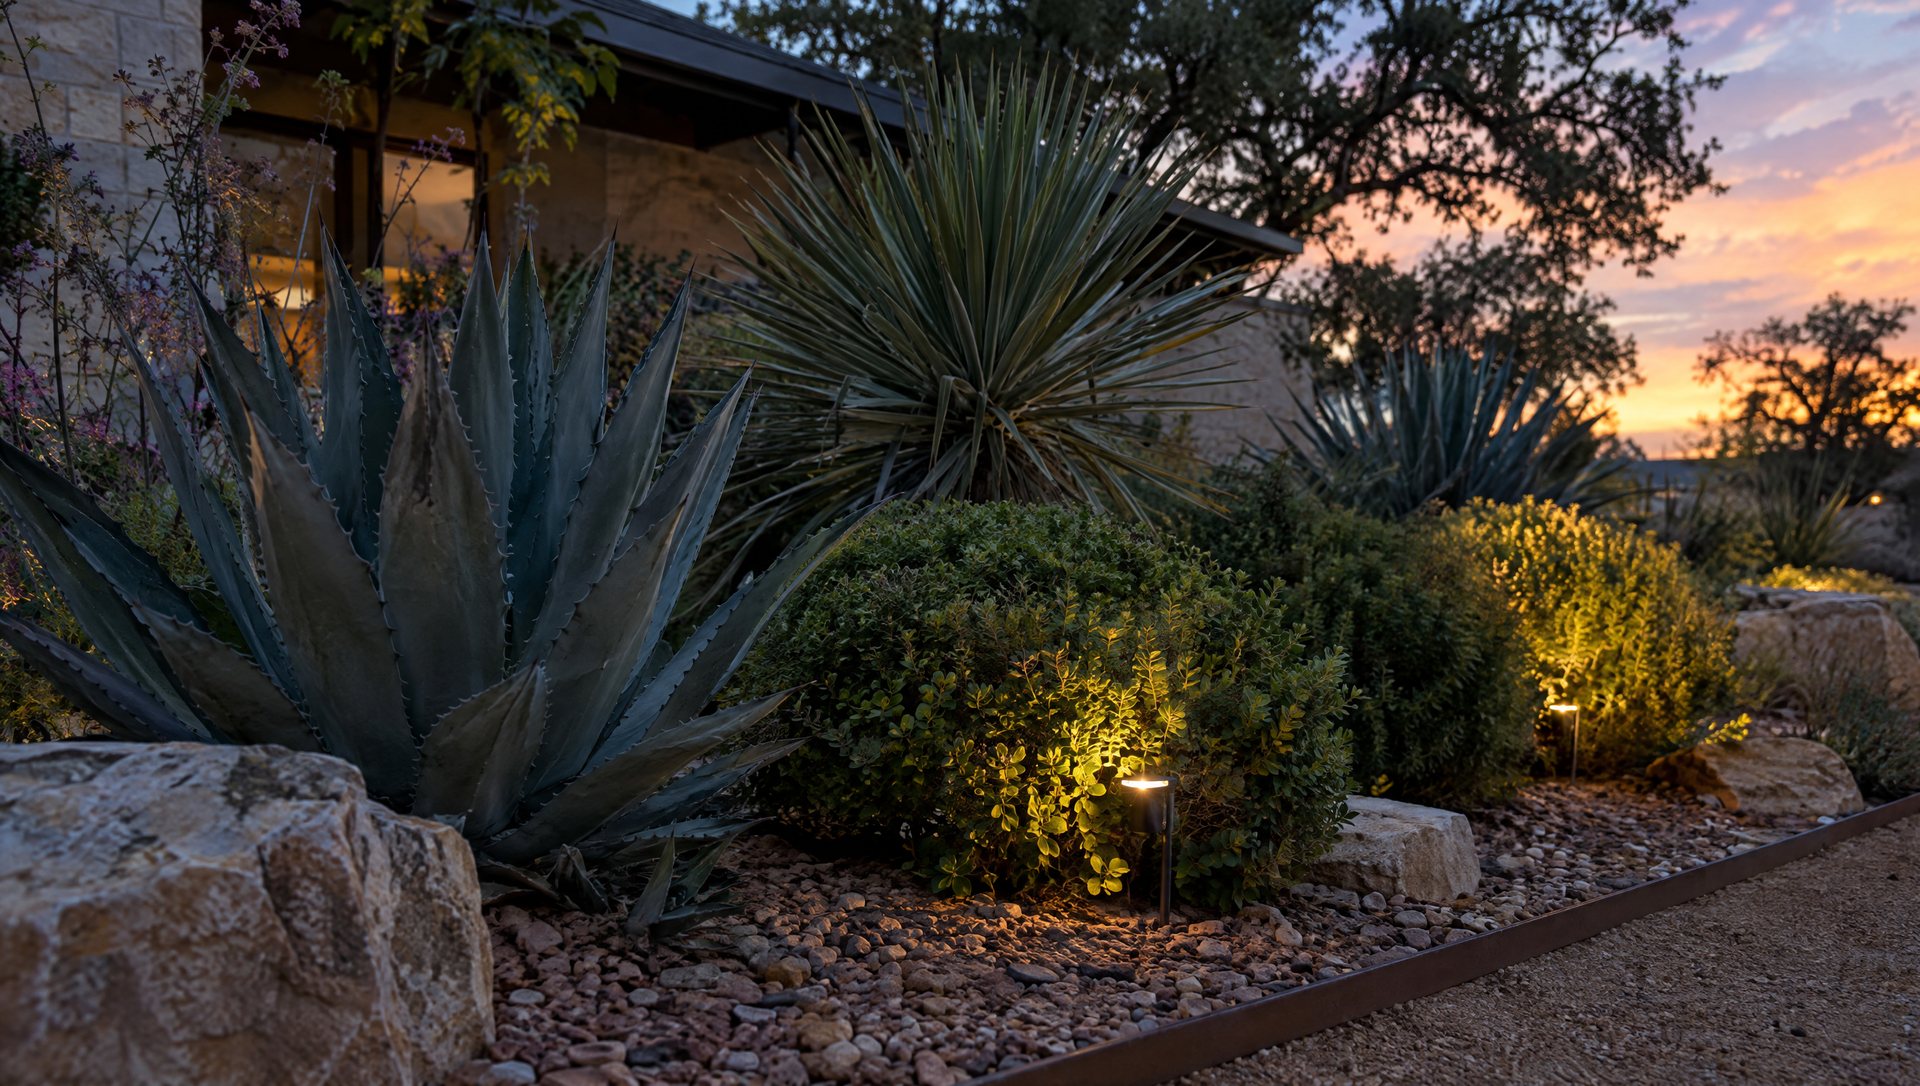
Never. Spines shred net wire, puncture insulation and shred forearms. If you want a big agave to read at night, put an outdoor spotlight on a stake a few feet away and uplight it. A lit agave silhouette looks better than anything wrapped on it would.
Measure over the top, not the footprint
A shrub’s footprint undersells it. Take two measurements:
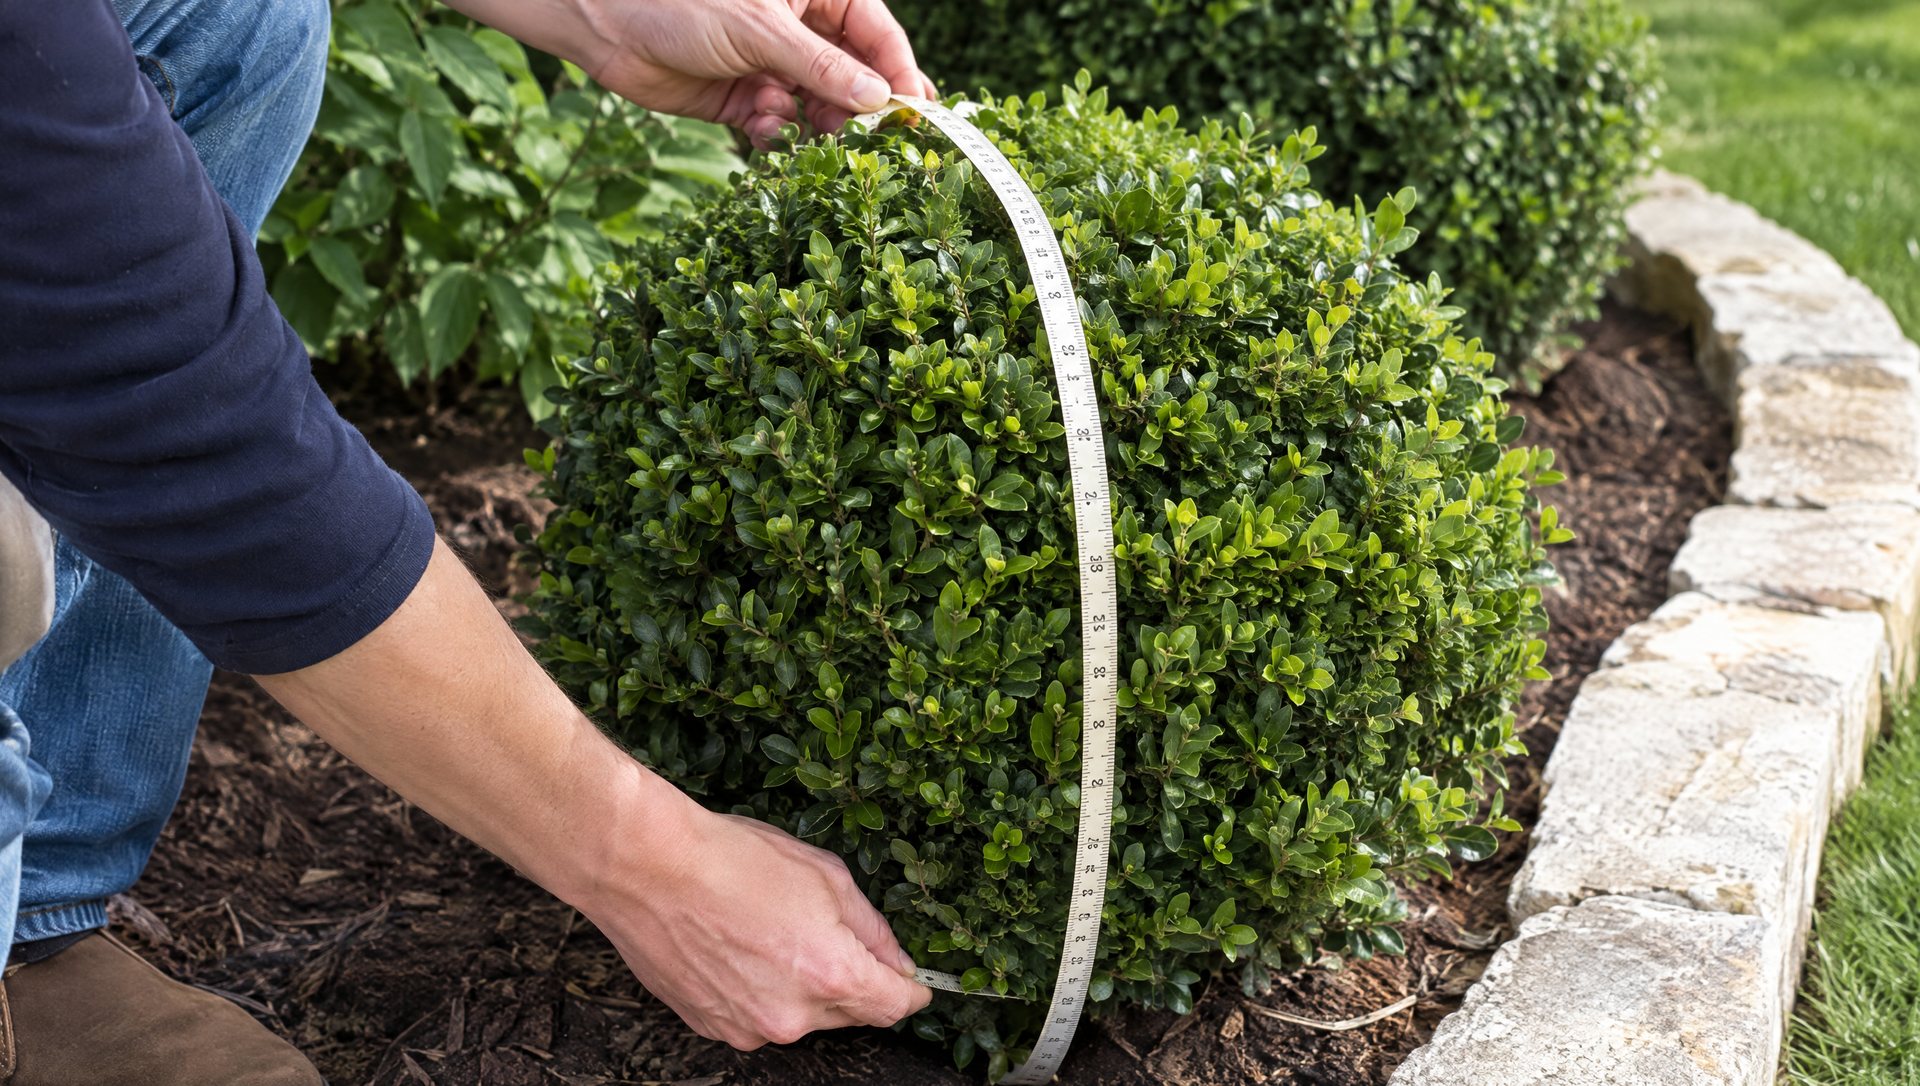
- Width across the front.
- Over-the-top distance: run a tape from the ground at the front, over the top, down to the ground at the back. If only the front and top show from the street (shrubs against the house), measure from the front ground to the top center, then to the wall.
A boxwood 4 feet wide, 3 feet deep and 2½ feet tall measures about 6 feet over the top. One 4×6 net covers it, with the 6-foot side running front to back and the bottom edges tucked into the lower branches. If the shrub is bigger, use two nets edge to edge instead of stretching one.
Write the measurements on a phone photo of the bed. “Front bed: 5 boxwoods, 4 ft wide, 6 ft over” is a shopping list.
Putting a net on right
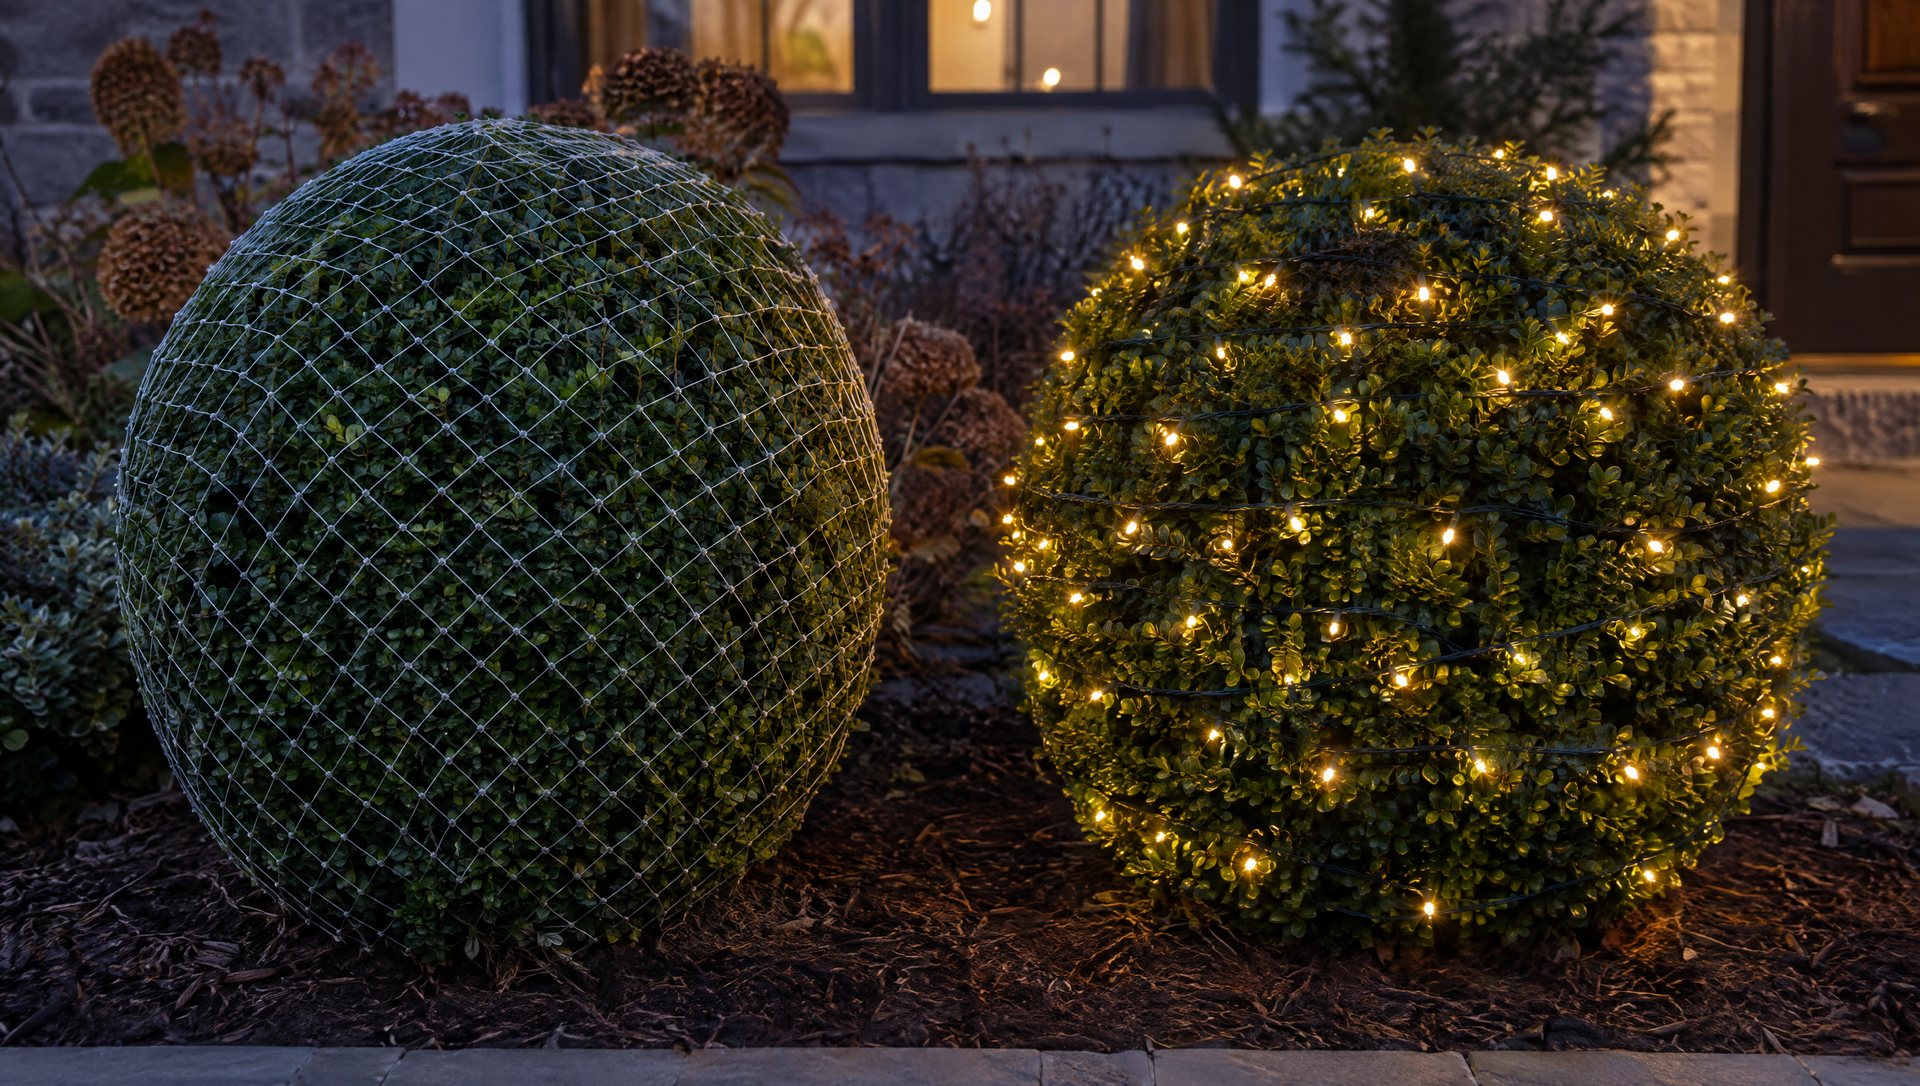
- Plug the net in on the ground to check every section lights. Unplug it.
- Find the plug end and put that corner nearest the outlet.
- Hold the net by the top two corners and lay it over the shrub like a blanket, not dropped from above.
- Tuck the bottom edges into the lower branches so no grid line hangs in the air.
- On a hedge, lay the nets side by side on the driveway first, all facing the same direction with their grid lines aligned. Then lift them on so the edges just touch. Don’t overlap them: an overlap shows as a bright stripe across the hedge.
- Against a wall, cover only the top and the front. Nobody sees the back.
Connection limits differ a lot. LED nets typically allow 14 to 21 sets end to end on one outlet, depending on type; incandescent nets often allow only about 3. A long hedge of incandescent nets needs more than one feed.
For a softer look than a visible grid, push the net slightly into the foliage after it’s on. You lose a little sparkle and gain a glow from inside the plant.
Hand-wrapping, pass by pass
Use green-wire mini lights, LED 5mm wide-angle or M5. A 100-count set at 4-inch bulb spacing gives about 33 feet of lit wire. Check your box; spacing varies.
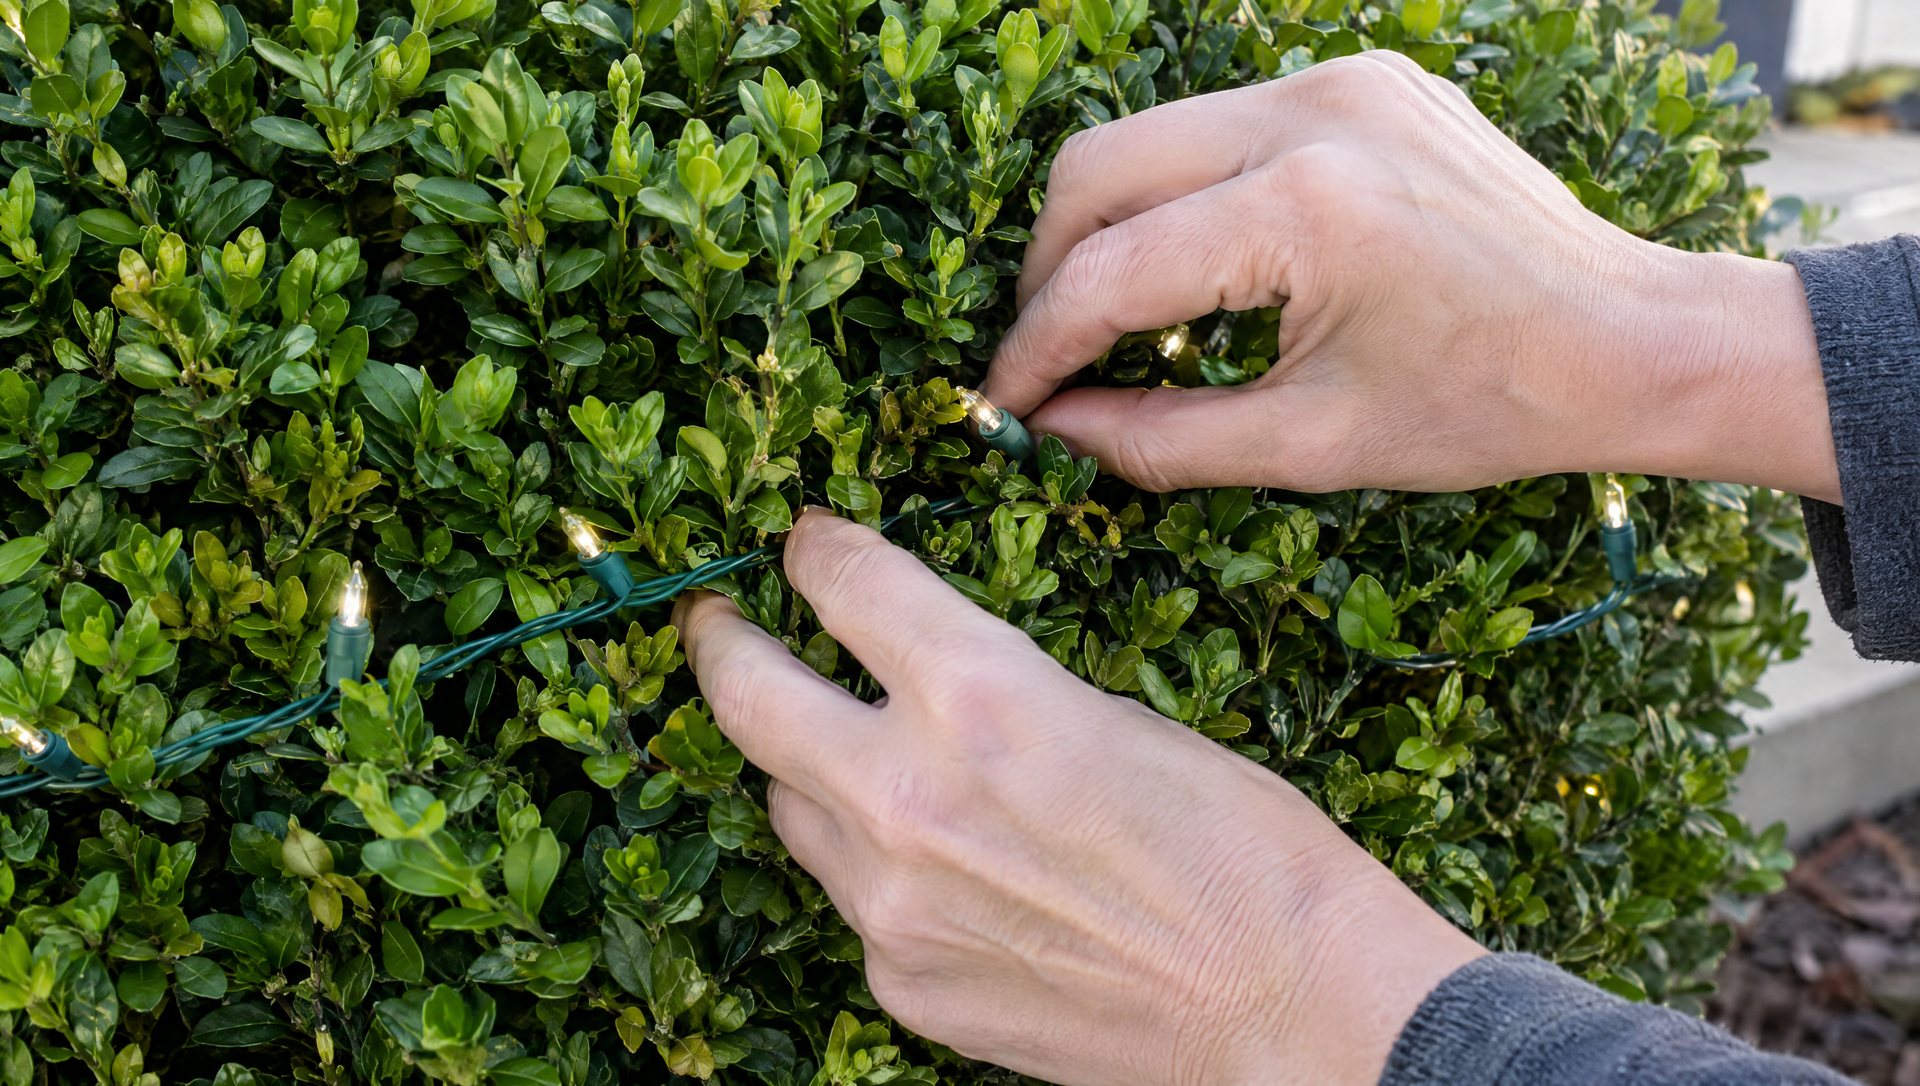
- Plug end at the base, on the side facing the outlet.
- Zigzag across the face in horizontal passes about 6 inches apart, bottom to top.
- Tuck the wire 2 to 3 inches into the foliage to hide the wire. Deeper than that hides the bulbs too.
- Keep every pass the same distance apart. Even spacing is what separates a professional wrap from a patchy one. A strip of tape on a stake beside the shrub, marked every 6 inches, keeps you honest.
- Don’t bind branches. The wire rests on the plant; it never squeezes it.
How many lights? Count the passes and multiply by the width. A 4-foot-wide boxwood, front face only, measures about 3 feet from the base up and over to the top center. At 6-inch passes that’s 6 passes × 4 feet = 24 feet: one 100-count set with a few feet to spare for the lead. Wrapping all the way around roughly doubles it.
Do the first shrub, note how many sets it took, and multiply for the similar ones. Buying for the whole bed before the first one is done is how people end up with three extra boxes or a trip back to the store at 8 pm.
A worked front bed
Here’s a common Austin foundation bed, start to finish.
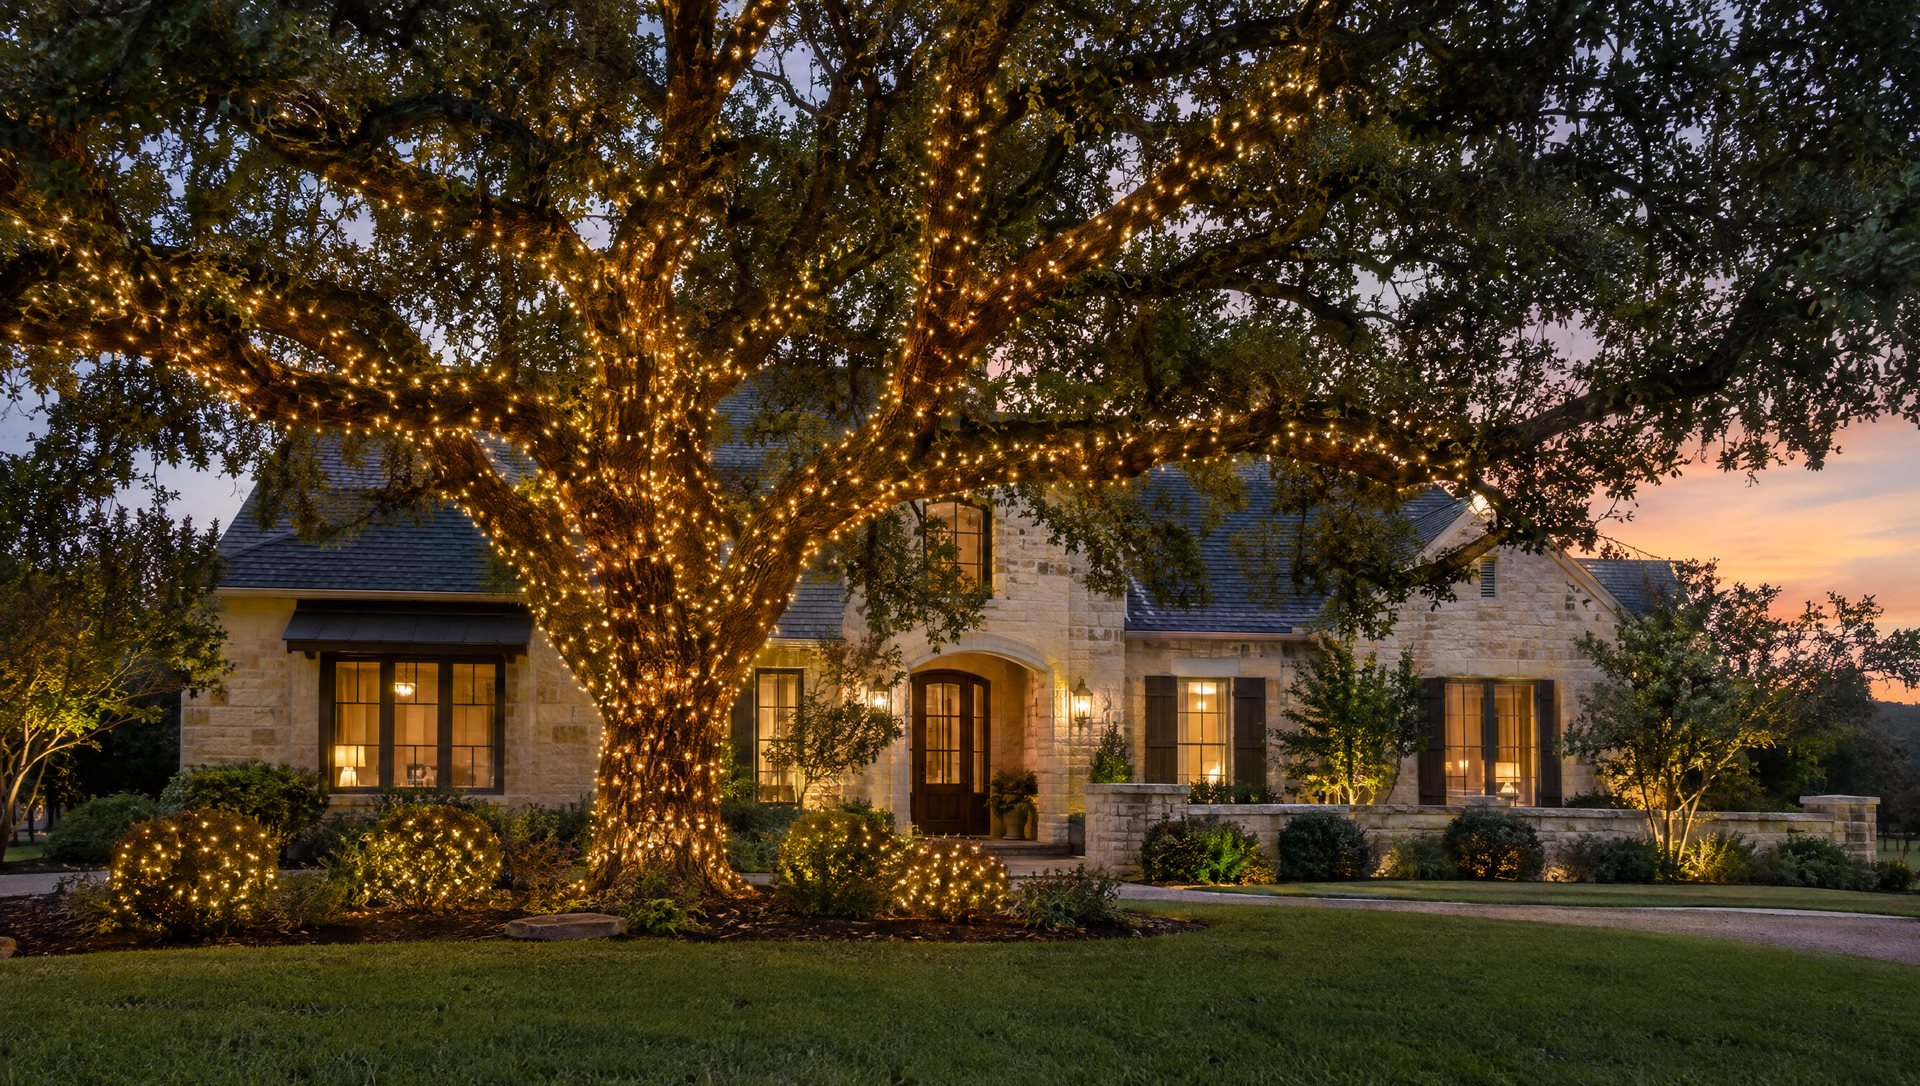
The bed: five boxwoods about 3½ feet wide along the front of the house, and two loropetalums about 5 feet tall and 4 feet wide on either side of the porch steps. One outdoor outlet by the garage. A good live oak in the yard.
Boxwoods: they fit a net. Five 4×6 nets, edges just touching along the row. With LED nets, all five chain off one plug.
Loropetalums: by the door and too tall for a net, so hand-wrap the front faces. Each measures about 5 feet from base to top along the face. At 6-inch passes that’s 10 passes × 4 feet = 40 feet, so two 100-count sets each. Four sets total.
Total: five nets and four mini sets, all LED, on one outlet. In wattage terms that’s a small load; an LED mini set is typically single-digit watts.
Layout: turn on the oak alone first. Then add the boxwood row. Then the loropetalums. If the picture looks complete before the last step, stop. On a lot of houses, the tree plus one band of lit shrubs at the foundation is the whole design.
Three layouts that work for most beds:
- The hedge ribbon. Net a clipped hedge along the foundation and leave everything behind it dark. Light the end shrubs as fully as the middle; dark ends look like you ran out of lights.
- Islands. In a mixed bed, light three or four shrubs of similar size and leave the rest dark. Same color and density on each.
- Tree first. If you have a good tree, let it lead and keep shrub lighting lower and simpler underneath.
If you want color, alternate solid colors on every shrub or every other shrub (red and white, blue and white) rather than multicolor on each one. Our blue and white lights guide has palette ideas.
Power, sprinklers and the lawn crew
Shrub lights live at ground level, which is where water is. Most shrub-lighting failures start at a connection, not a bulb.
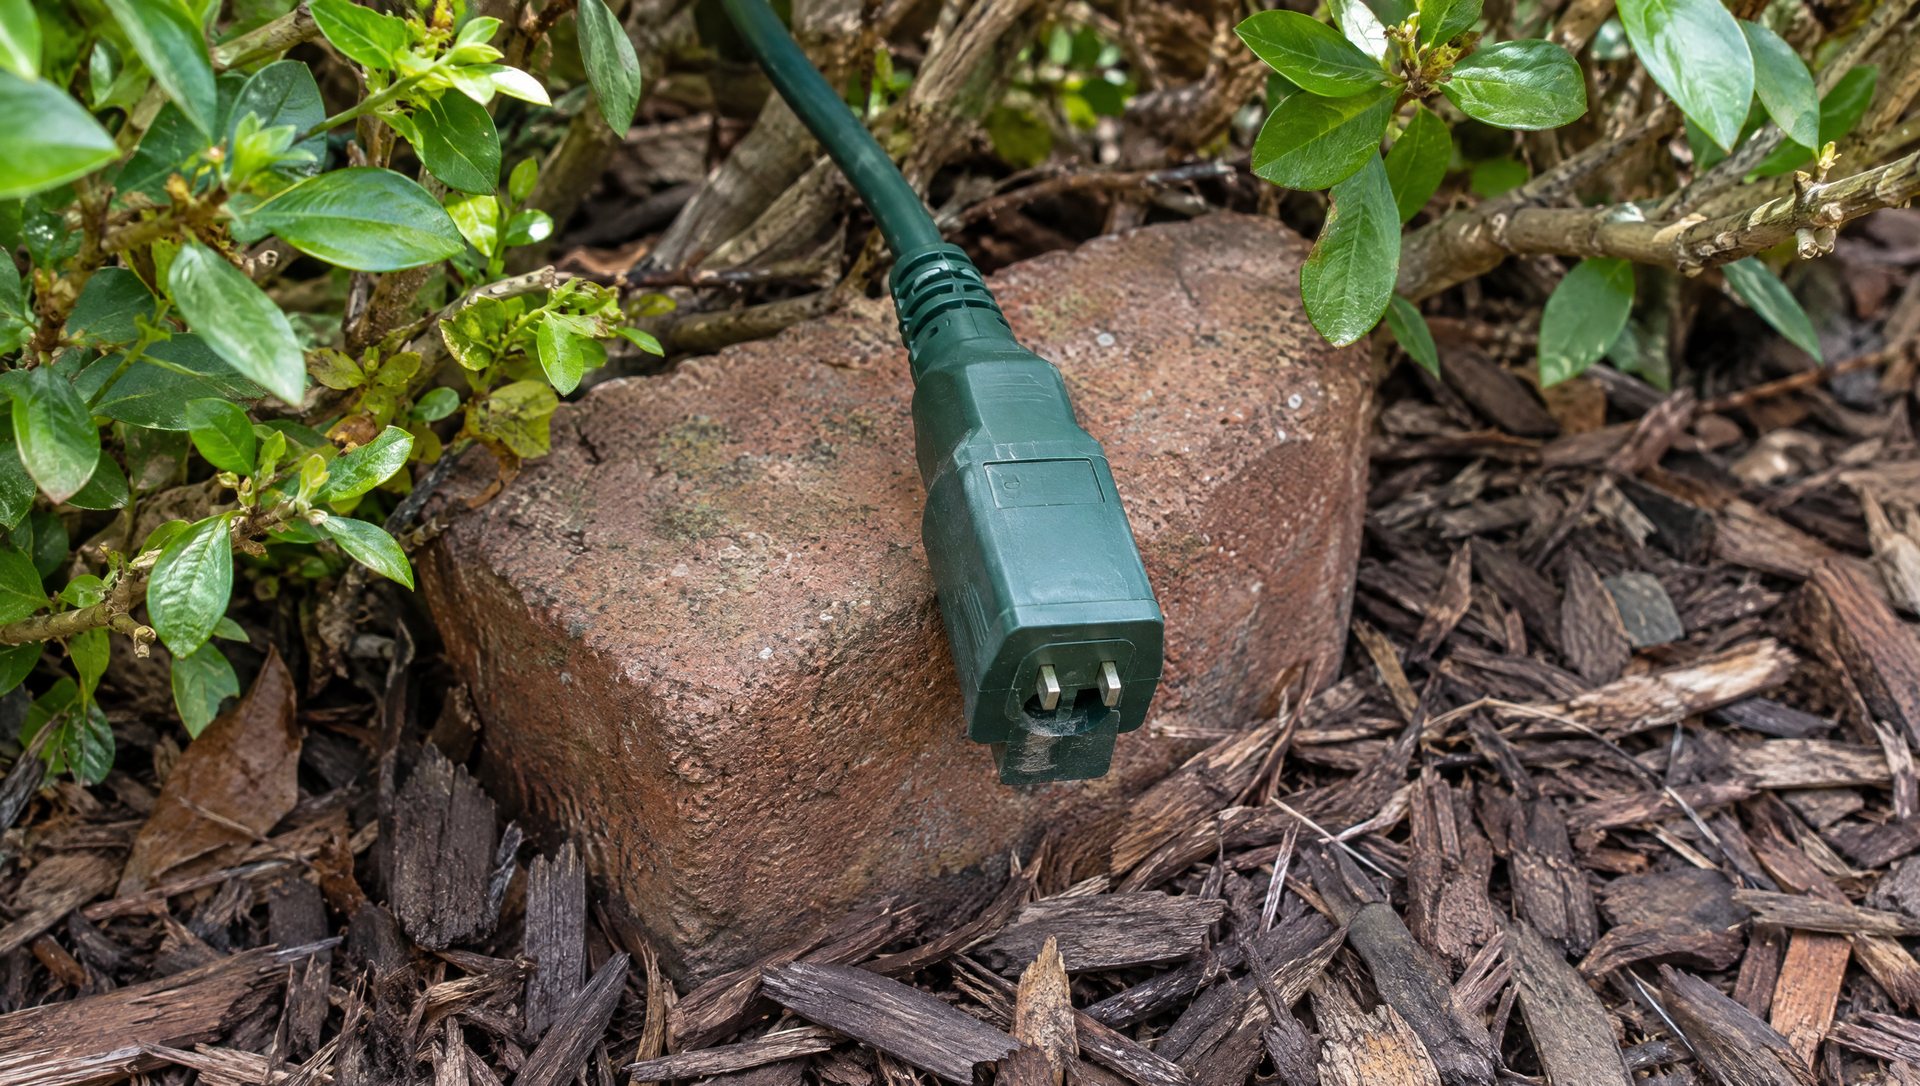
- GFCI outlet. Plug into a GFCI-protected outdoor outlet, as ESFI recommends for all outdoor decorations.
- Connections off the ground. Rest each plug-to-plug connection on a brick or hang it in a branch, plug end pointing down so water drains away. Austin beds still get sprinklers in December, and a connection lying in a wet bed is a common reason a GFCI trips overnight.
- Don’t bury cords under mulch. It feels tidy and it hides damage. Run cords along the back of the bed, against the foundation, away from where the edger goes.
- Tell your lawn crew. A string trimmer finds a light cord in about one pass.
- Label each set by shrub with tape on the plug. When something trips, you’ll know which one to unplug.
If the GFCI trips repeatedly, look for a plug lying in water before you reset it. Damaged insulation or a warm connection means that set is done for the year. Our flickering and tripping guide covers the full diagnosis, and for cords that have to cross a walk, see the pathway and driveway guide.
Taking them down without wrecking the shrub
Unplug first. Lift a net off from its top corners, the reverse of putting it on. Dragging it off by an edge pulls leaves and snaps small branches.
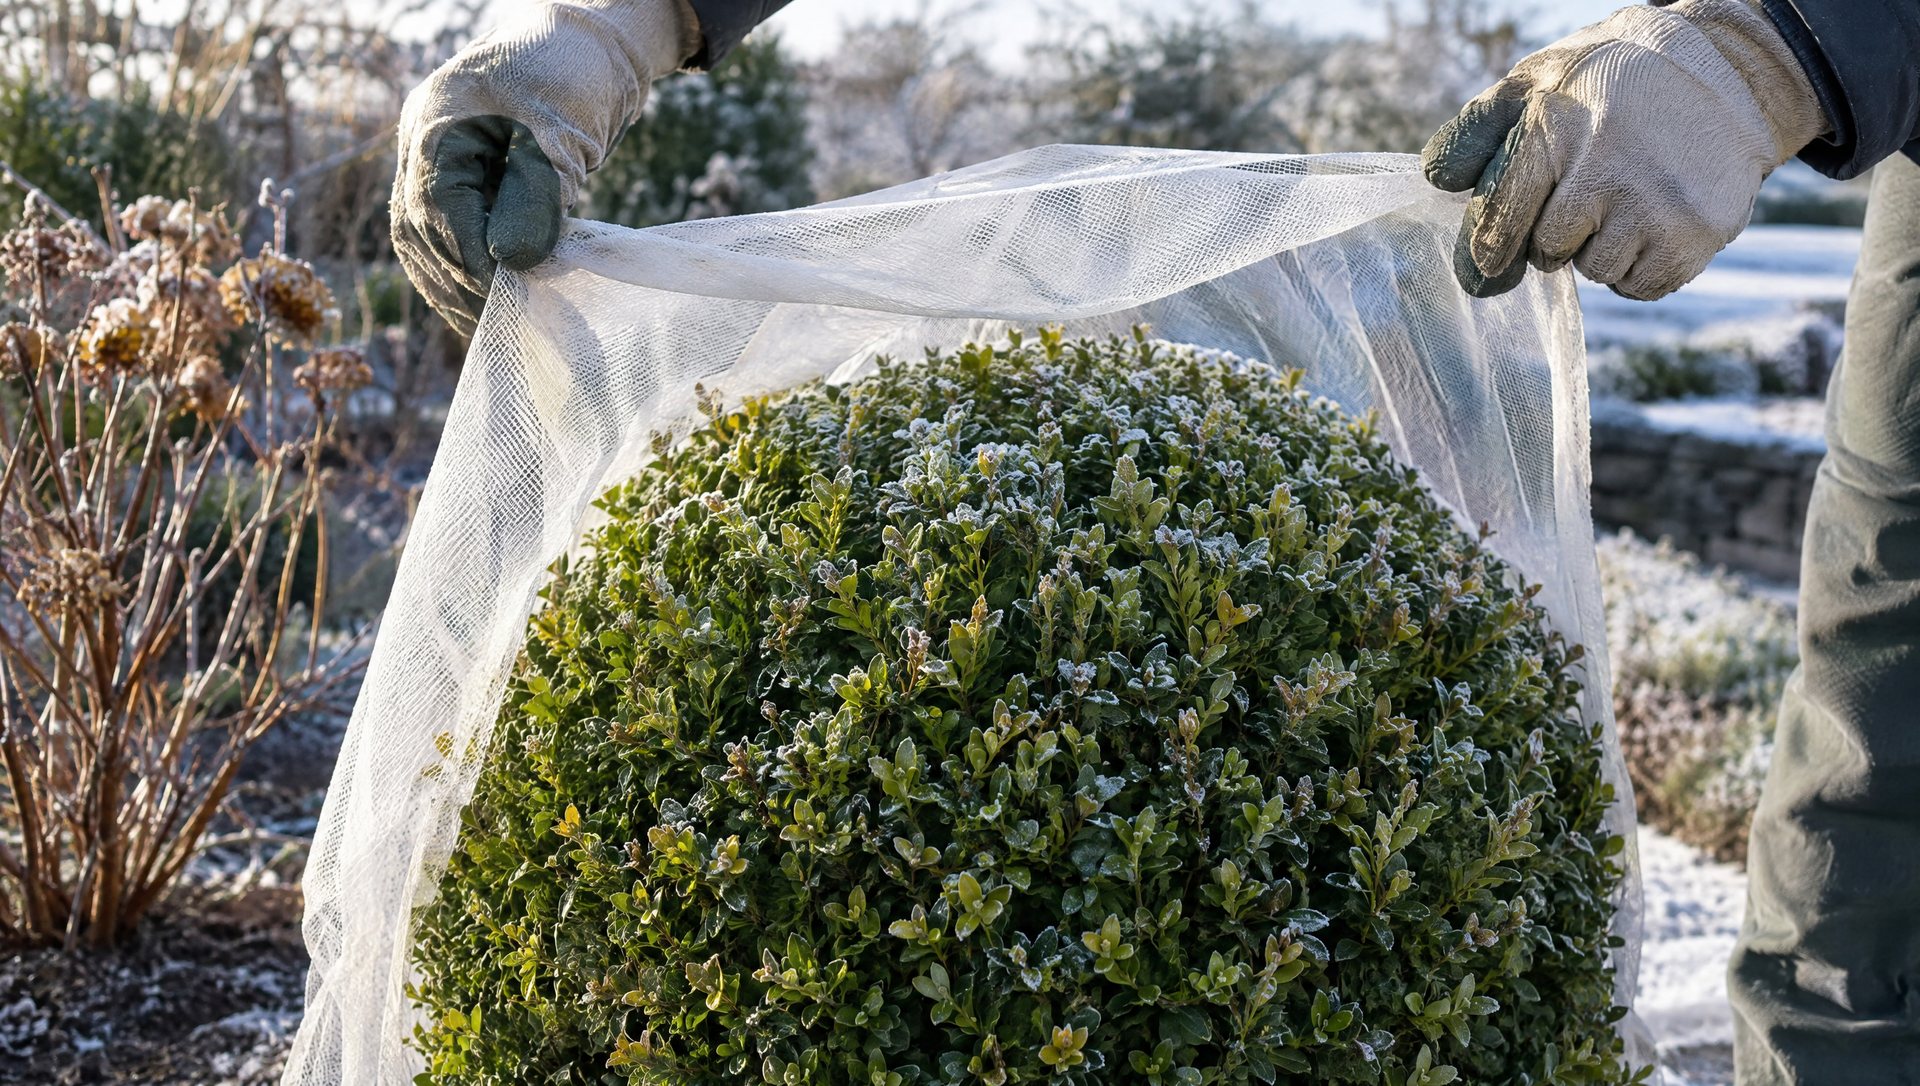
Unwind hand-wrapped strings in reverse, top to bottom, freeing the wire from the foliage as you go rather than pulling it through.
If a shrub has grown through the net over a long season, clip the twigs free with pruners. Ripping the net out damages both the plant and the net.
Fold each net in half twice and roll it, plug end out. Store nets flat or rolled, not stuffed, so the grid doesn’t tangle into a knot by next year.
What we’d skip
- Stretching a net over a shrub it doesn’t fit.
- Overlapping nets to hide a gap. Fix the gap with a short hand-wrapped string instead.
- Netting anything spiky. Austin yards are full of agave and yucca, and they win.
- Lighting every shrub in the bed. Dark gaps make the lit ones read as intentional.
- Buying for the whole bed before you’ve done one shrub.
If you’d rather we planned the shrubs together with the roofline and trees, text a daytime photo of your front beds to (737) 777-9099 or use our contact page. Our Austin installation service handles the full house.
Frequently asked questions
Can I use one net on two bushes?
Only if they’re touching and together fit the net without stretching. Two separate shrubs look better with their own net each; a net spanning the gap between them shows as a lit bridge over nothing.
Can I put net lights on a tree trunk?
Not a standard 4×6 net on a small trunk. Trunk-wrap nets are made for it, commonly 2 by 6 or 2 by 8 feet for trunks up to about 2 feet across. Bigger trunks take 4×6 nets or hand-wrapped strings.
Sources
- Christmas Lights Etc: net-light installation guide
- Electrical Safety Foundation: holiday electrical hazards
About the author. Rick Safeman owns Sapien Lighting & Installation in Austin, Texas.