Most renters can put Christmas lights on an apartment balcony. The ones who get into trouble skip one of three things: they don’t check the community rules, they run an extension cord through the sliding door, or they attach something that takes paint with it in January. Get those right and a balcony display is a one-evening job you can undo in fifteen minutes.
This guide is built as a sequence, in the order you’ll actually do it: get a yes, measure, sort out power, attach, pick a layout, and plan the takedown before you put anything up.
Step 1: Get a yes from management, in writing
Read your lease, the community handbook and any seasonal notice the office has sent. Apartment communities commonly have rules about:
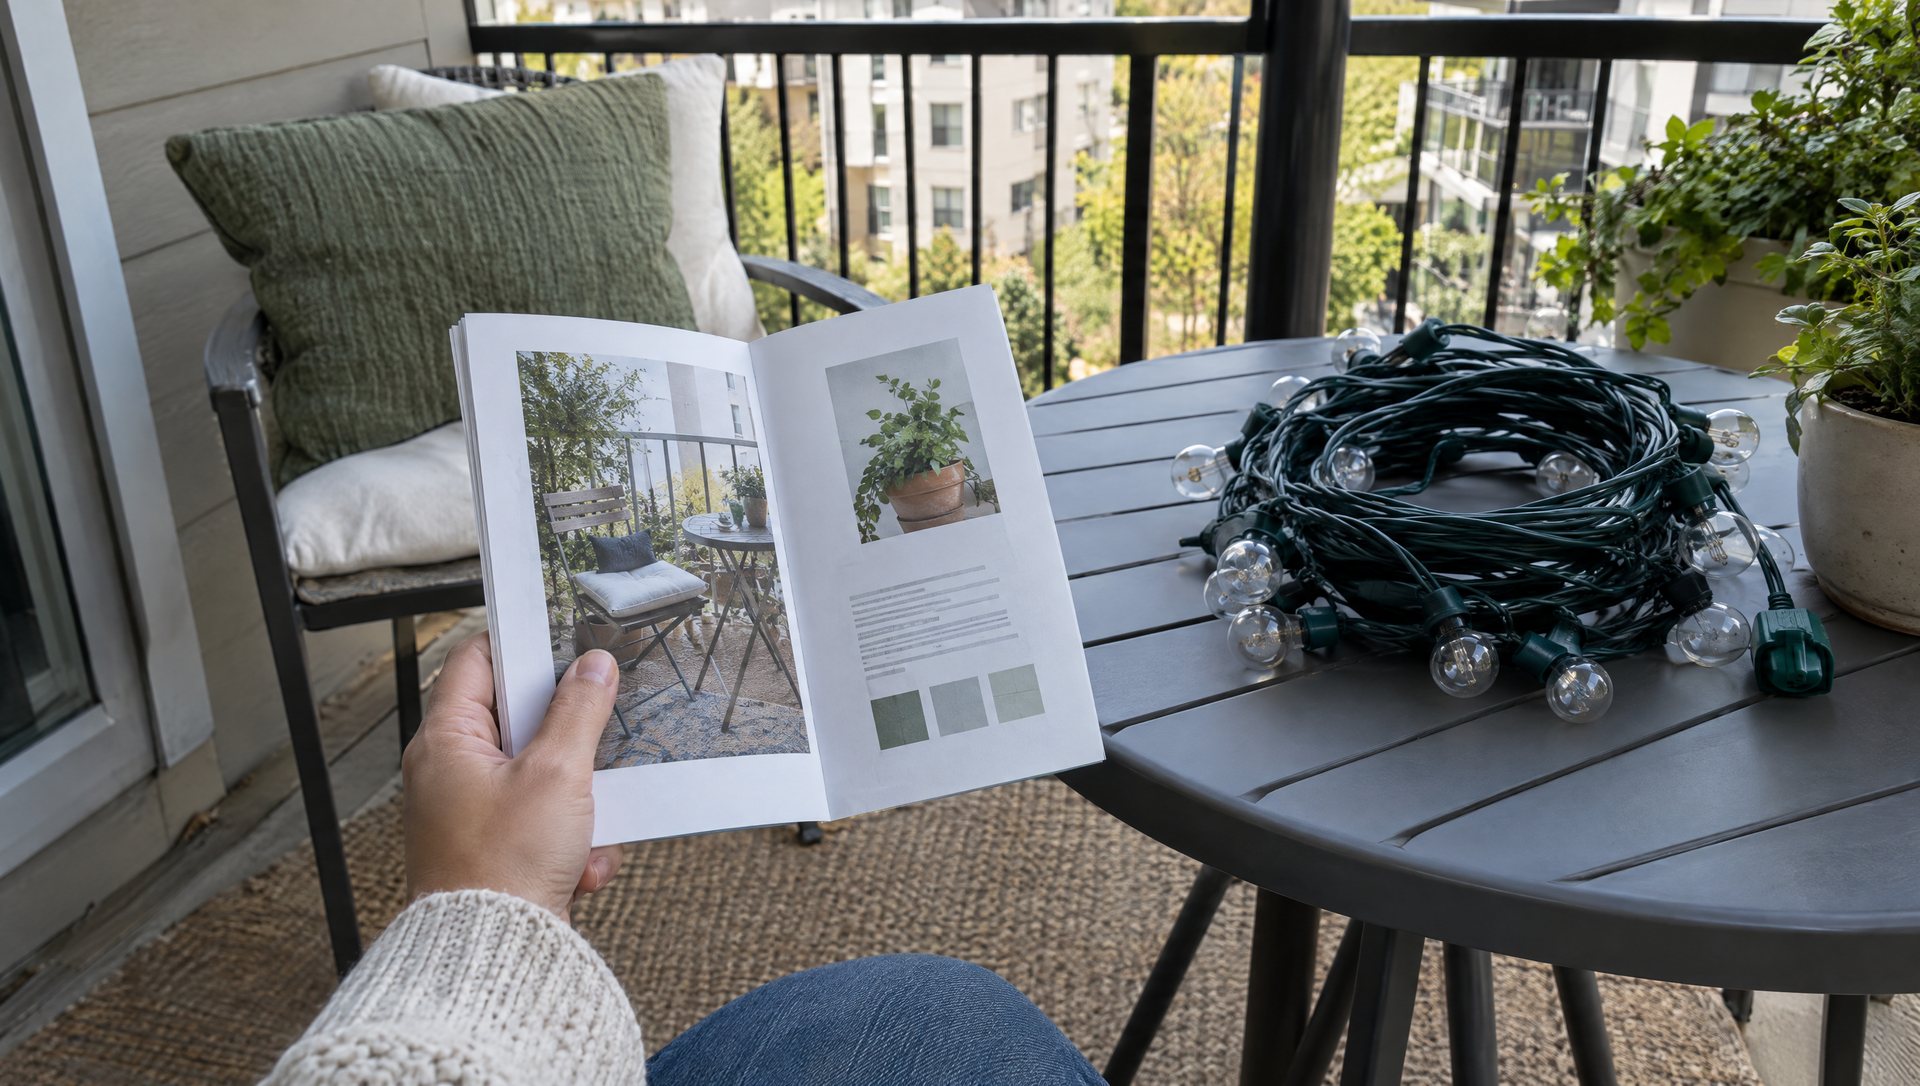
- The outside of the railing. Many allow lights on the inside face only, or nothing visible from the street.
- Attachment. Nails, screws and staples into the building are almost always out. Some communities ban adhesive on exterior paint too.
- Removal dates. Many set a deadline after the holidays, and some charge for decorations left up.
- Electrical decorations and hours.
If the rules are vague, ask about your actual plan, not “are decorations allowed?” A specific question gets a faster yes, and the answer, by email or through the resident portal, is your record if a new manager arrives in December.
Here’s a message you can adapt:
“I’d like to put a small light display on my balcony for the holidays: outdoor-rated lights on the inside of the railing, attached with zip ties, no drilling or adhesive on the walls, and nothing hanging past the railing. The door and walking area stay clear. Is that OK, and is there a removal date or an off time I should follow?”
Add a photo or the product link if they ask. A product sold as “renter-friendly” doesn’t override the building’s rules, and nothing in this guide can tell you what your lease allows. This is general information, not legal advice.
Step 2: Measure the balcony and the way out
Two measurements matter: how much railing you’ll light, and how much floor you can’t touch.
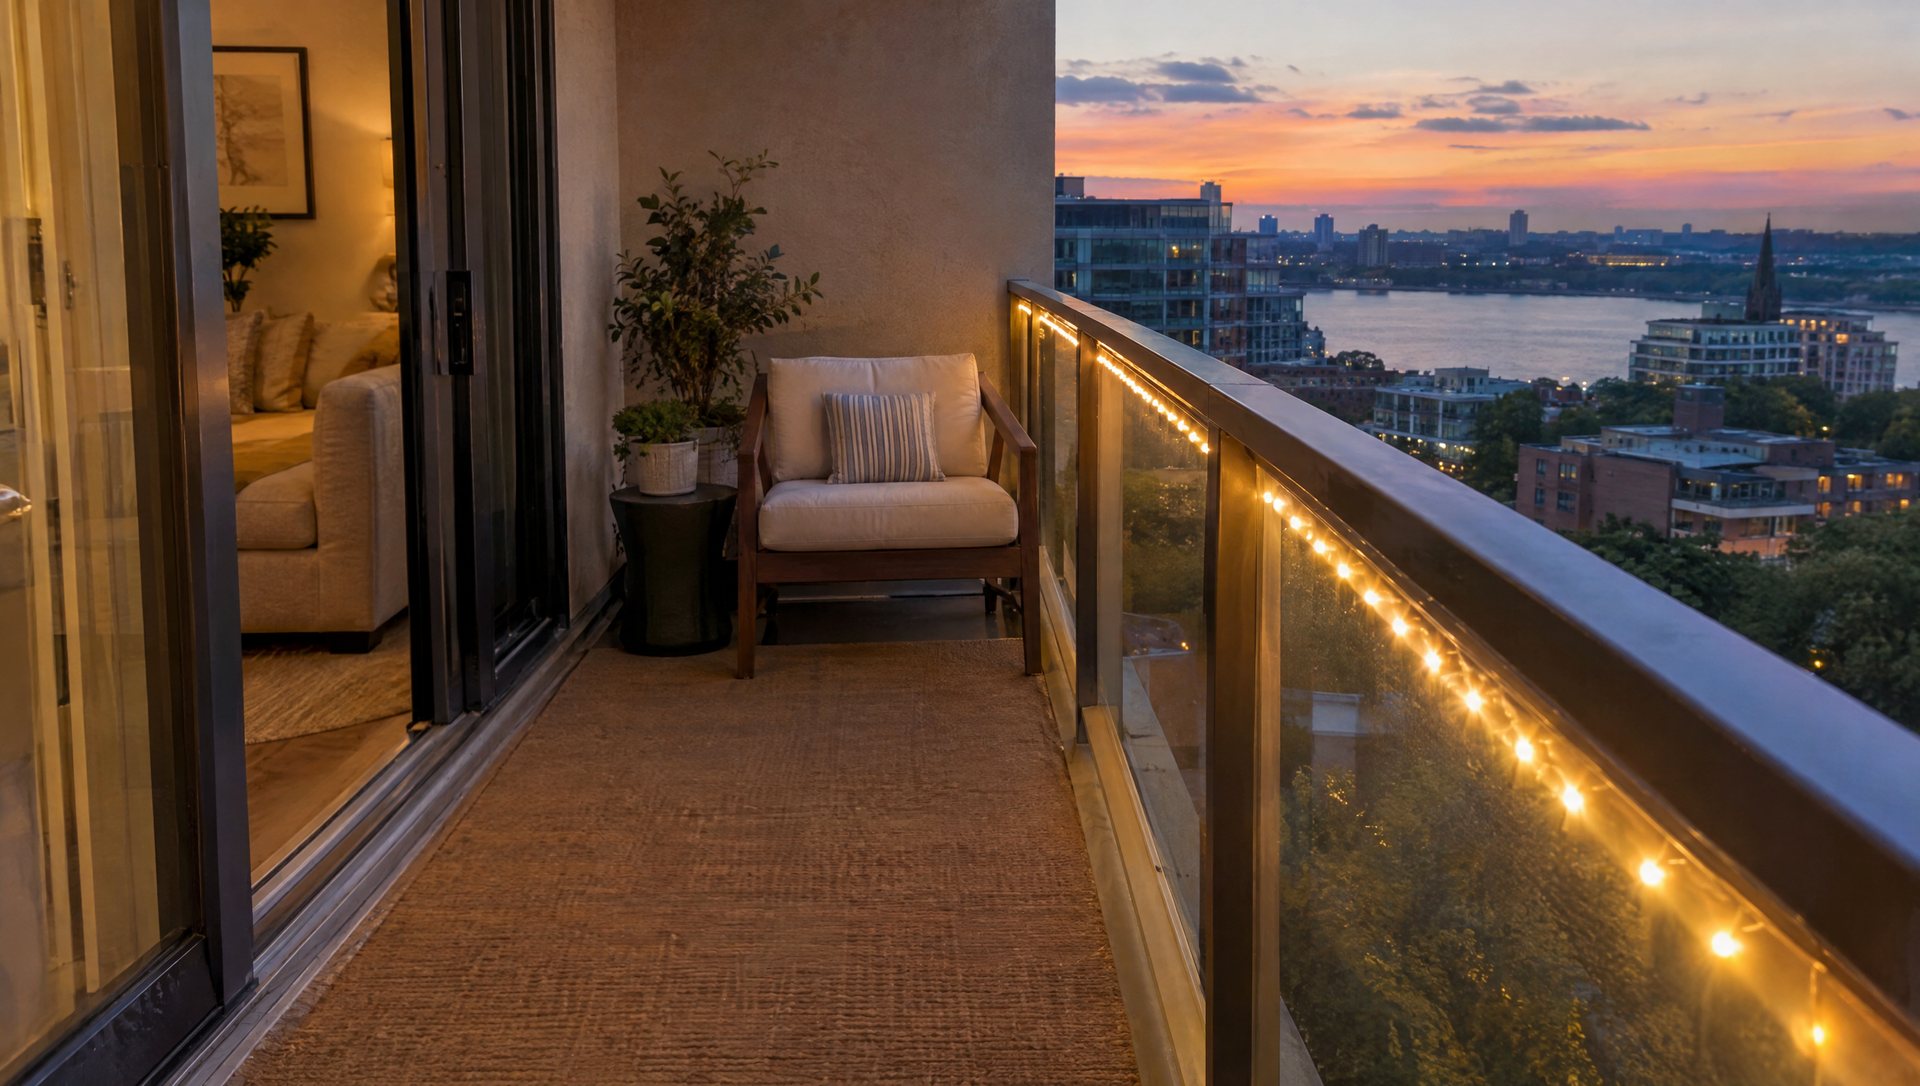
The railing. Measure the inside of the top rail on each side you’ll use. A common shape is a 10-foot front rail with two 5-foot returns, which is 20 feet of railing. Read the lit length on the light box, not the light count, and buy the set that covers your run with a little slack. Lit length varies a lot between brands for the same number of bulbs. If you end up with 8 extra feet, don’t zigzag it back along the rail; coil it neatly behind a planter or put it on the next layout instead.
The floor you can’t use. Open the sliding door all the way, walk to your chair, and imagine leaving in a hurry with a bag in each hand. Lights, cords, planters and a tree stay out of that path. If your bedroom has a window used as an emergency exit, it has to open fully and stay unobstructed; the City of Austin’s code-compliance checklist asks the same of exit windows, and asks that balconies and guardrails stay in good repair. Decorations should never get in the way of either.
The ties. On a metal railing, plan one zip tie every 12 to 18 inches. For a 20-foot run that’s 14 to 20 ties, plus a few at the corners. Buy a pack of 100 small UV-resistant black ties and you’ll have spares for next year.
Step 3: Solve power before you buy lights
Power is the real limit on a balcony, and it decides which lights you buy.
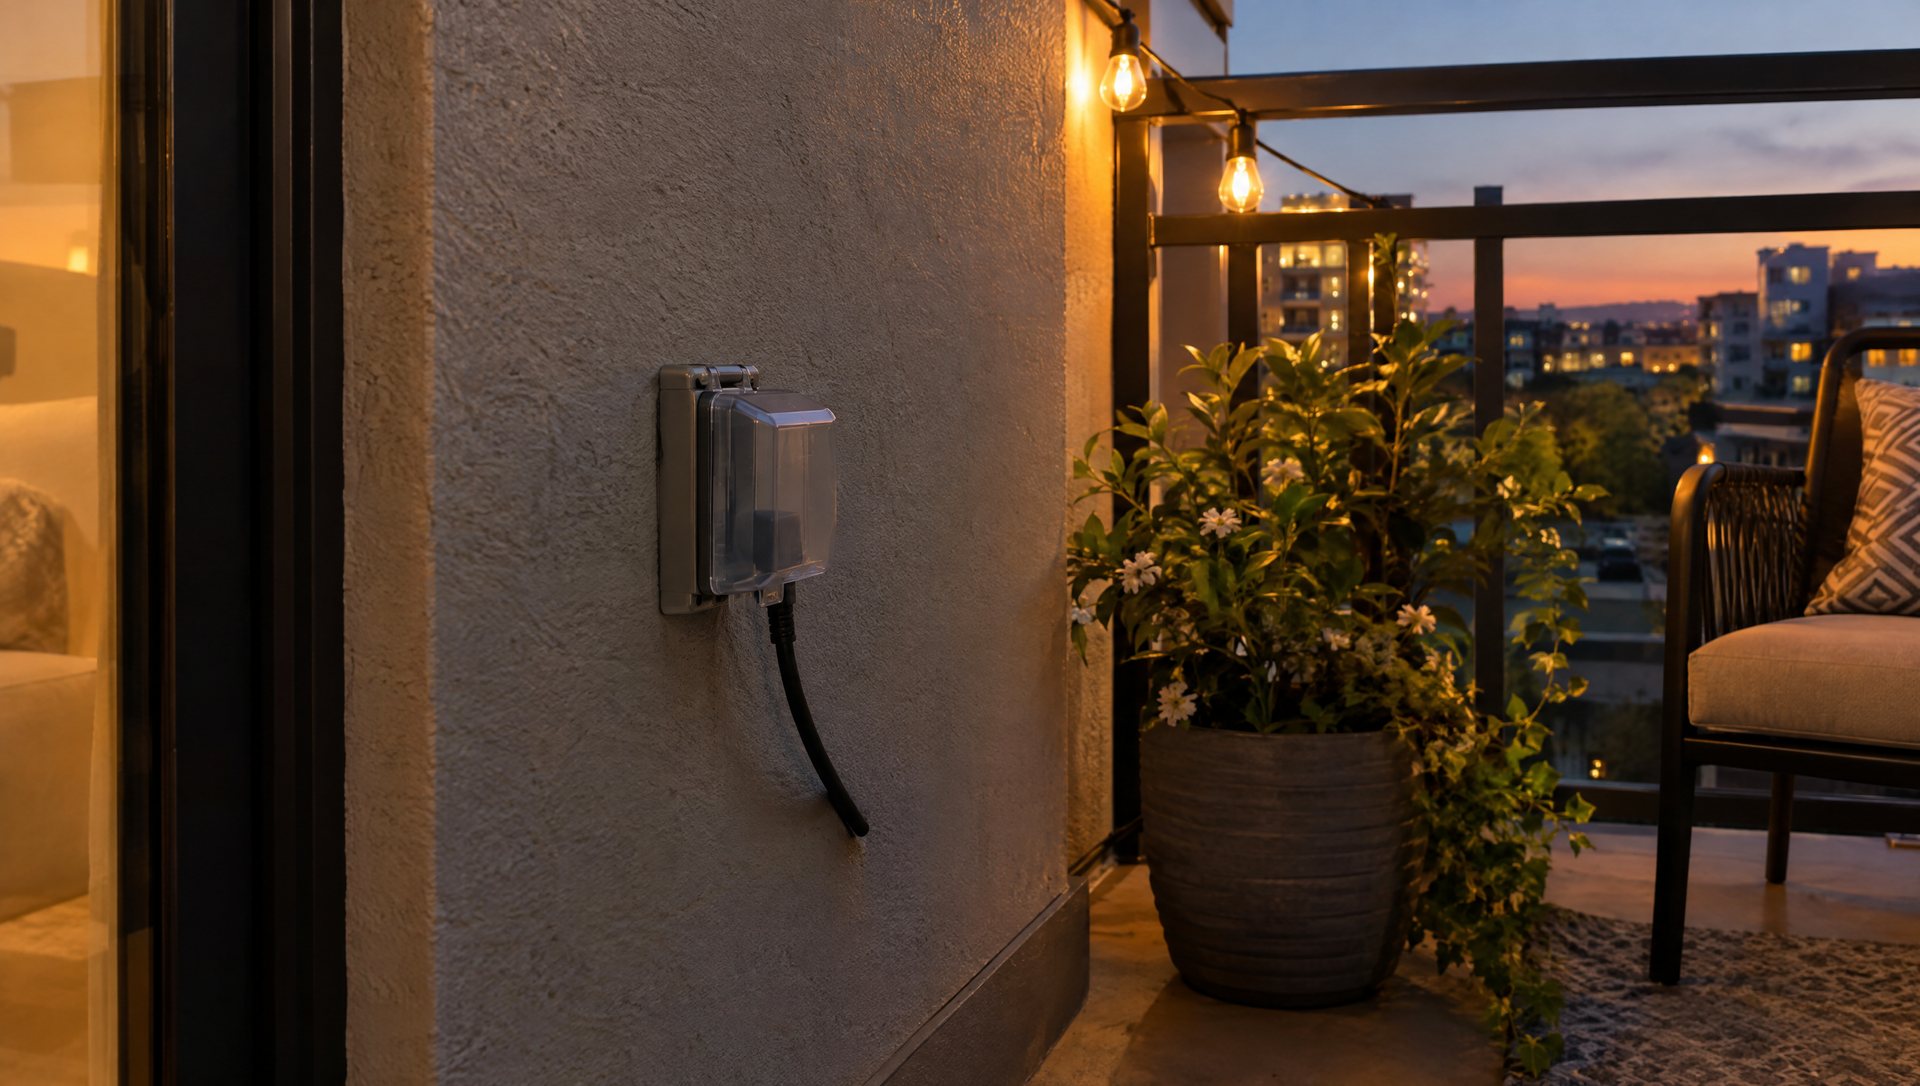
If your balcony has an outdoor outlet, use lights labeled for outdoor use and, only if you need it, one short outdoor-rated extension cord that stays on the balcony. Keep the connection off the floor, where rain and plant water collect; tie it to a rail picket a few inches up. The National Electrical Code requires GFCI protection for outdoor receptacles at homes, including on balconies, so most balcony outlets are GFCI-protected (very old buildings may predate the rule). If it trips, find the wet connection instead of resetting it over and over.
Load is rarely a problem with LEDs. The tag on each string lists its watts; LED minis draw very little, and even an older incandescent 100-light mini set is in the tens of watts. The bigger risk is connecting more strings end to end than the tag allows, so check the “connect no more than” line.
If you don’t have an outlet, don’t run a cord from inside through the sliding door or a window. The door crushes the cord every time it closes, and the International Fire Code, the model code behind Austin’s fire code, prohibits extension cords run through walls or under doors. Austin enforces the 2024 edition. Don’t borrow power from a neighbor’s balcony or a hallway outlet either.
Use battery lights instead. A string with a built-in 6-hour timer is the easiest choice for most balconies: it turns on when you set it, runs through the evening, and goes off without you thinking about it. The runtime math is simple. If the box claims, say, 60 hours on a set of batteries, a 6-hour timer gets you about 10 nights before a swap, and cold nights can cut that. Buy a spare set of batteries with the lights. Our battery-operated outdoor Christmas lights guide covers runtime and brightness in more detail.
The third option is skipping outdoor power entirely and putting the display inside the window. More on that below.
New outlets are a job for management and a TDLR-licensed electrician. We install plug-in displays and don’t add balcony outlets or modify circuits.
Step 4: Attach it without losing your deposit
Your deposit is decided by what’s left on the building in January, so the attachment method matters more than the lights.
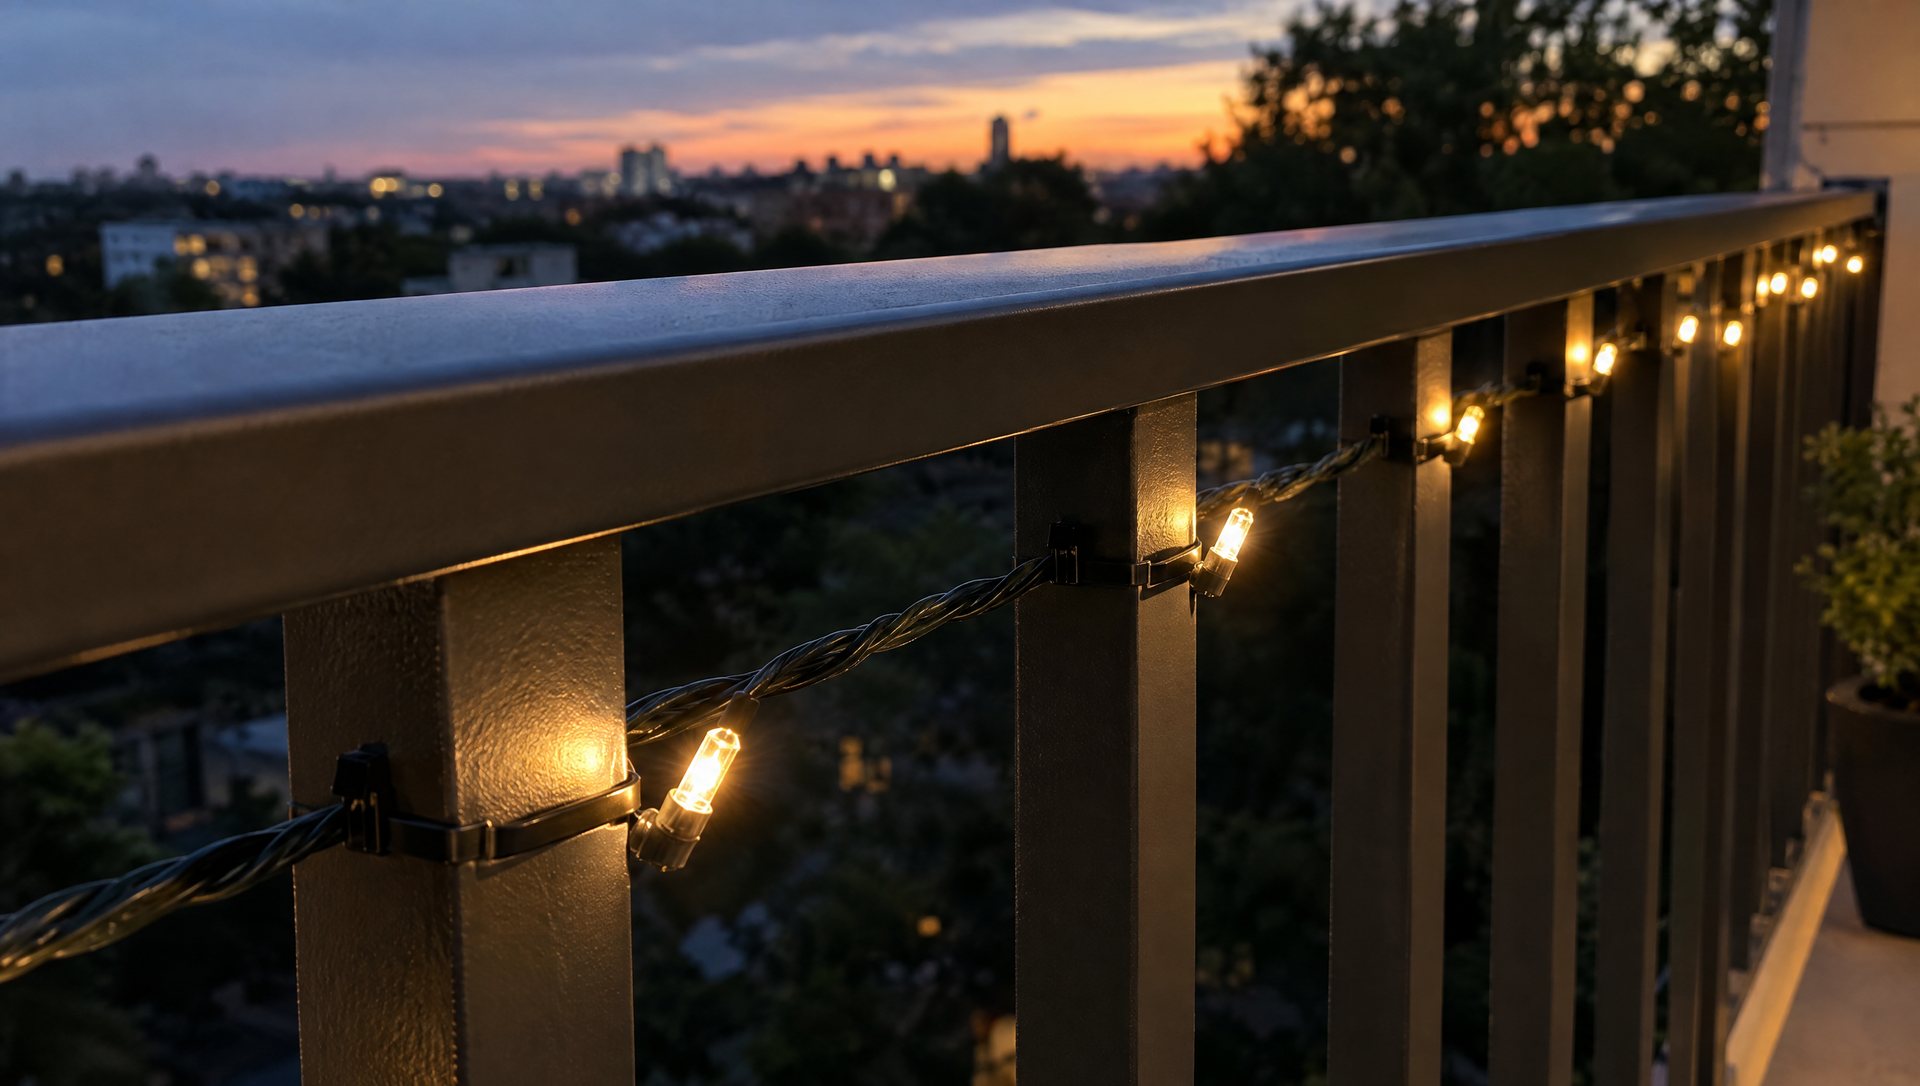
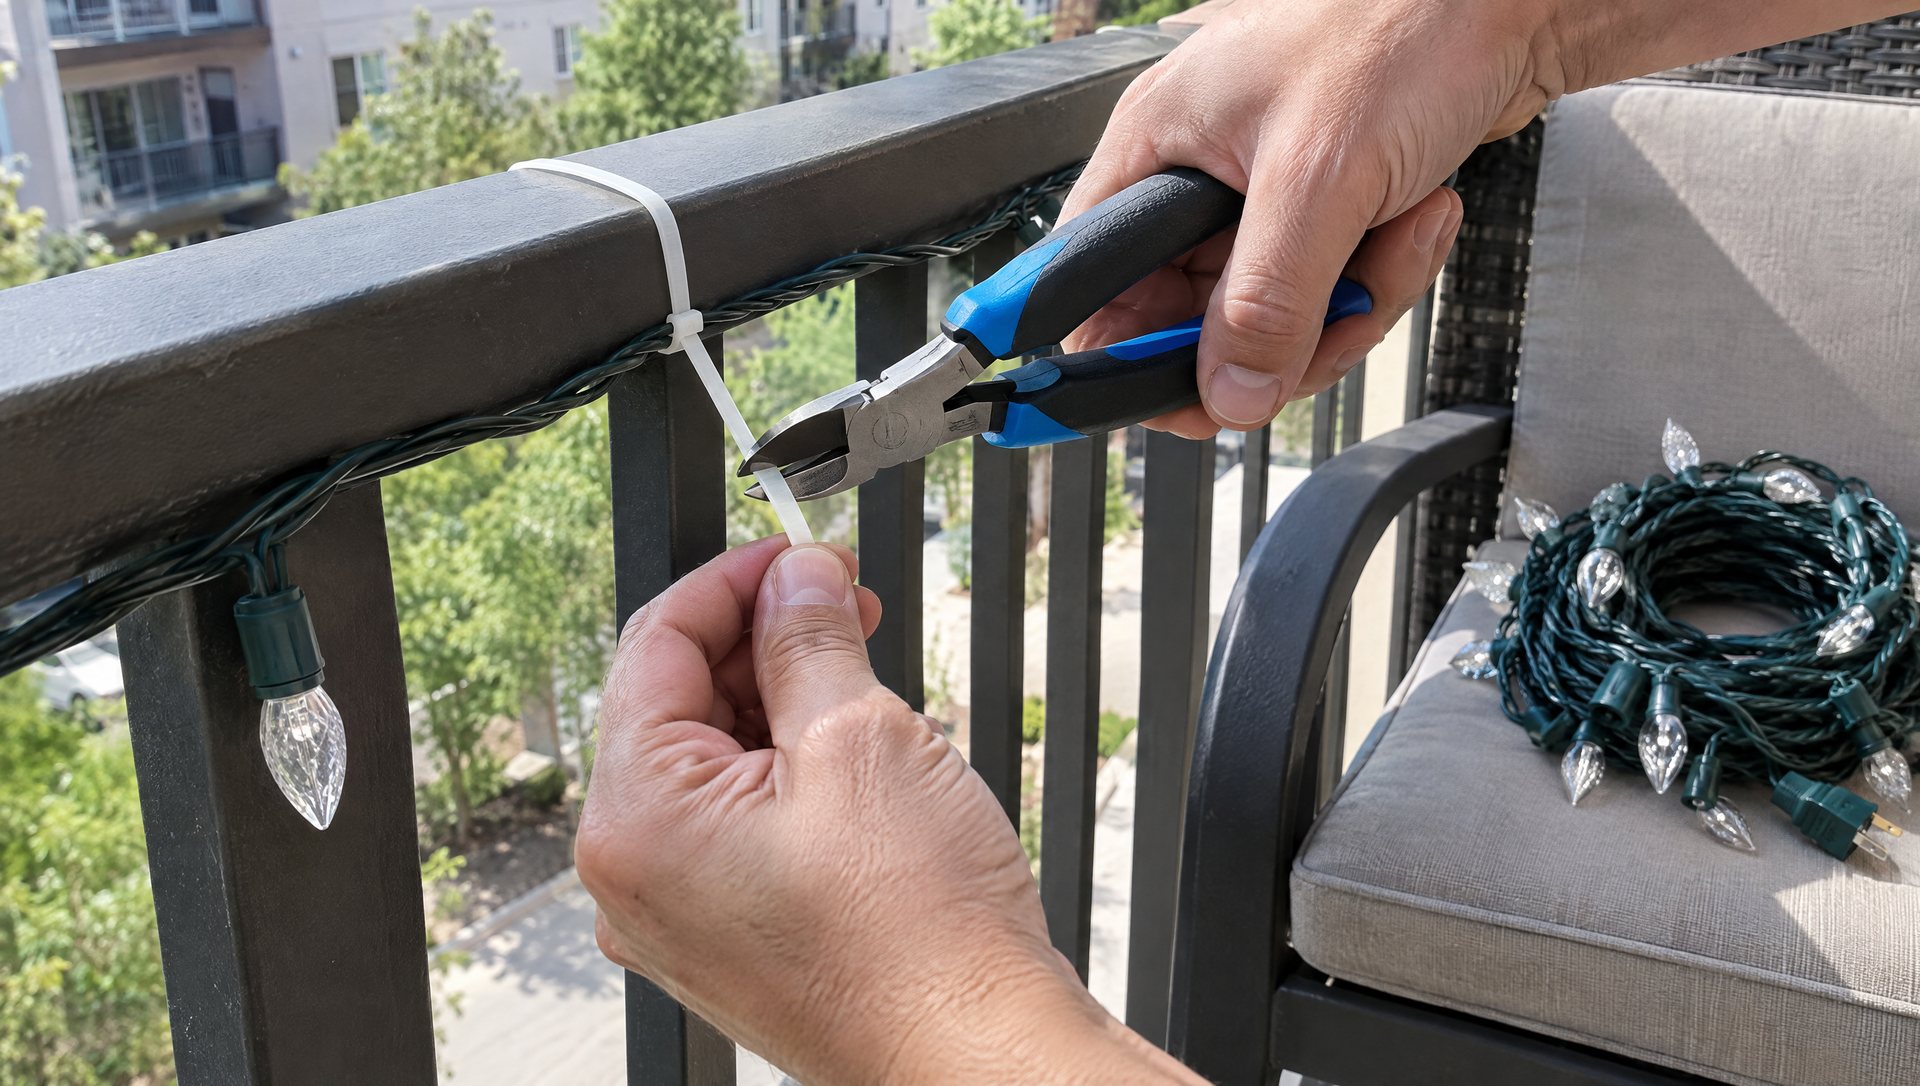
Metal pickets or rails: small UV-resistant zip ties. Snug, not tight enough to pinch the wire. Point the tails toward the inside of the balcony and trim them so nobody snags a sleeve. In January, cut them with flush cutters, not scissors, so you don’t nick the wire or the railing’s finish.
Smooth, sealed surfaces: outdoor adhesive light clips. 3M’s Command outdoor light clips are listed for surfaces like flat vinyl siding, finished fences, tile, painted block and windows. They aren’t listed for brick, stucco or rough wood. Follow the package directions for cleaning the surface first and for removal.
Stucco and brick: skip adhesive. Many Austin apartment complexes have stucco walls on the balcony, and an adhesive clip can pull paint or texture off when you remove it, and that comes out of your deposit. Keep the lights on the railing.
Put every tie and clip where you can reach it from the balcony floor to take it off later.
Step 5: Pick one layout
A small balcony looks best with one clear idea. These four work, and you can combine two at most.
The inside railing line
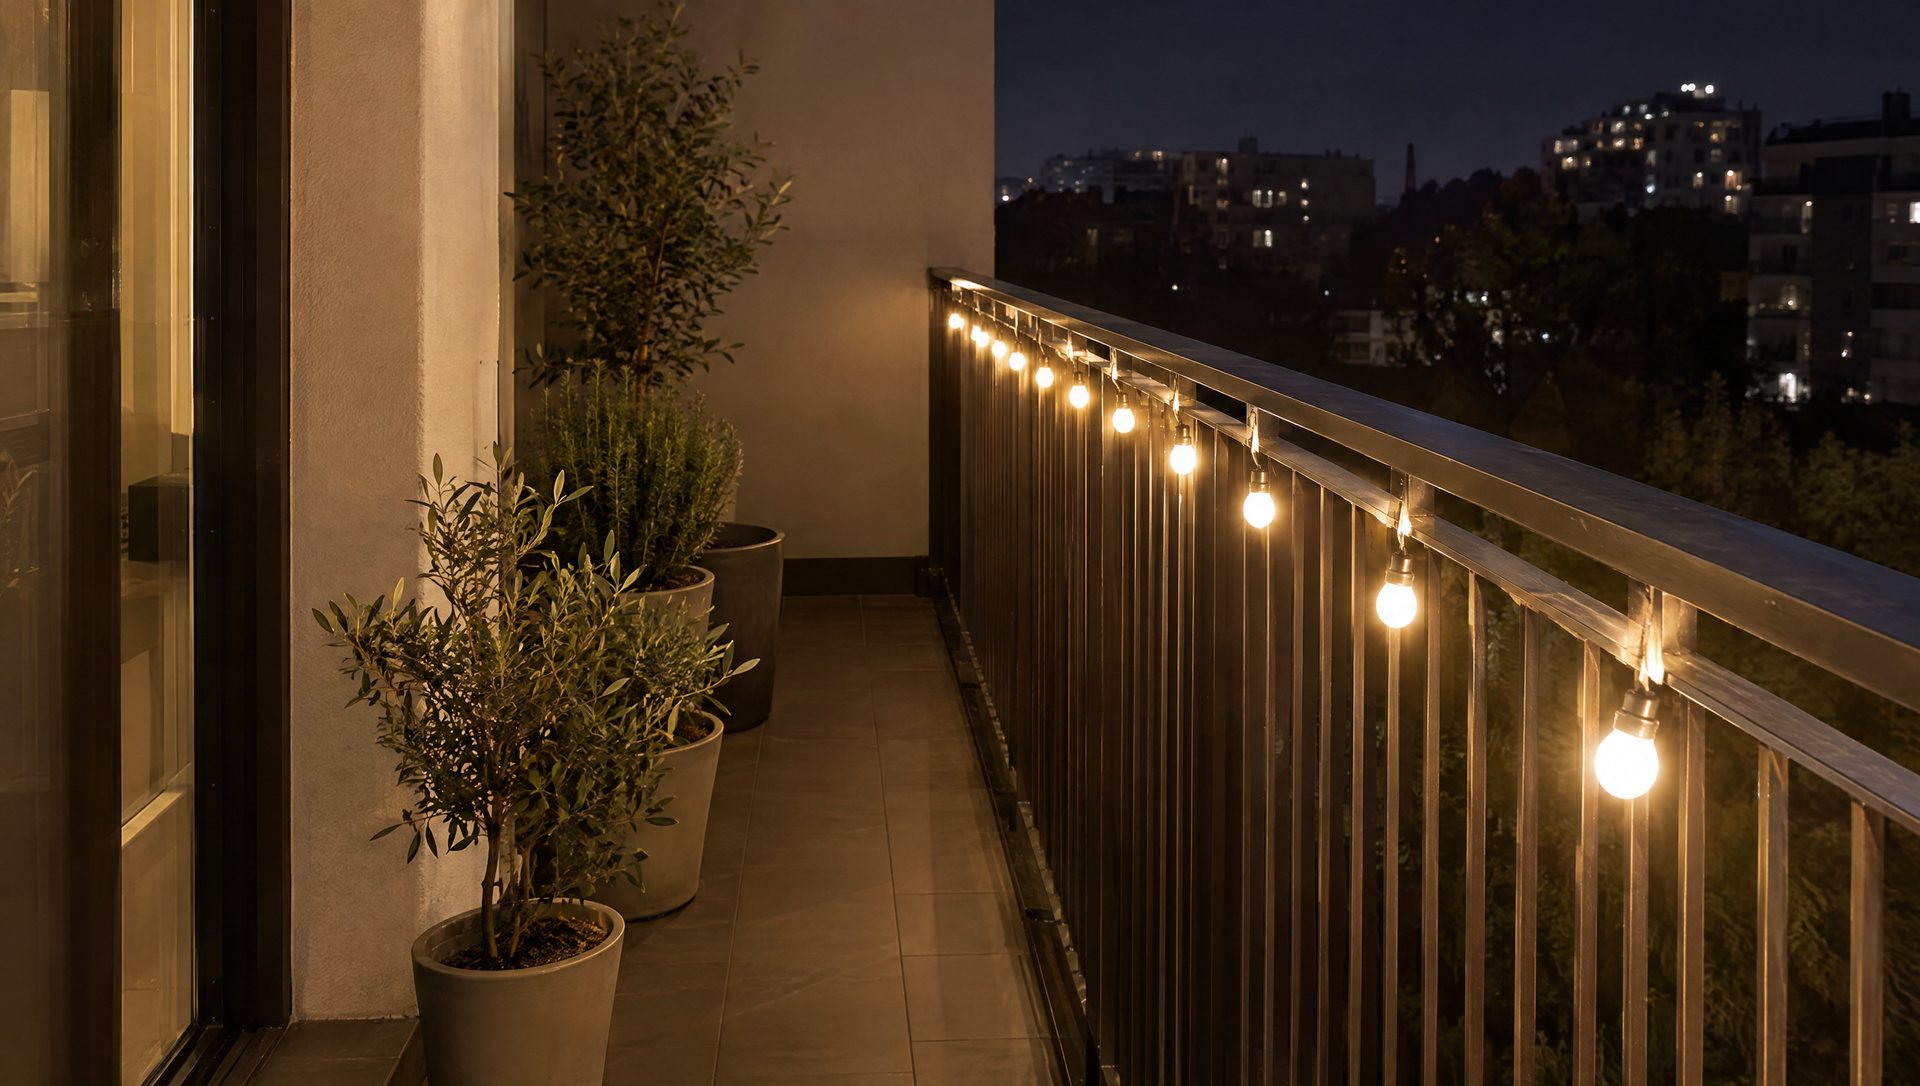
One line of lights along the inside of the top rail or across the pickets. Keep the top of the handrail clear where you’d grab it, and stop the line cleanly at the corners instead of letting extra lights dangle. From the parking lot it reads as a crisp lit outline of your balcony, which is exactly what you want.
The lit planter
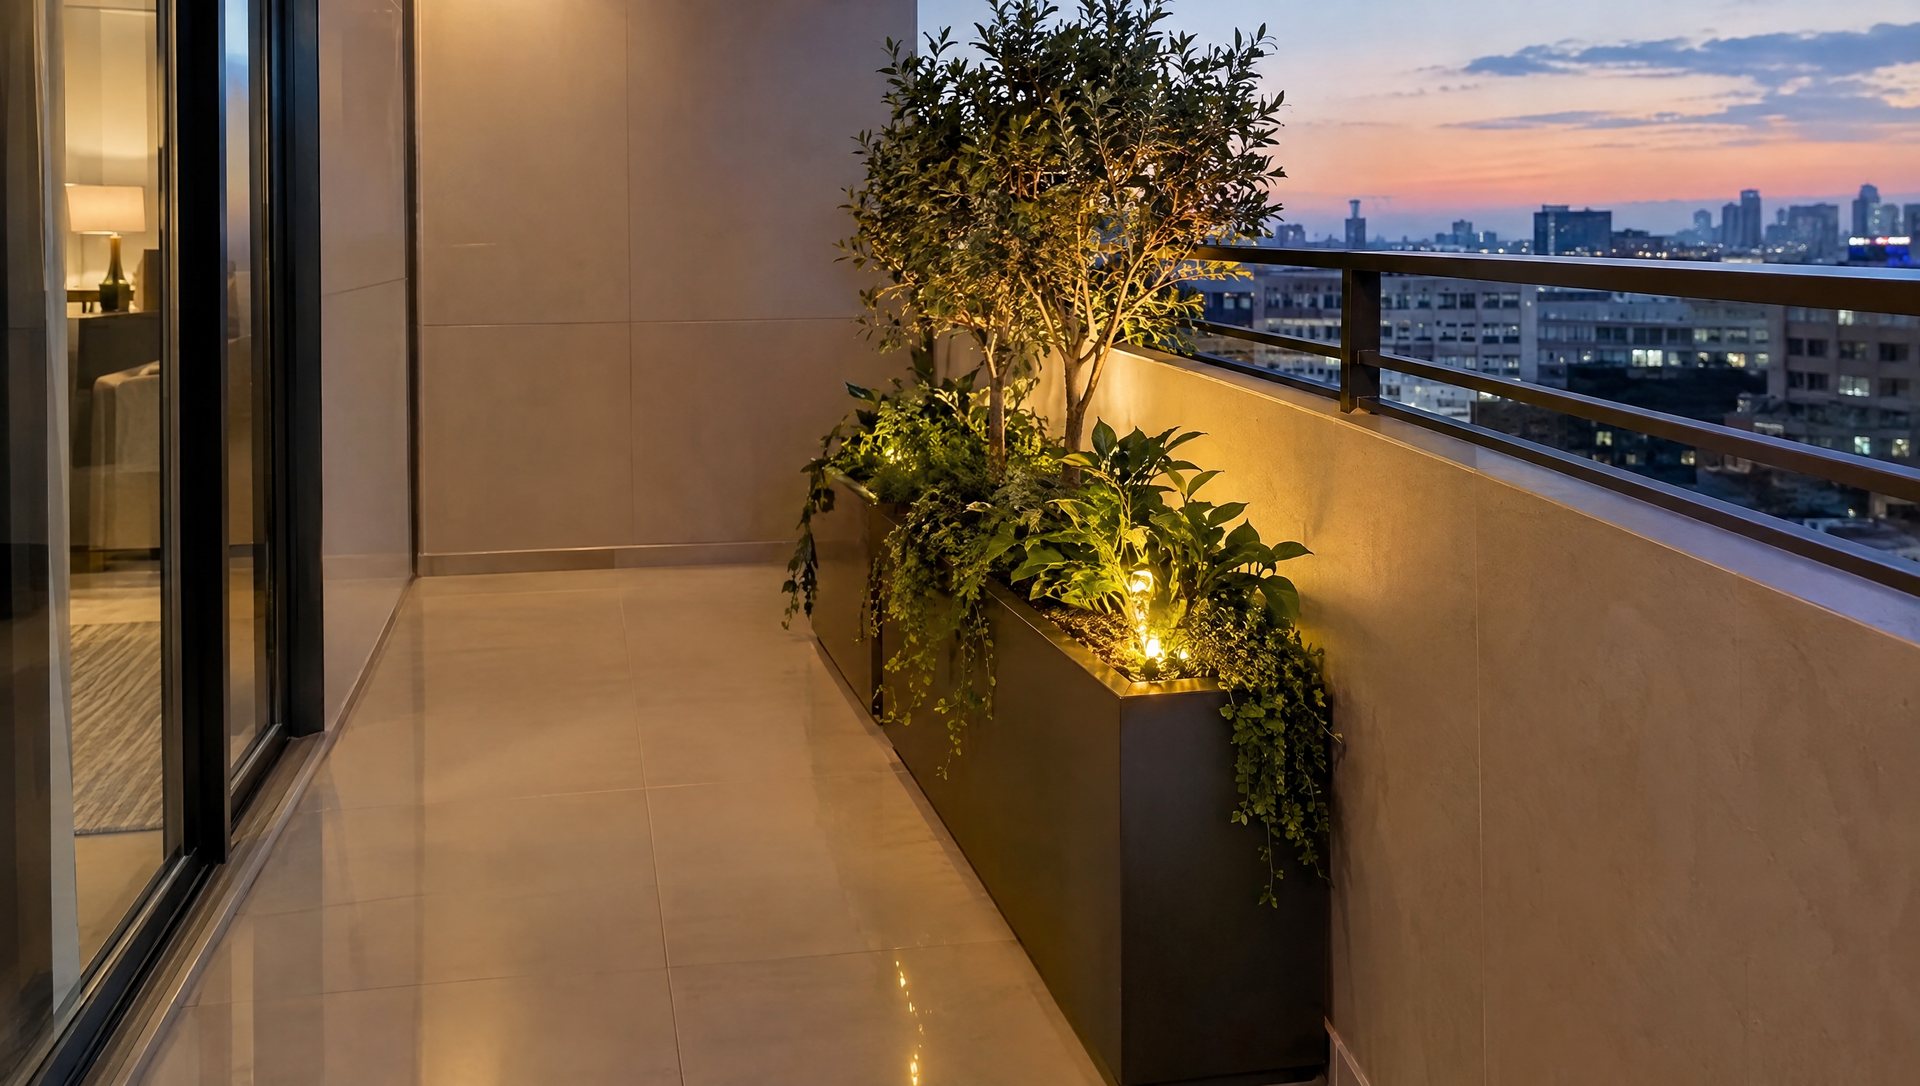
One stable planter with a small lit arrangement, like evergreen tips with tucked-in battery minis or a few lit birch poles, gives the balcony a focal point and comes down in five minutes. Keep it clear of the door, the drain and your walking path.
The window scene
If exterior decorations are restricted, or you have no outlet, put lights inside the window facing out. You still get the view from the courtyard or the street with no weather exposure, no ties and no deposit risk. Keep curtains, window hardware and any emergency-exit window clear, and use plug-in indoor lights on an indoor outlet.
The small tree
A compact outdoor-rated artificial tree works if it’s allowed, sits well inside the balcony and is weighted or tied so wind can’t tip it. Don’t put it against the railing where a child could use it as a step.
A shopping list for a typical balcony
For a 10-by-5-foot balcony with a metal railing and no outlet, doing the inside railing line plus one planter, this is the whole list:
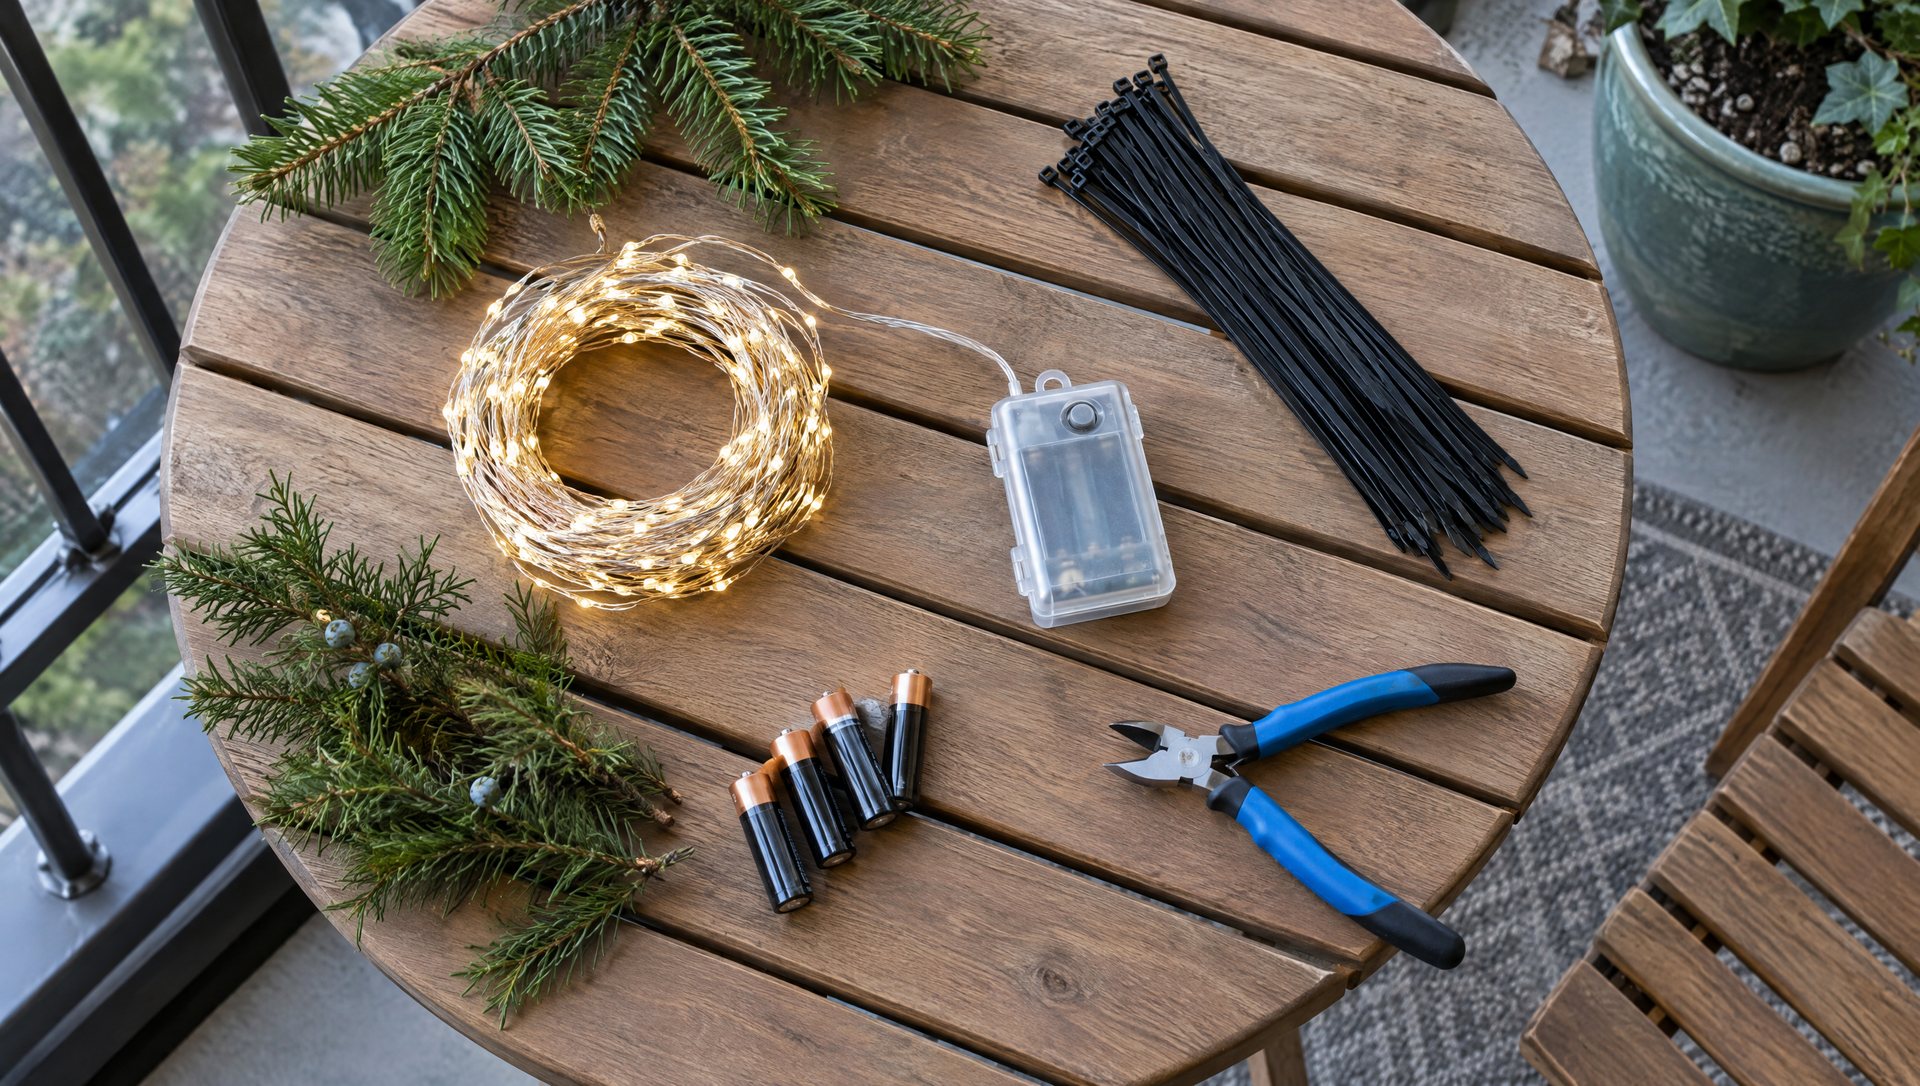
- One outdoor-rated battery light string with a built-in timer and a lit length of at least 20 feet, to cover the front rail and both returns.
- A small battery string for the planter, in the same color temperature as the railing string. Check that both say “warm white” or both say “cool white”; mixing them is the most common reason a small display looks off.
- A pack of 100 small UV-resistant black zip ties. Indoor nylon ties go brittle in the sun and can snap by January.
- Flush cutters for removal.
- A spare set of batteries for each string.
- One stable planter with a few evergreen tips or birch poles, if you don’t already have one.
Skip the adhesive hooks, the extension cord, the outdoor inflatable and the light-up figure that needs staking. None of them suit a rented balcony, and every one of them is a conversation with management.
If you do have a GFCI-protected outdoor outlet, swap the battery strings for plug-in outdoor strings and add a simple plug-in timer that sits off the floor. Everything else on the list stays the same.
Step 6: On upper floors, do everything from inside
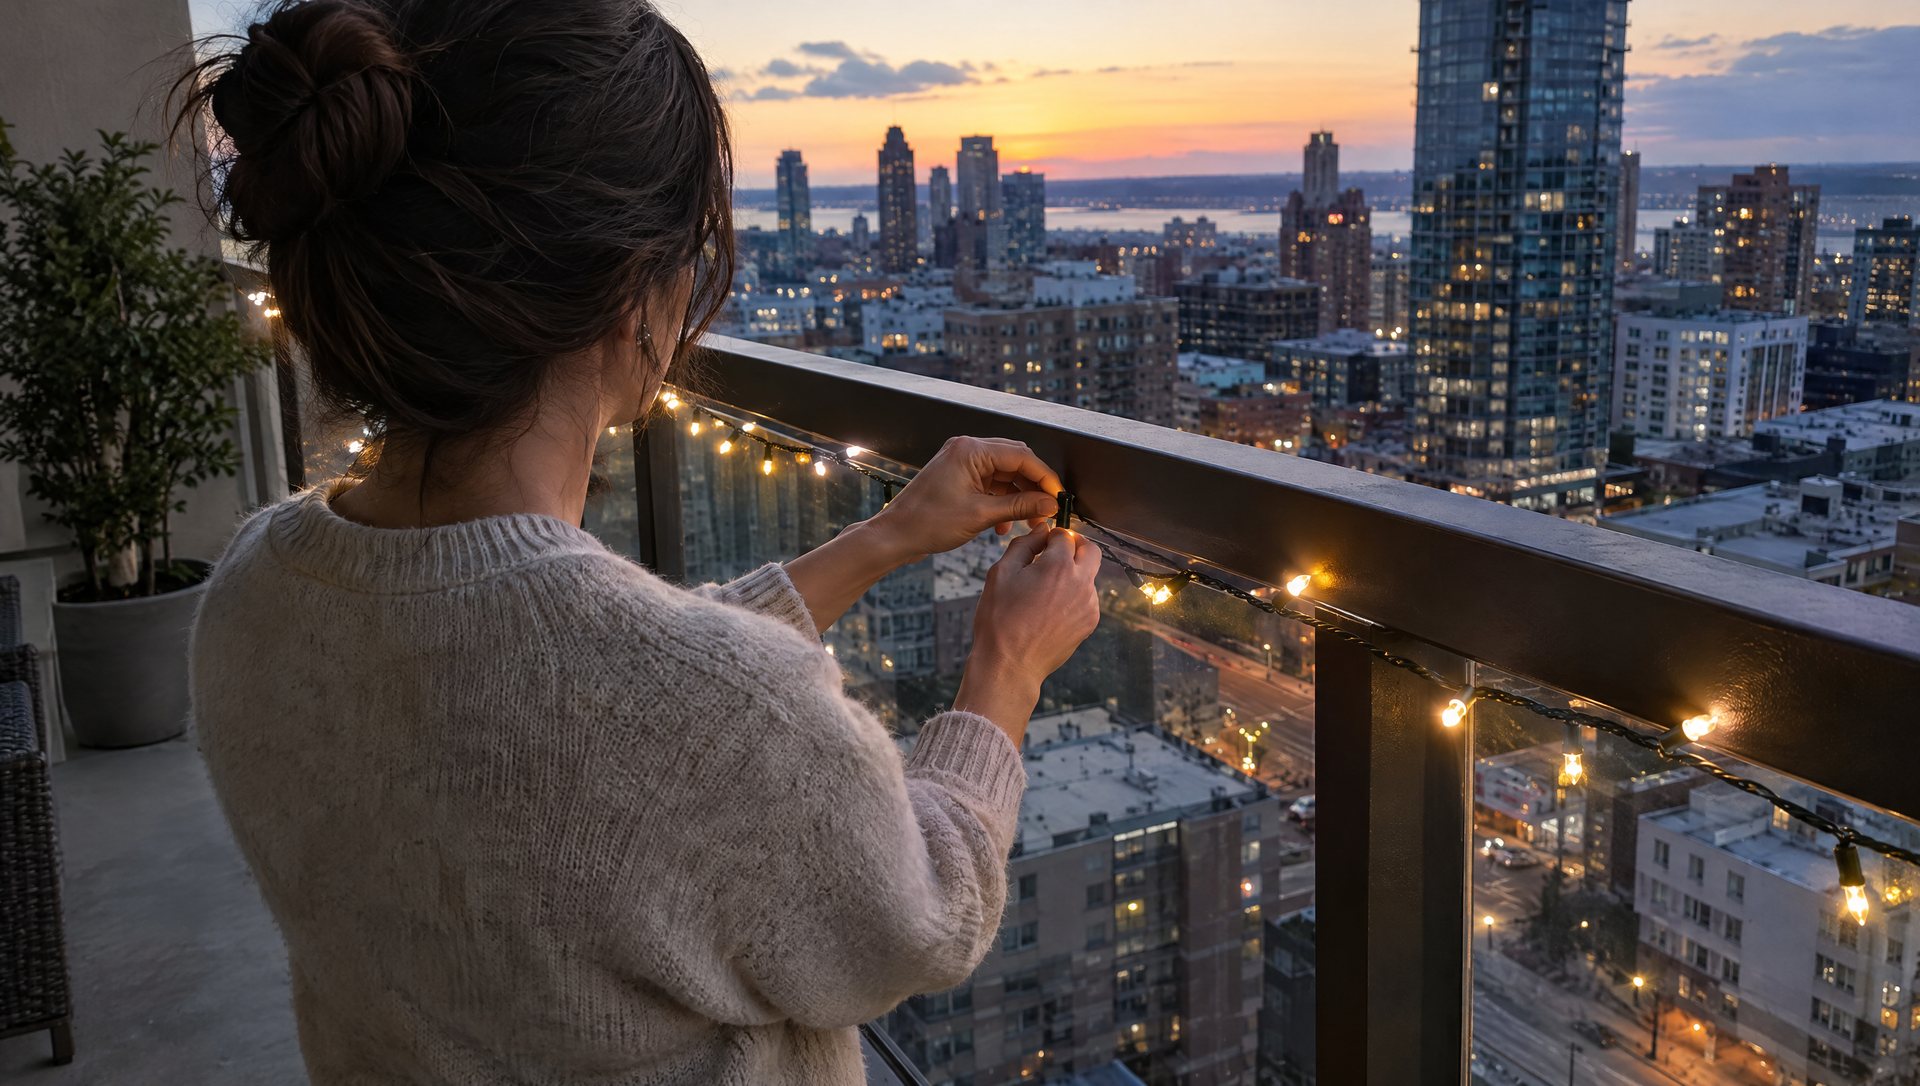
Keep batteries, clips and ornaments in a container while you work. A dropped battery cover from the fourth floor can hurt someone walking below, and the parking lot is usually right there.
Plan for wind and rain
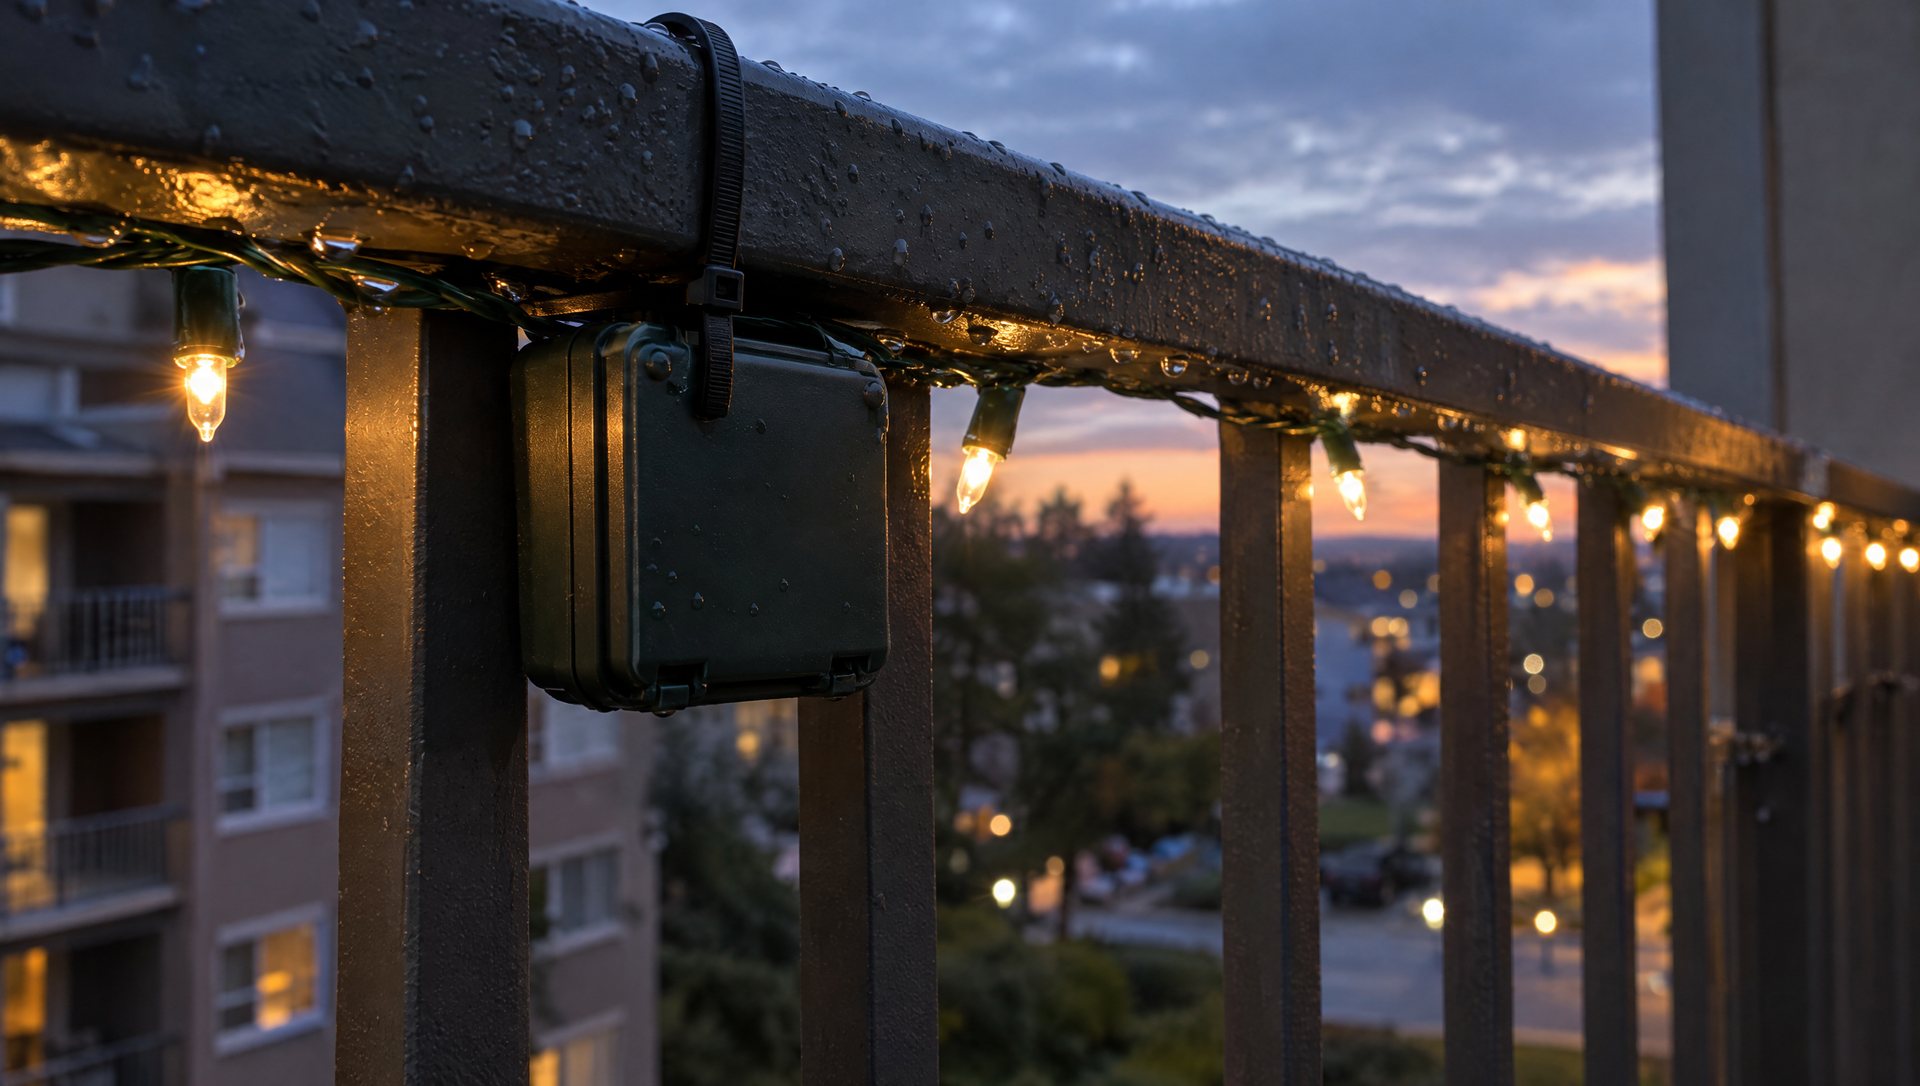
For rain, the weak points are the battery box and any plug connection. Hang the battery box with its lid facing down, or tuck it under the rail cap where water runs off. Keep plug connections off the floor and out of the corner where the balcony drains. If the lights go out after a storm, let everything dry before you switch back on, and replace a battery box that has water inside it.
The neighbor across the courtyard
Your balcony may face someone’s bedroom 30 feet away. Pick steady light over flashing or chasing modes, and set the display to go off at a reasonable hour; that’s the other reason a built-in timer is worth having. If a neighbor says it shines into their room, turning a planter or moving a string a foot inward usually fixes it. If you’re curious how late is reasonable, our guide on leaving Christmas lights on all night goes through it.
Keep the palette simple
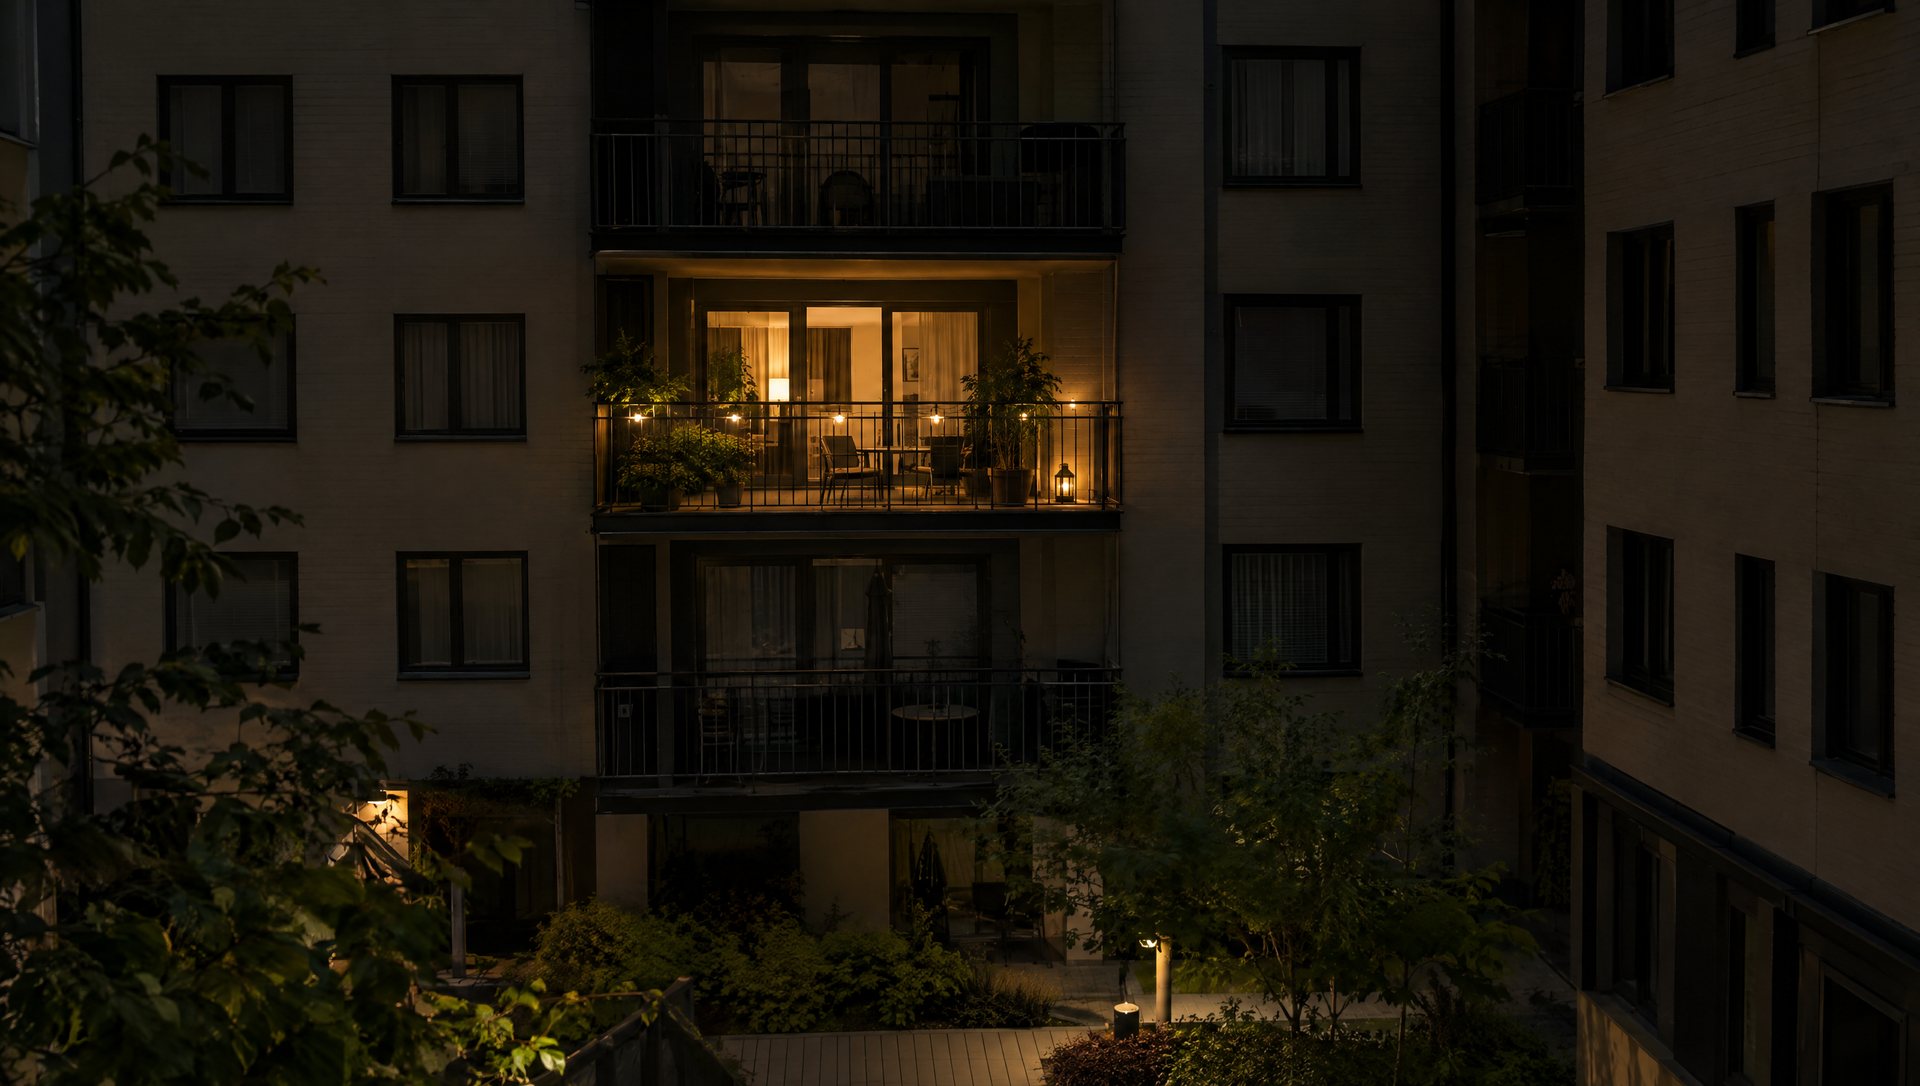
On a small balcony, one light color does more than three. Warm white with greenery, classic multicolor with plain pots, or cool white with silver all work. If the balcony is already busy with a patterned rug, plants and a bike, one straight line of lights looks better than anything elaborate. Our colored vs white Christmas lights guide covers how each reads from a distance.
Taking it down without leaving a trace
Put the building’s removal date in your phone the day you hang the lights. When it comes:
- Switch off or unplug first.
- Cut zip ties with flush cutters, or release adhesive clips as the package directs, pulling the tab straight down rather than out.
- Look over the railing and walls for marks while you still remember where everything was.
- Dry the lights before storing them, and take the batteries out of battery strings so they don’t leak.
- Keep management’s approval email with the box. A new lease or a new manager can change the answer next year, and it’s easier to ask again with last year’s yes in hand.
If you’ve moved on to a house, or manage a property that wants a professionally installed display, text (737) 777-9099 or use the contact page to ask about our Austin Christmas light installation.
Sources
About the author. Rick Safeman owns Sapien Lighting & Installation in Austin, Texas.